Erwin Landau
-
Posts
1,470 -
Joined
-
Last visited
-
Days Won
16
Everything posted by Erwin Landau
-

Preston Adjustable Motor Mount (PAM)
Erwin Landau posted a topic in Steadicam Marketplace - For Sale
Preston Adjustable Motor Mount (PAM) 2 PAM Mount with 15mm arm, for DM-2 ($245.-) 2 PAM 5/8 arm ($100.-) 1 Loon Preston Gears set ($400.-) 1 Loon additional adapter for second motor($150.-) Website: http://www.steadimoves.com/parts.html $1240.- new, price $850.- --------------------------------------------------------------- Call: Erwin 818-448-2639 steadicam*at*landaucamera.com -
Anton Bauer Proformer Batteries: 16 Proformers partially recelled ($180.-) 1 Proformer Case (New case without cells for crash repairs) 1 Set standby box (holds 4 batteries) $180.- new, $90.- each If you buy 8 or more I'll throw in the case and the box. ---------------------------------------------------------------- Call: Erwin 818-448-2639 steadicam*at*landaucamera.com
-
Modular 51 Shoulder Pad ($56.-) For Handheld Website: http://www.modular51.com/index.php?main_pa...;products_id=20 $56.- new, price $30.- ------------------------------------------------------------------ 818-448-2639 steadicam*at*landaucamera.com
-
The P-tap will power the MDR just fine as the power is drown directly from the battery... but you might need that place to power your Downconverter. Are you talking about the V+F Lens control? That one is usually powered from the Camera via the Run cable. But you have a separate power in, that over rides the run cable... get a AB cable made, actually I think that Preston has that cable on the shelf. I just picked on up for the MDR-2 box. I powered the AJA and the Canatrans in the past from the P-tap using a P-tap breakout box... The only problem is that the P-tap on the box can be forced into the plug with the polarity reversed... which will trip the thermo fuse... the DP/owner had a little hart attack, but the camera worked fine after a couple of minutes... Hope that helps, Erwin And yes Charles, I bought the run cable for the RED as well...
-
I heard of several early G-50 incidents where the arm post pin (no better word to describe it) had snapped. And also heard that Tiffen would take care of it... Looks like it didn't happen. I had some incidents with my PRO arm which got all taken care of by PRO, exempt for the Socket block where they said that they wouldn't warrant if you use the Titanium block with the Backmount. So I picked up the Steal block. Since I switched back to front mount no issues what so ever... BTW: there is a right and a wrong way to use the arm post for the PRO arm. There are wholes in the arm post on either end. One is for the safety pin and is almost at the end of the post that is the top part that goes into the Gimbal. On the other side there is a hole about an inch from the end that is the part that goes (if you use it for that) into the D-bracket and the whole is for the screw to keep it in place. Reverse it and you are playing with disaster... Happy flying!
-
We published a sneak preview of 2 chapters from Garretts upcoming Book in the SOC Camera Operator Magazine (One in Fall/Winter 2006 and the second in the Spring 2007 edition) If you can get hold of the Fall/Winter 2006 edition it's a Steadicam doozy... Cover to Cover. Not sure what the release status is on Garrett's... I thought that Jerry Holway had worked on one as well as one more was floating in the ether... can't remember anymore... age is catching up with me... But no real news on new releases... The only thing new is that both of the other books are out of print now. David Ballerini's as well as Serena Ferrara's (I saw one for sale on Amazon.com at way over $100.- asking price... used...) Garrett and Jerry will be in town for Cine Gear... good time to bug them. And mine is closer to the trash then to a publisher... Oh well. Hope that helped... Erwin
-
Because he like Donald and not Goofy...????
-
The SR-1 is a 12 Volt camera and I mean 12 volt not 14.4 volts it will run happily between 9.5 volts and 12 volts. I would suggest to use the onboard batteries, I had trouble in the past that to much current was going to the body on my old PRO. To use the Onboard you will need the the battery adapter that plugs into the 4 pin XLR plug in the back, make sure that the adapter comes with the thumb screw as the XLR will not hold the battery also be prepared to tape the battery to the magazine, the batteries have magnets on the back that holds them to the mag... usually the are not very strong and during dynamic balance will release. Especially if you use the after market batteries which are considerably larger then the stock Arri. I have also seen mods to NP-1 batteries as well as Anton Bauer conversions. To run the camera remotely, you will need an 11 pin Fisher, it's just left of the 4 pin XLR power plug at the back of the camera so make sure the cable is long enough especially if you fly a zoom lens. To be able to run the camera you have to put the main camera switch (it's on the smart side just under the viewfinder) into it's second position, depending on the age, the camera might not accept remote start. Top the camera is of, bottom the camera runs, middle it's in standby... kind of. Mounting: The camera, like all 12 volt Arri, has only one thread at the bottom and a locator. Old school... how many have still some location screws lying around for there camera plates... Also use if possible the short camera screws as the thread is fairly short and the main power board is located... you guessed it, right at the end of the thread... so to long plus force to get it tight equals dead camera... Also on the top handle there is again only one thread and depending on the video tap might be obscured. The best Low-mode bracket was the SR/35-3 L-bracket from Jerry Hill for low mode, it mounted on top and on the rosetta on the dummy side. Be careful at how to mount your low-mode bracket as some setup's will prevent the Magazine engagement mechanism to properly release the magazine from the camera body... I used a big flathead screwdriver in the past to push the lip up that held the magazine in place as the Camera plate was to close to the mag. Most video taps that came with the camera where dark to say the list as the split the image 50/50. The tap has to be almost exclusively externally powered or will take your run and plug into the 11 pin Fisher. Also the will not cover super 16. As most SR-1 should still be standard 16 that shouldn't effect you. It's actually a very nice and robust camera and I have seen that particular camera all over the globe in the craziest places. As the whole movement is in the Mag, there should be special care given to the loading of the magazines. Exempt for that it's like a small tank... if carefully cared for.... Hope that helped, Good Luck, Erwin
-
Hey Stephen, So much for the retirement... was a little premature...wasn't it... Every PRO rig comes with a very comprehensive Users Manual, especially the rental units. But in case it doesn't: Your survival tool for the PRO arm is the 5/32 T-handle wrench, it's close in size to the 4 mm wrench but should not fit. All screws on the arm and the earlier pre-no-tool rigs are matched to take only that Wrench. Adjusting your spring tension as well as taking out the canisters(by removing the Drawbar retaining screw): 5/32. I would use one black and one blue canister per arm section with will cover about 80% of the camera weight range and should be just fine for the XL and the 435. Put the Black canister on top in the fore arm and again the black on the bottom in the upper arm. That are the accessible canisters and you don't have to change your tool over to the other hand, you can reach and change tension with the right hand on both sections... and with the blacks easier accessible, you get more bang for your buck... more tension change for less turns. Also non of the canisters as to be pre-tensioned before you put them into the chassis. Just pop them in and adjust ANY canister until it rides as you like it. Swapping the Socket Block: Use the the two (Golden) spanner wrenches (they are usually in the lid pocket of the arm bag) unscrew one of the caps on the socket block adapter vertical axle pin (at the vertical link A, no matter which one top or bottom whatever gets lose first). Pull out the axle pin turn over the socket block adapter and put back the axle and the cap, make sure it's tight. (Do not over tighten) Periodically check that these caps (six on the arm) are tight especially during vehicle mount shots. If tools are required again 5/32 for Gimbal, Center Post and all Gyro mounts. D-Box 2... Has only adjustment knobs on the dummy side of the rig and does not have a corse adjustment. Has a quick release lever but Still you need the 5/32 tighten it down. Gyros for the PRO 2: you will get a battery rack Gyro mount, an AB Gyro mount for the front Anton Bauer plate, a camera Plate Gyro mount and at least one Post clamp gyro mount. I usually used the camera plate mount for the top and the post clamp, so added one above and one below the Gimbal, faster for rebalancing. The Inverter can be sandwiched between any of the AB plates and the batteries usually you also will get a Velcro patch with 2 AB plates where you can mount the inverter and a battery and velcro it to the back of your PRO vest and cable it from there, (the AB plates are wired together). It's all the same from here, it's a steadicam rig after all and was around for a while now. If you need PDF's let me know, I have them somewhere but I would have to dig... I hope that helps, Good Luck. Erwin
-
Hey Afton, That is a Handcrank camera, most of the time an Arri 2b or 2c. We used it extensively on fight scenes that we shot for Spike TV (4 movies so far), it gives you that certain out of wack look (speed change, over and underexpose, randomness). It goes back to the time in the early days when you handcranked all the movies. you can change the speed randomly and even double expose and crank backwards... It's hard work after a while. I guess that the hand drill makes for an easier day and you can get very nice slow motion out of it as you can run that puppy up to 1000 rpms... and faster... or slower. We got ours from Otto Nemenz, Panavision and Clairmont all of them have them in there inventory... Hope that explains. Erwin
-
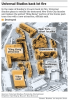
Here a map of the destroyed Buildings... wow!
-
So a blow torch caused the fire... New York street is gone... bummer that was the first Backlot I ever visited back in 1993... and worked may times since. I read that they will rebuild a new version of New York Street, a lot of history gone...


-
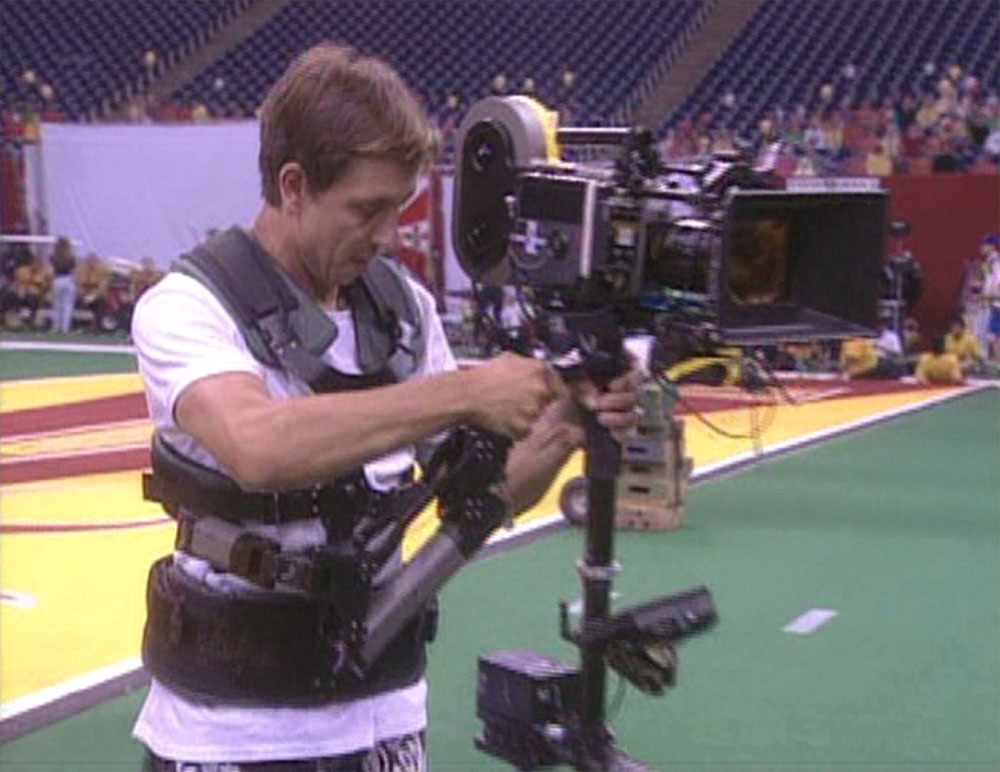
It's all in the knees...
-
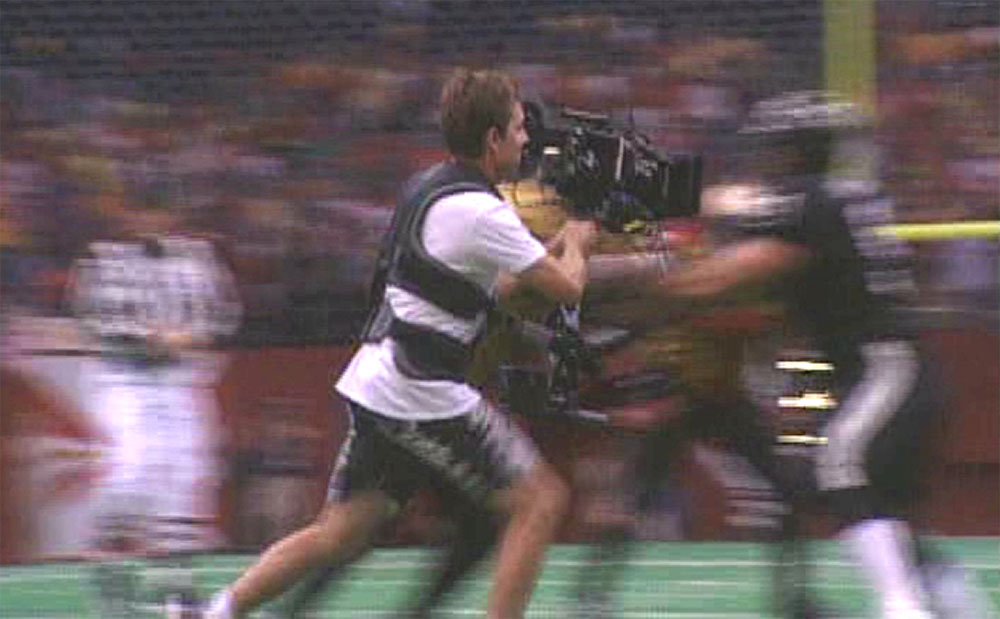
Closer...

-
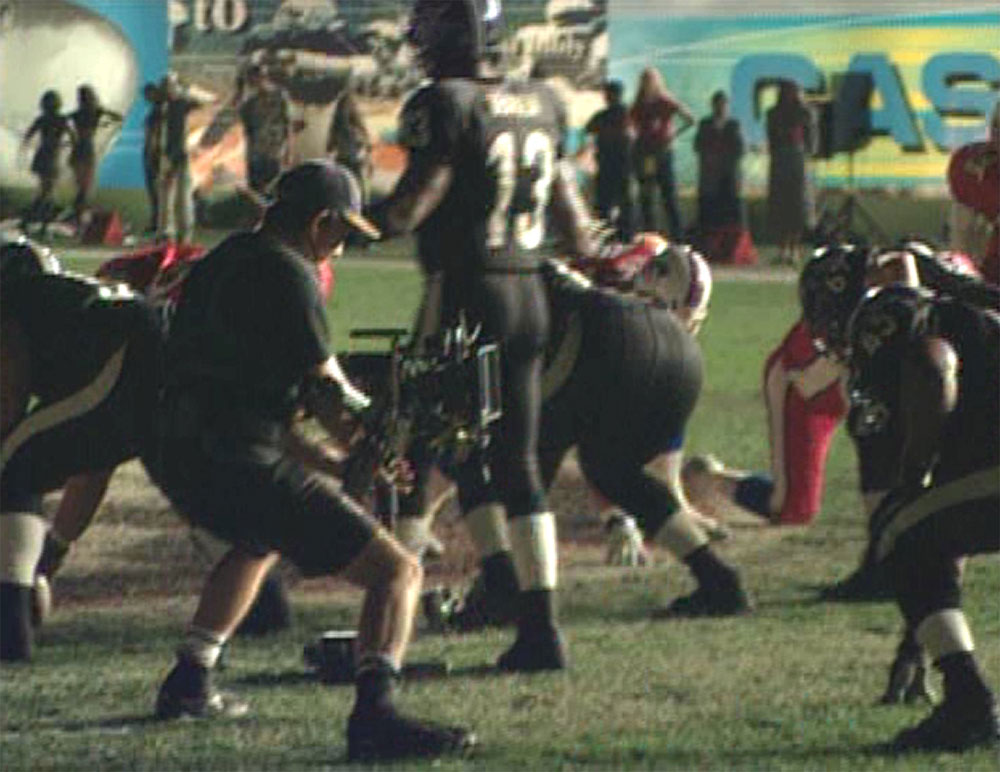
Any Given Day...

-
http://www.steadicamforum.com/forums/index...?showtopic=7100
-
Oldish Steadicam Vest Mk2 / Mk3
Erwin Landau replied to Andrew 'AJ' Johnson's topic in Steadicam Marketplace - Wanted
Aiken Weiss had a Model 3 for sale. To my knowledge he should still have it. 1 (310) 874-5717 www.happycamera.com Good Luck, Erwin -
I know, actually I thought I bought that one... There are quite some movies called running scared, one in 1972, 1980, 1985, 1986 (that's the one you are referring to) and this one from 2006... there was even a TV show in the 1980ies... Oh well, happy accident.
-
["Hi all, I'm curious how much directors/DP's use storyboards/previs when shooting Narrative/Commercials. How heavily is it used, relied on? How much is it adhered to on the day, how much gets discovered on the day? What's the norm on an episodic Drama? When does the DP get involved (in previs/storyboarding), how much is is he/she involved/responsible. I realise this is a broad question. The situation and arrangements must be different for every project depending on the people involved. But as a ENG/EFP guy who doesn't yet, but would like to be working on narrative projects, I'm curious about the creative workflow. Thanks for your feedback, Brad. (Australia)"] Storyboards and Previz are great tools for the Director to convey to his crew including his DP what he is trying to achieve. I worked with Directors where the Storyboard was the Bible to the set up and others where it was mere a guide. Usually Boards are used on narratives for a difficult and intricate Action sequence where many variables are in play and the more problem you can eliminate early on in preproduction, the safer will the stunt/sequence be on the day. Watch some of the Extras on DVD's these days, like the finished sequence compared to the story boards... Story boarding some scenes makes sense, doing it for the whole feature is a waste of time. I talked to director that did that and basically threw it out after the first day of principal photography. A good director will use it as a guide, a great director will be always prepared enough to just throw it out and make it work anyways. If you are a newer Director it's great to be able to visualize the shot, as you get more experienced you know how it will look like... and trying to achieve the exact storyboard picture in real life will be redundant... Commercials relay heavily on storyboards as you usually have only 22 seconds to tell the story (8 seconds are for the Product placement, Cereal box, Shampoo bottle, etc. That's how long it takes for the human brain to commit the product to memory and will later recognize the product on the shelf) and you can easily lose yourself into a way to big story arc and you have limited amounts of time to get what you want. 60 to 80 setups or more where you just use a couple of frames but it takes hours to set up and light... easy to lose track. I hope that made any sense, Erwin PS: Keep in mind that posts in the "off topic" only stay visible about 60 days and later will only be available if you search for them... so chose your forum carefully.
-
I watched: "Running Scared" over the weekend. Not to bad I expected way less staring Paul Walker... actually I enjoyed it quite a bit also it was a challenge to make The Czech Republic look like New Jersey. Oh well... Anyhow there is a scene in the apartment of the pedophile couple where the camera does a 360 around a boy at his head hight and then just pulls up and turns into a birds view of the room revealing the construction plastic on the floor... crane sure... but where the hell is the base. Watched it again with commentary/ behind the scenes and sure enough it was a steadicam shot. The production cut a hole into the ceiling... It starts with a 360 and then the operator is pulled through the ceiling by wires... Alastair Rae was credit as the main Steadicam Operator but also Andrew Casey was billed as the op on the New York/New Jersey crew. Enjoy, Erwin

-
Great work by: 1st Unit: Mitch Dubin, SOC George Billinger (Steadicam) 2nd Unit: Simon Jayes, SOC (Steadicam) Dan Gold, SOC Douglas Olivares John Scotchdopole Simon Jayes being the only one frequenting this forum, but I guess he is still busy on the latest James Bond. Later, Erwin
-
Also check the archives: http://www.steadicamforum.com/forums/index...hl=strange+days There are a bunch of great and unique shots in that movie. Jimmy actually got a separate credit for his POV work. He is credited as an actor: Nervous POV. Check out the shot that starts in the car and goes from there... Hope that helps, Erwin
-
Hey Charles, what are you talking about never heard of that feature.... ever. Erwin "No idea what you are talking about" Landau
-
Not really... They made a half ass camera, now they are adding 2 more that are differently shaped with different attachment points and AKS and now they are letting other people fix there problems... I would love to know where ARRI would be with that kind of an approach, surely not celebrating there 90-ies birthday. How about making that thing work before adding even more stuff that doesn't work properly. Yeah the picture looks "beautiful" and the Camera Imager is inexpensive... but after you buy all the AKS, you are still looking at $60K... Frustrating, Erwin
-
Need to Rent Modulus
Erwin Landau replied to Brian Dzyak's topic in Video Assist and Video Accessories
I send you an e-mail... Erwin