Leaderboard
Popular Content
Showing content with the highest reputation since 07/12/2024 in all areas
-
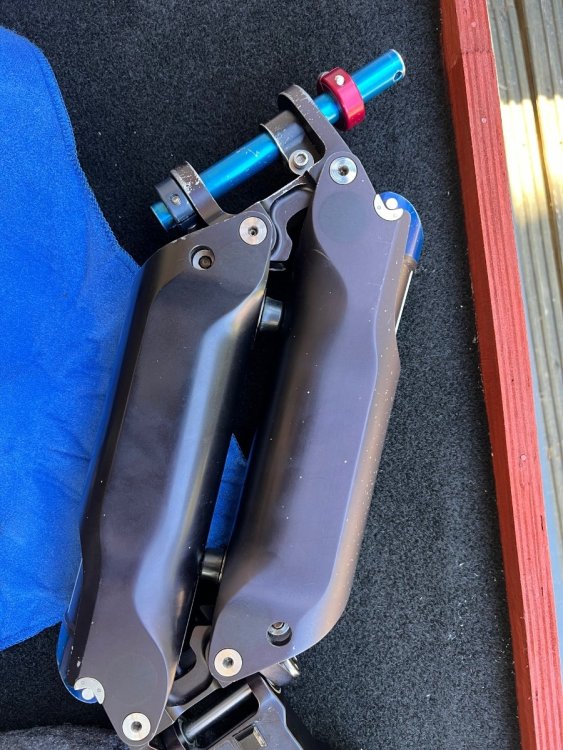
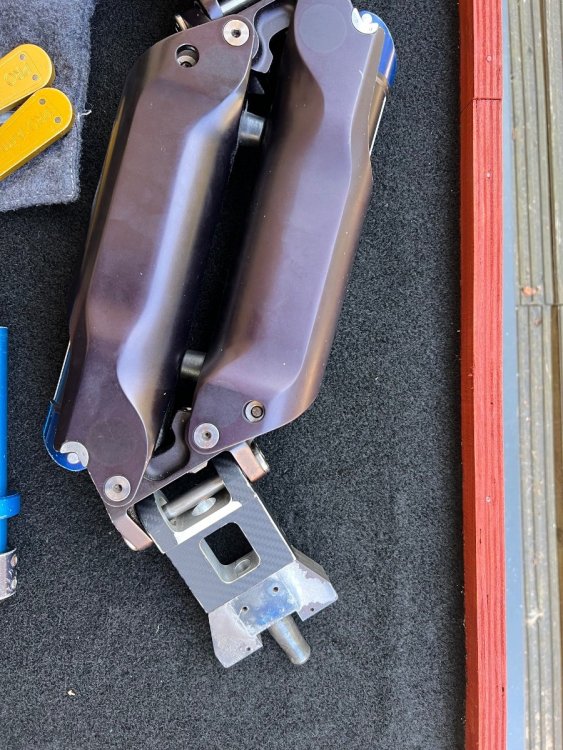
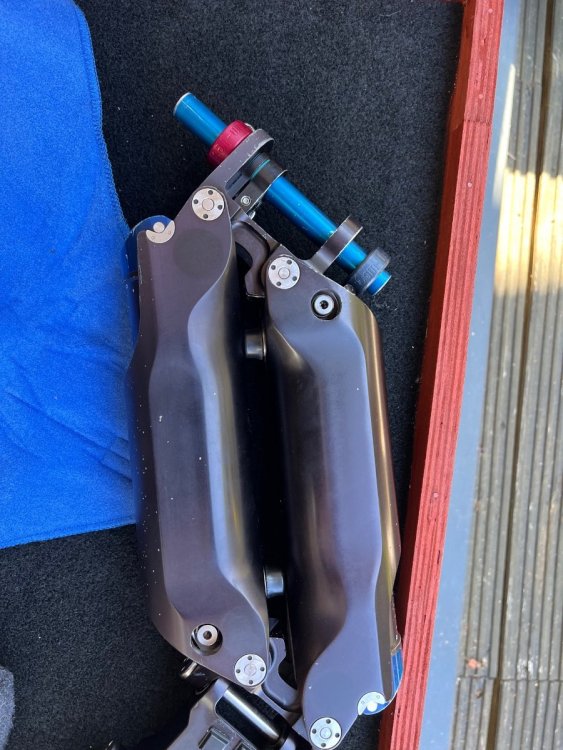
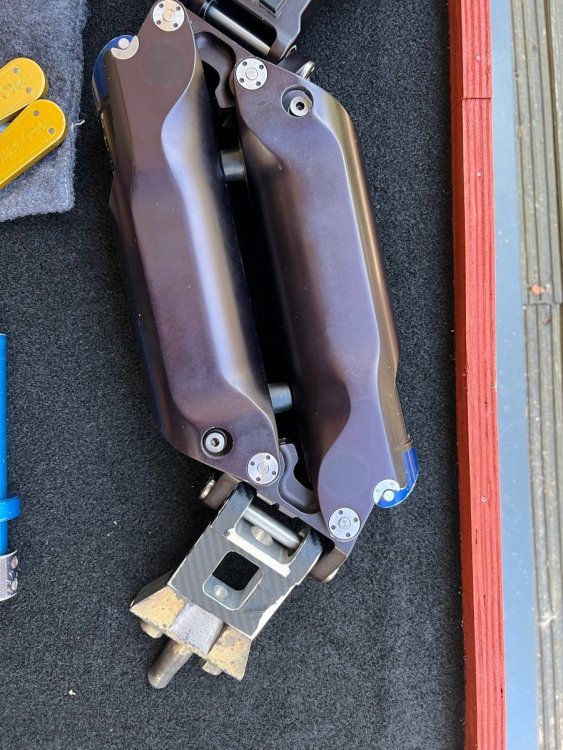
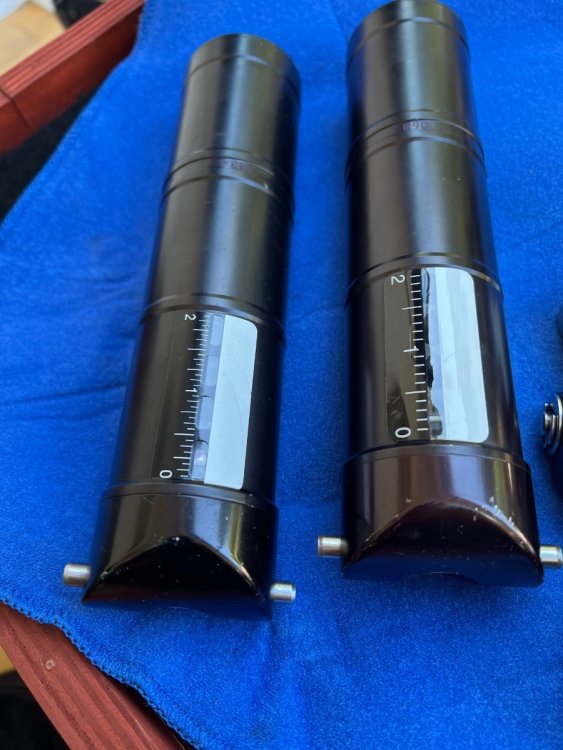
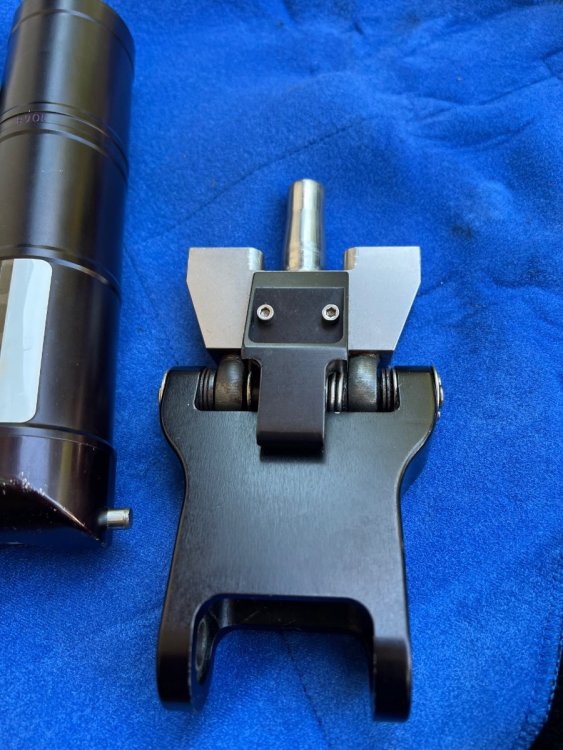
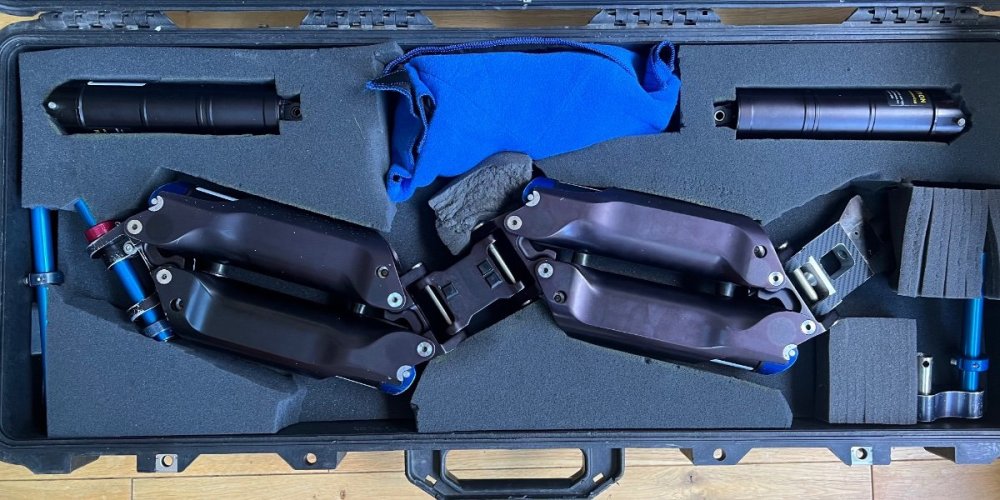
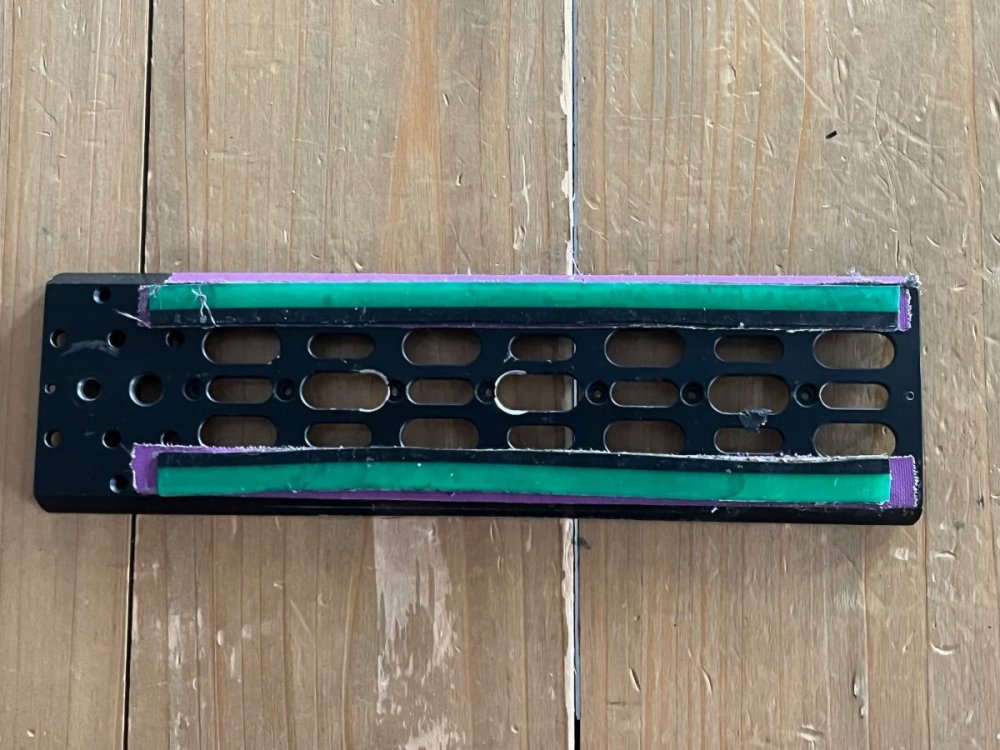
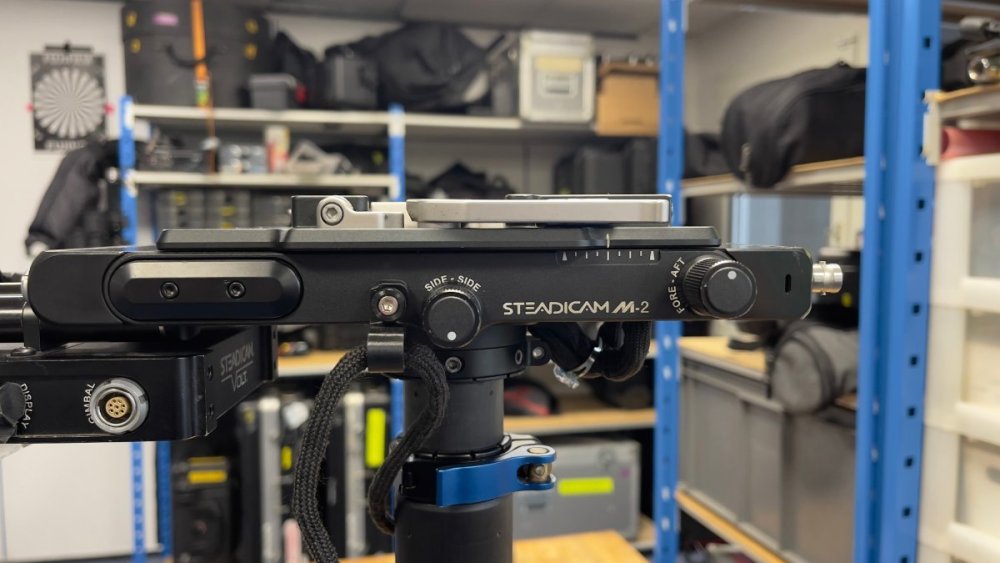
Hi All I have had the Level on several jobs now. It performs really well. This is still a prototype. The final version will be shorter by an inch or so, and have WiFi so you can do software updates without sending it in. Plus more user inputs. Super simple to use, and much easier to set up than the Wave. The balance is not as critical. For example, this last show, I took the prompter and receiver off mid show and just kept going after just a regular Steadicam balance. This would have required a total rebalance on the Wave. There is still no manual lock, but this was not an issue because there is a pause button that locks the level in place. Really quick to do, as in this past commercial, I had to do some off angle shots as well. Just one button, press and go. Very low profile and discreet as the footprint is much smaller than the Wave. Although it only has 6° of adjustment, because it has a low center of gravity, it actually represents a big correction of horizontal control. You can see this when turned on and the level powers up. The locking screw is plastic but solid. Feels a little cheap. There are rubber footings that aid in keeping your camera plate from sliding at full tilt. The return to level after a full tilt is smooth. Looking forward to the final when mine gets switched out. One concern is how weatherized it is. You can see the inner circuit board between the level plates. I believe this too will be addressed in the final version. Looks to be end of this year. Cheers Taj2 points
-
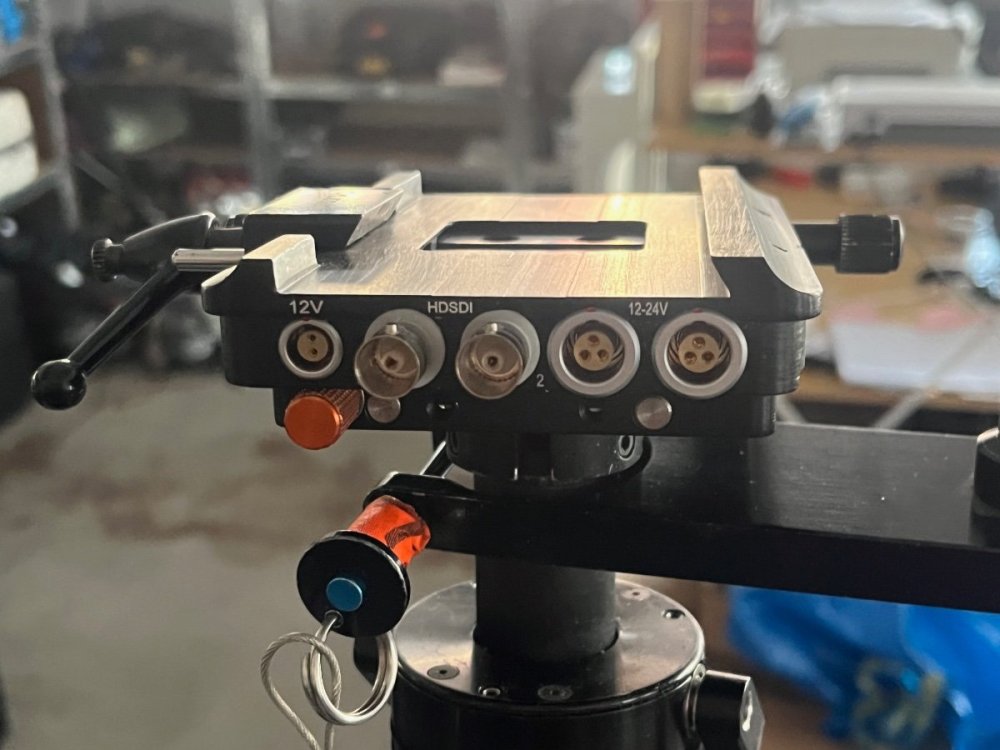
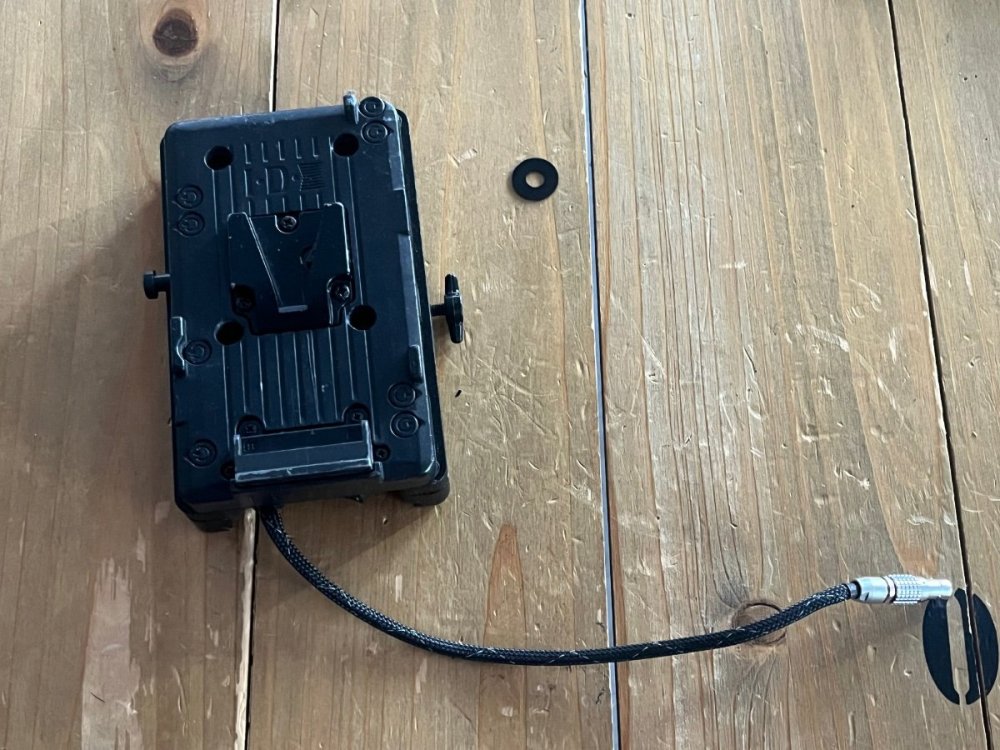
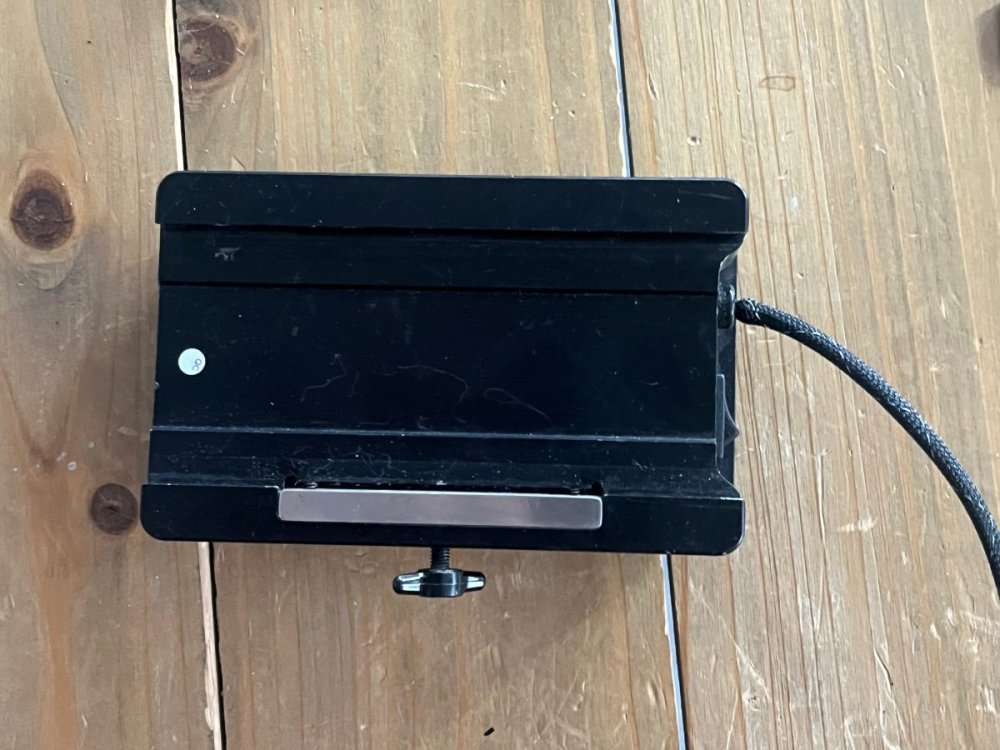
New 2nd battery mount for Axis A customer asked for this, so I made a secure, low-profile battery holder for him. One piece clips on and bolts directly to the bottom of the Axis. The 2nd piece holds the V-mount (or AB mount, not shown). Use the D-tap for power. Sold with, or without, the PV-2 or AB Gold mount. Note the heavy duty protector for the V-mount battery release button. Price without the PV-2 or QR-GOLD plate $60. With either plate, add $130. Price includes shipping in USA, international extra. jholway@comcast.net2 points
-
Level has landed and will be using it thoroughly next week on a job. Cheers all and thank you for helping out.2 points
-
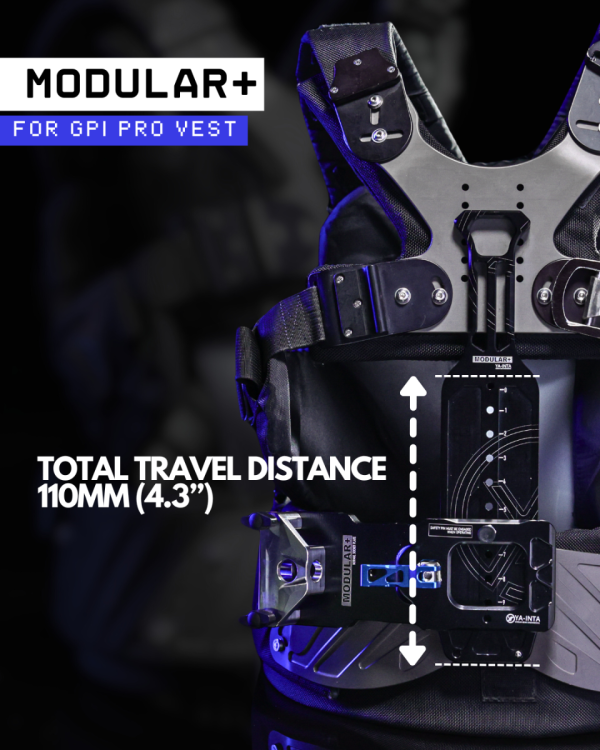
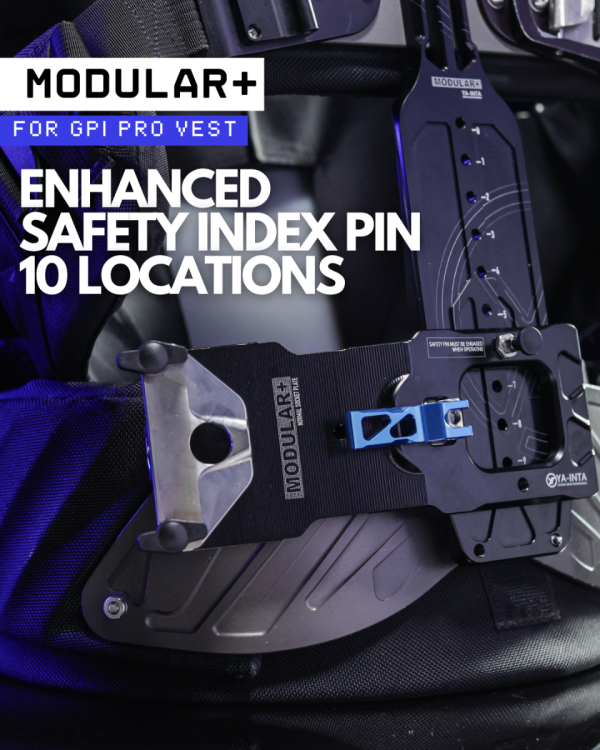
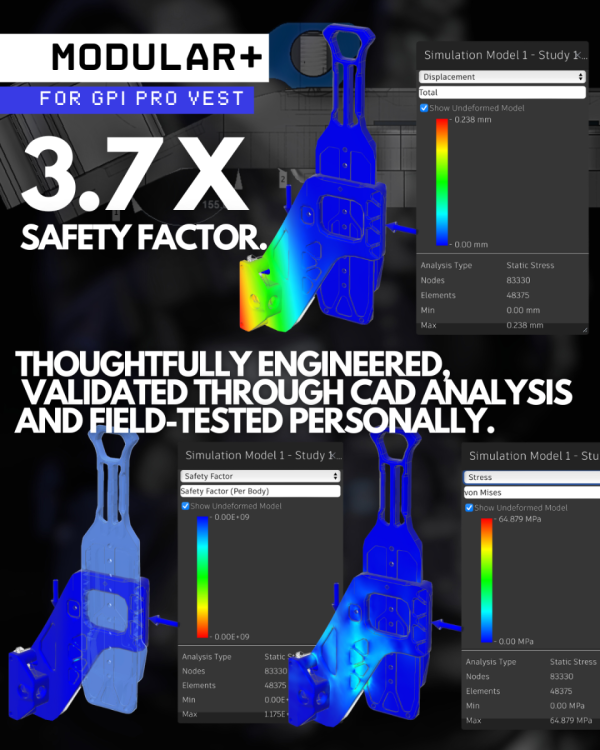
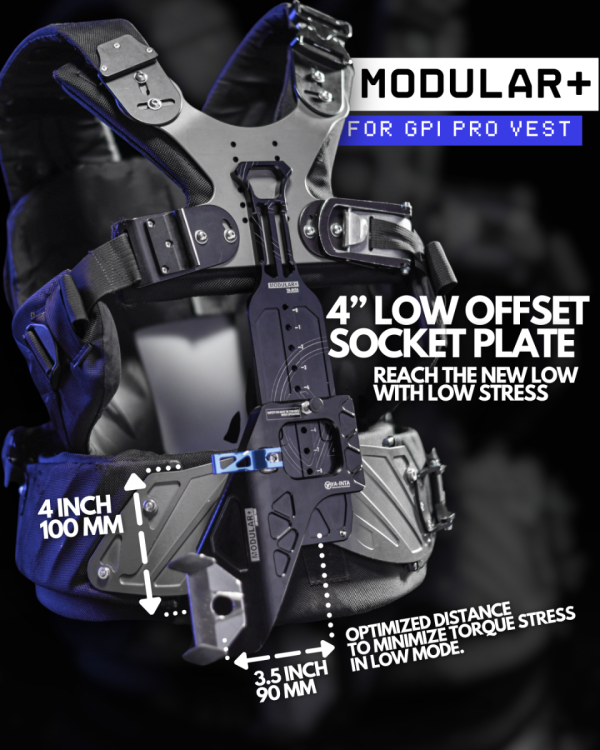
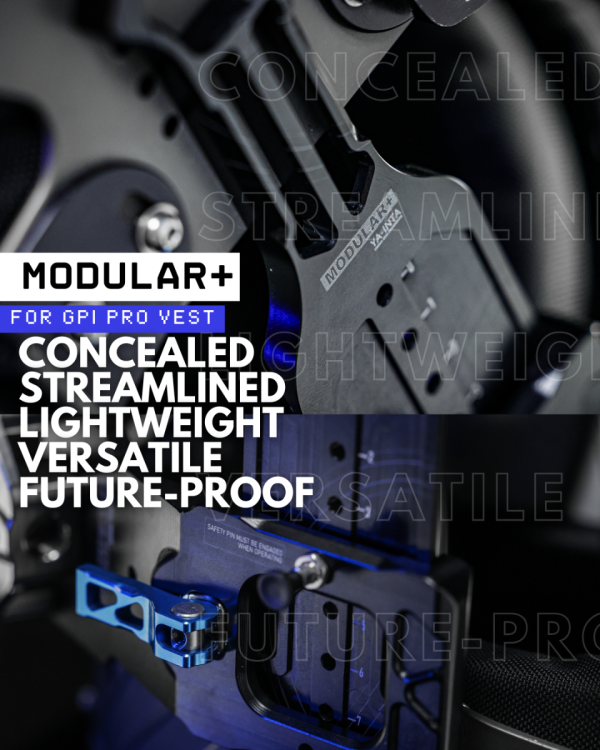
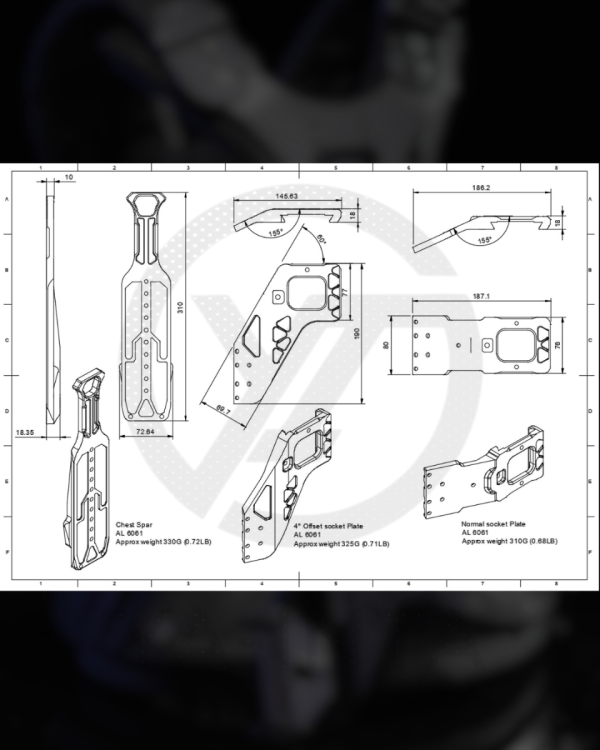
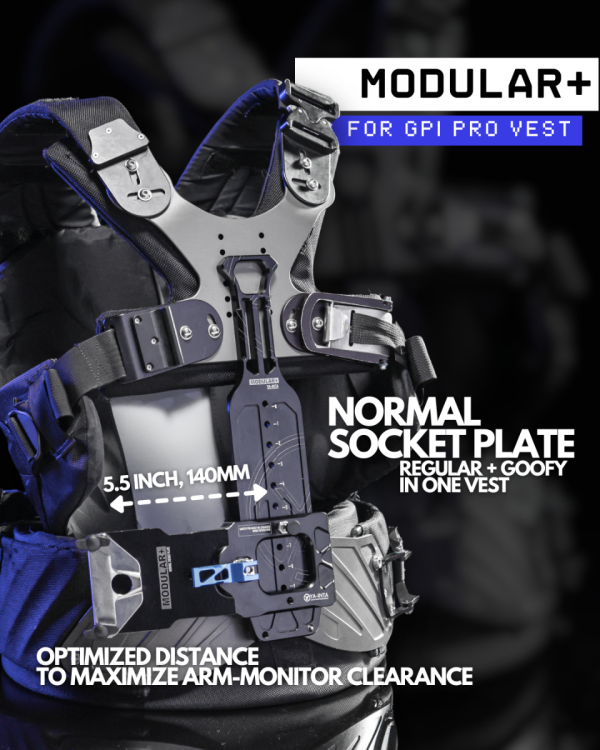
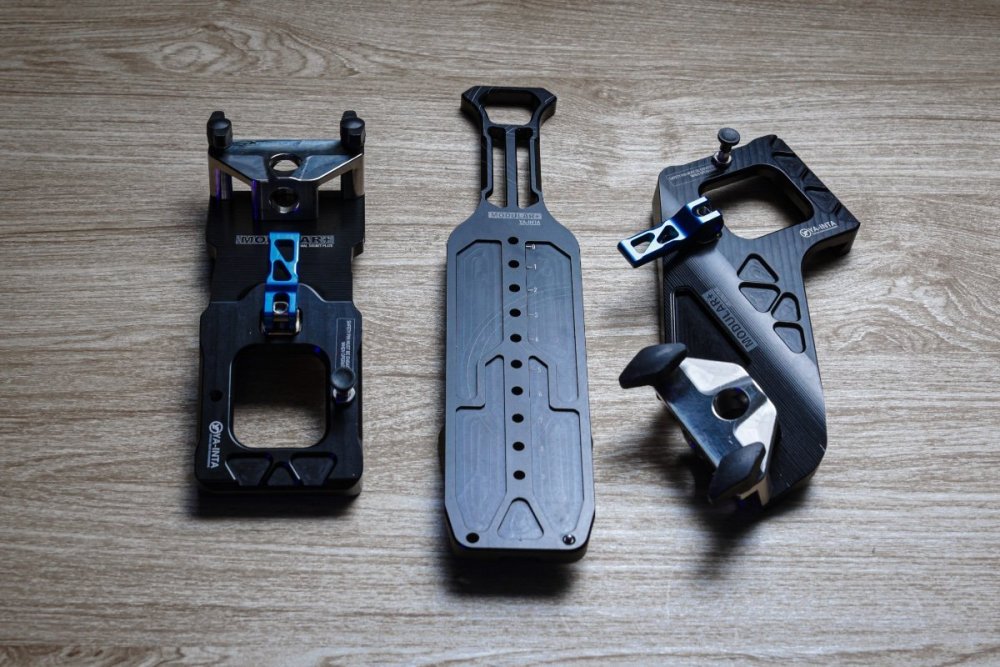
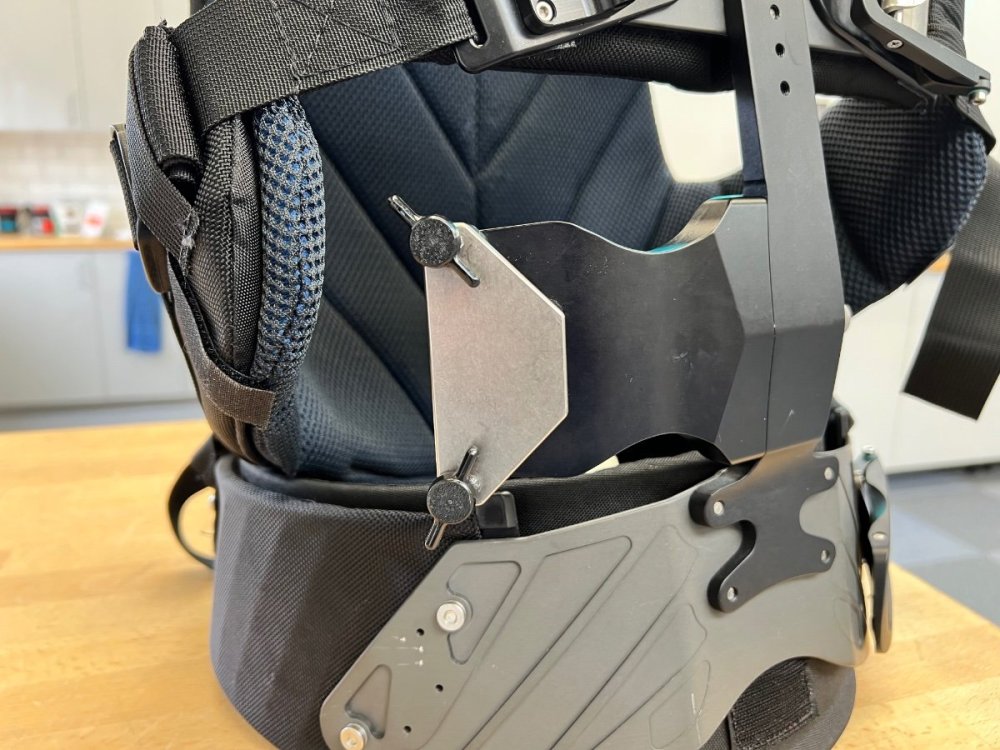
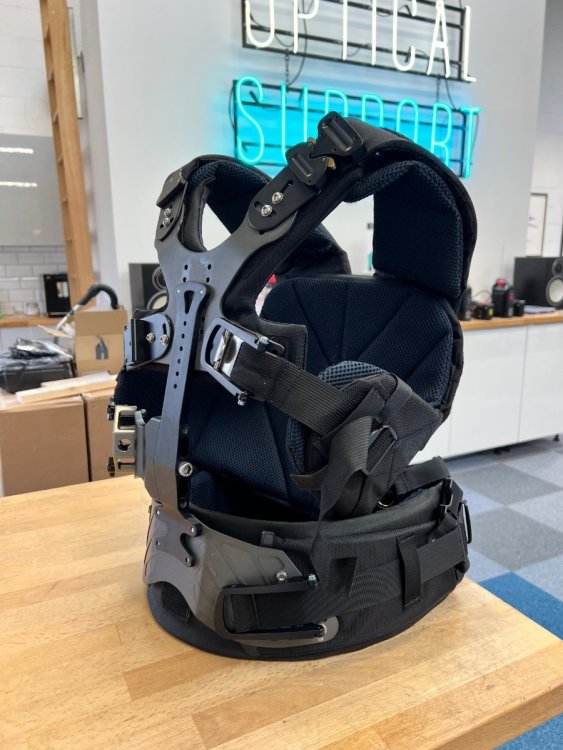
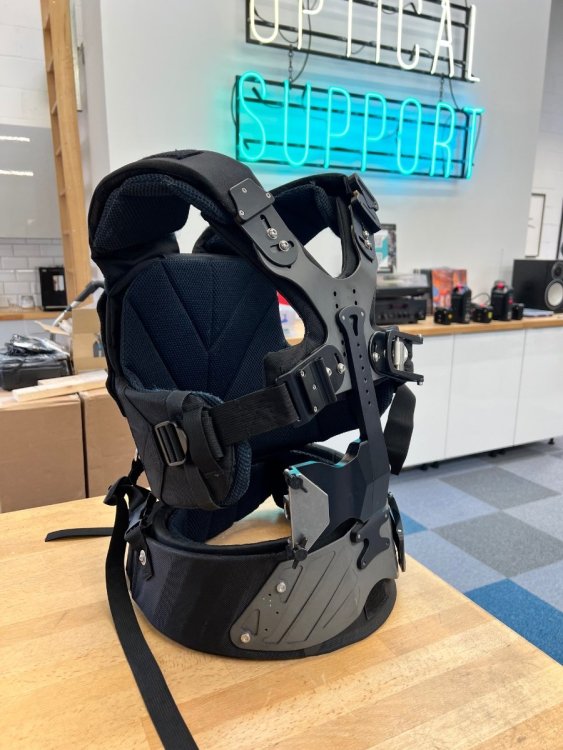
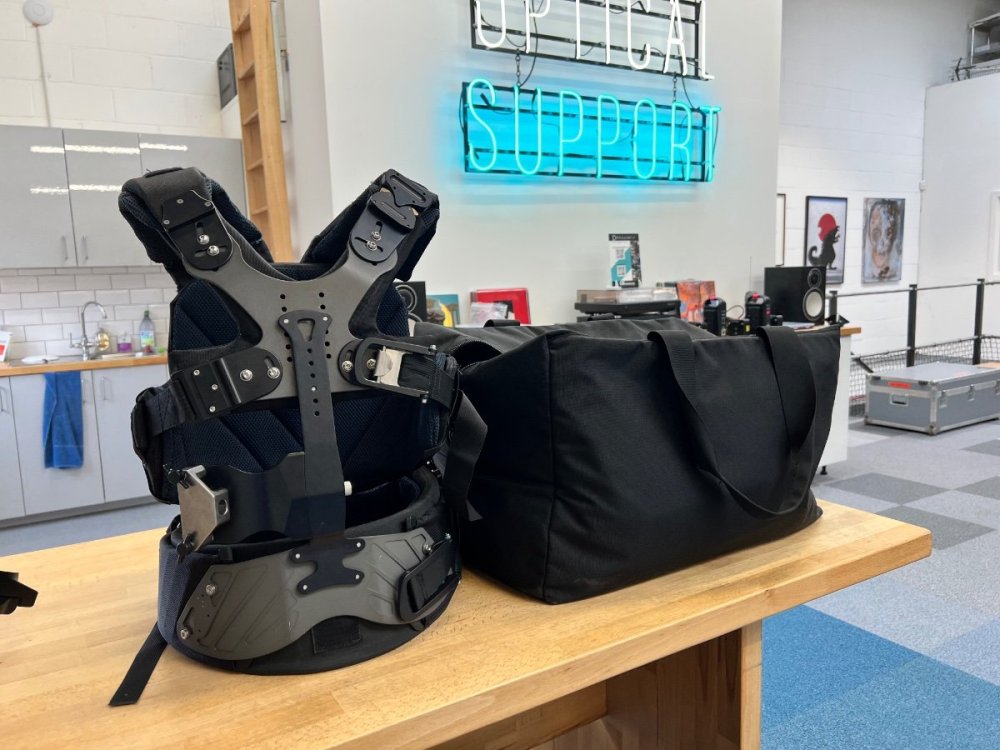
Hi guys. MODULAR+ (Modular plus) upgrade kit for GPI PRO vest is now available for pre-order 🔥 Check it out 📍 https://www.ya-inta.com/store/p/modular-upgrade-for-gpi-pro-vest Detail: Modular+ enhances the versatility and modularity of your GPI PRO vest. •Adjustable socket height •Reversible socket block plate***, allows regular and goofy in one vest (ideal for rental vest or specific shots requiring a side swap) •Low mode socket plate is optimized to minimize torque stress in low mode •Normal socket plate is optimized to maximize arm-monitor clearance view •Enhanced multiple safety pin lock locations •Laser engraved reference position Engineered for strength and efficiency, the Modular+ is lightweight, rigid, and streamlined. Precision-machined in-house by Koon W. Ya-inta, SOC, ACO, using multi-axis CNC machine. R&D + field testing + continue improvements over 1.5 years Designed with the future in mind, the Modular+ system offers a clear upgrade path. Additional accessories in the Modular+ product line will continue to expand its capabilities. Specs: Material: Aerospace-grade 6061, Stainless Steel 304 ***The normal socket plate is reversible for both regular and goofy operation. However, when mounted in the goofy position on a regular vest, there is a clearance limitation. A dedicated adapter for using a regular vest with a goofy setup is currently in development. If your vest is already configured for goofy operation, this issue does not apply. Check out promo video here2 points
-
All right, everybody level has shipped as of today tracking is in hand. looking forward to using it2 points
-
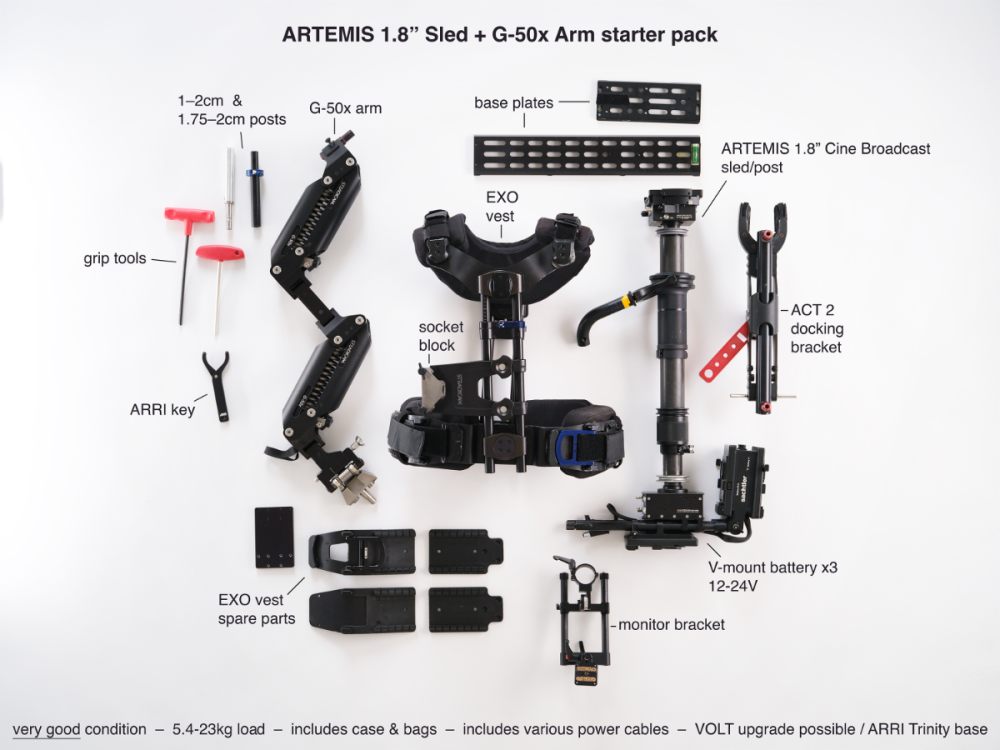
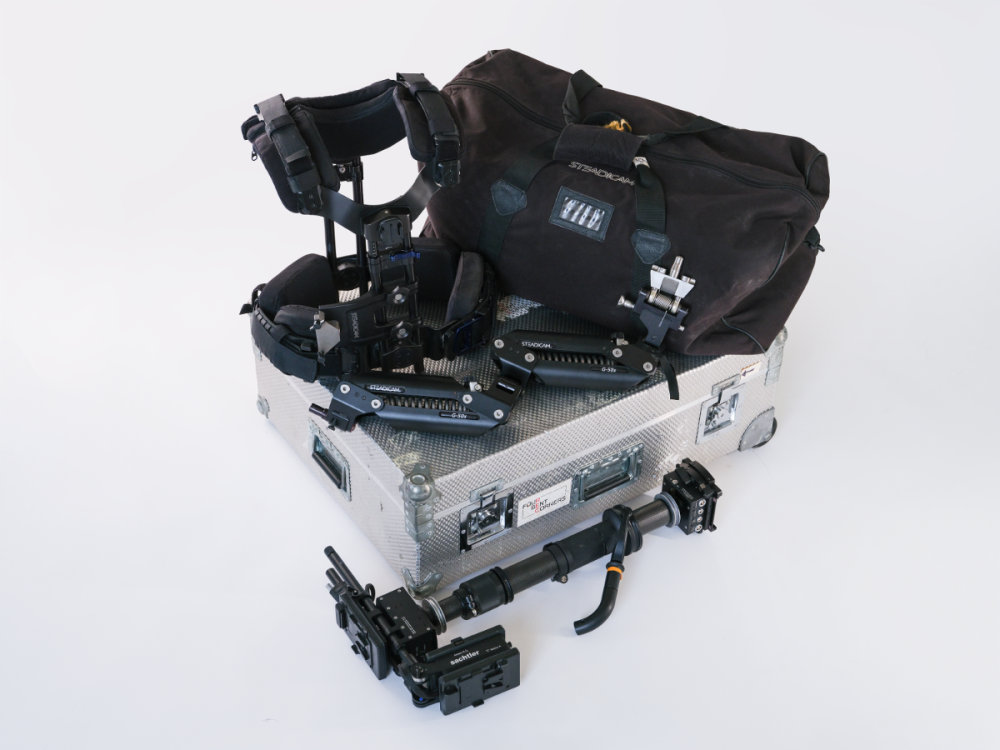
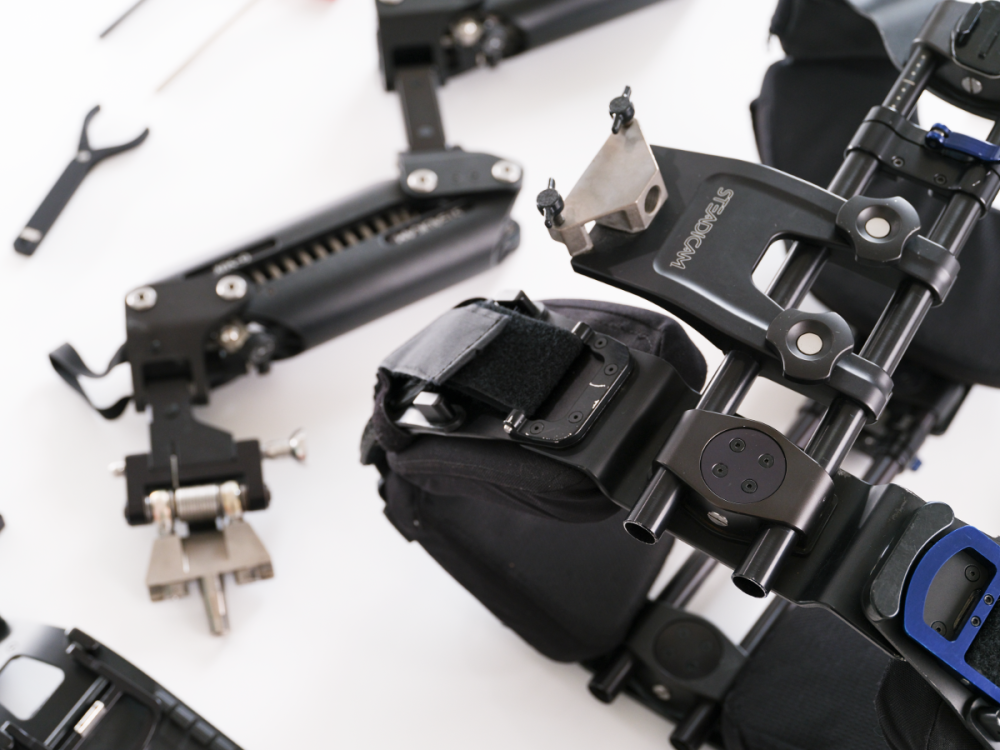
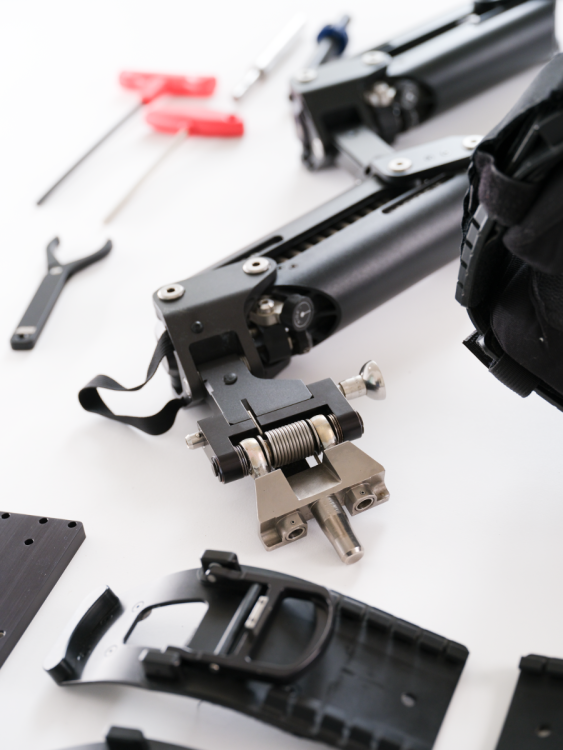
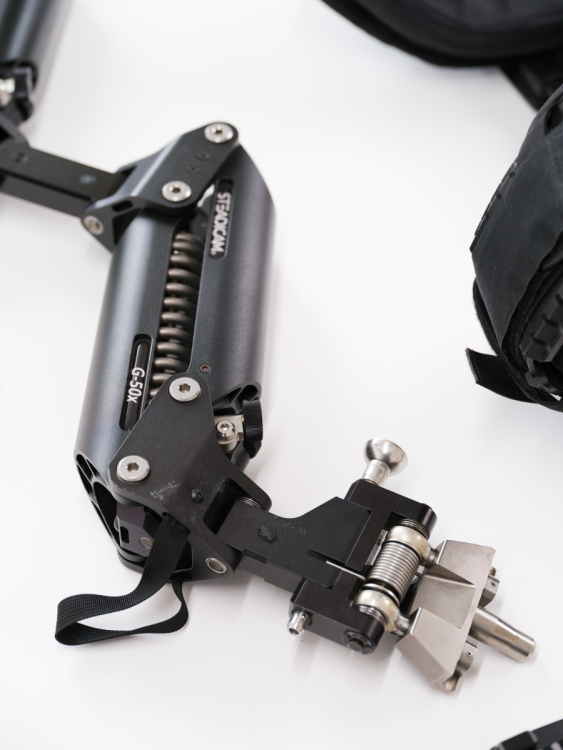
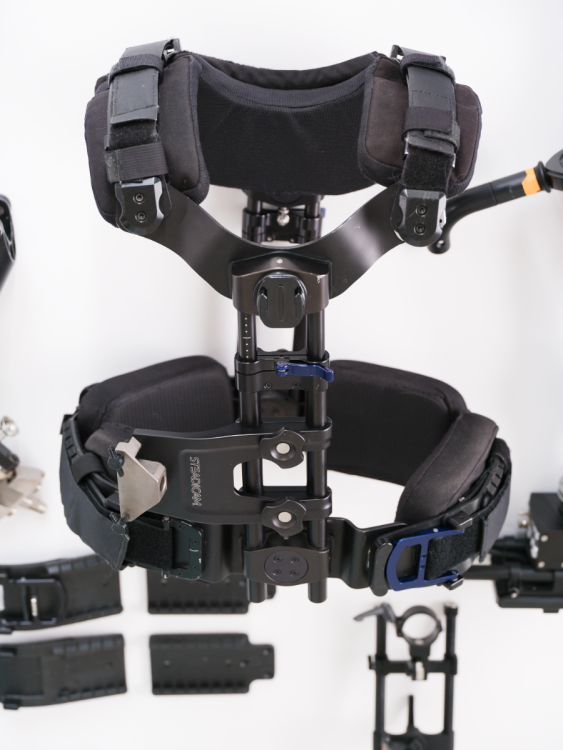
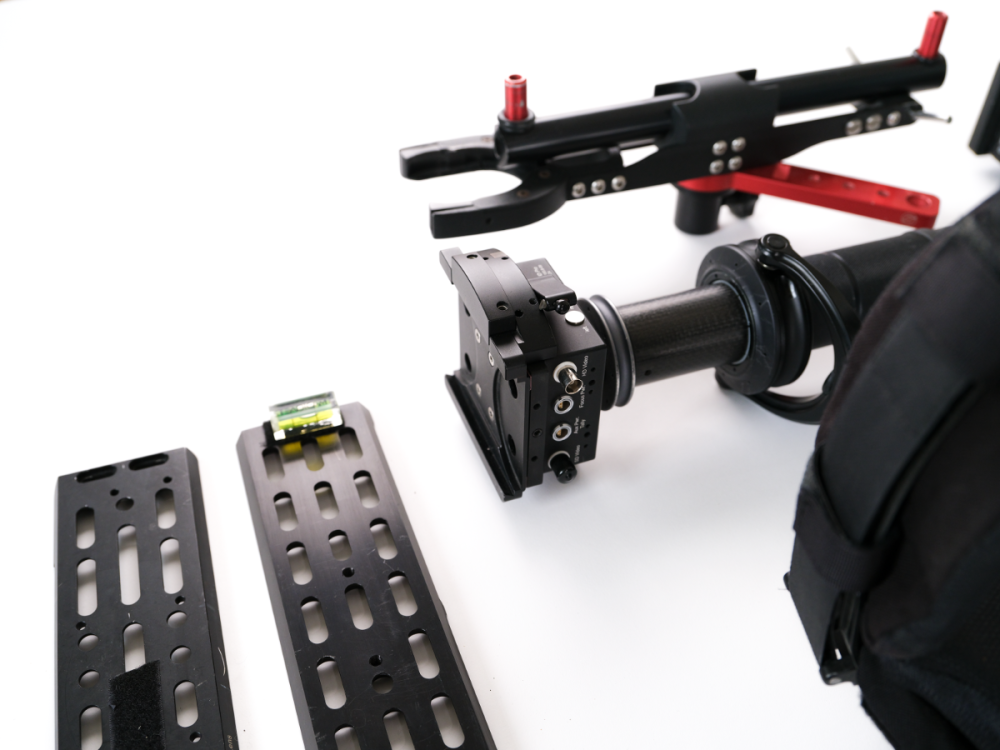
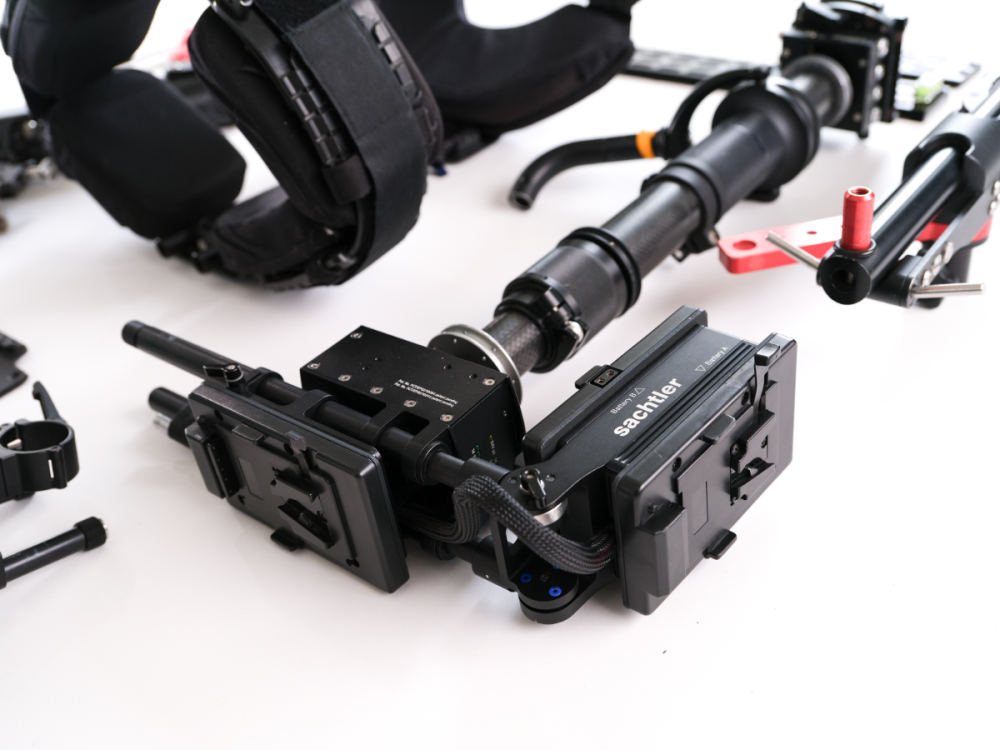
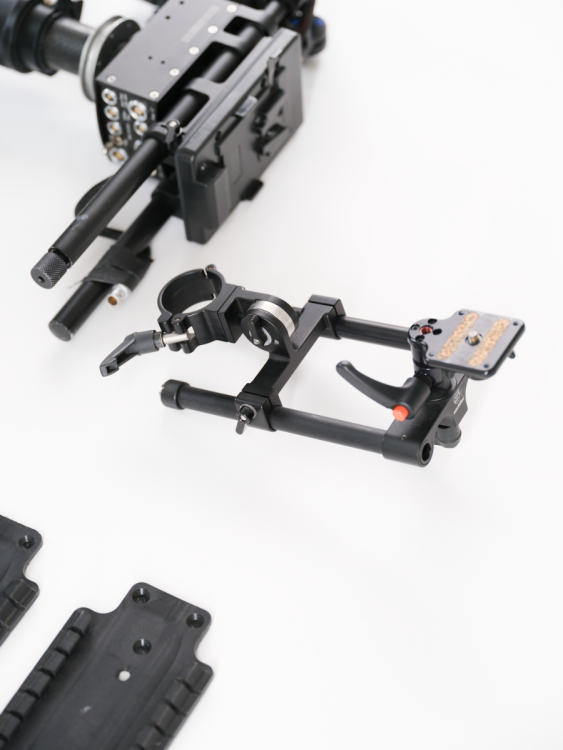
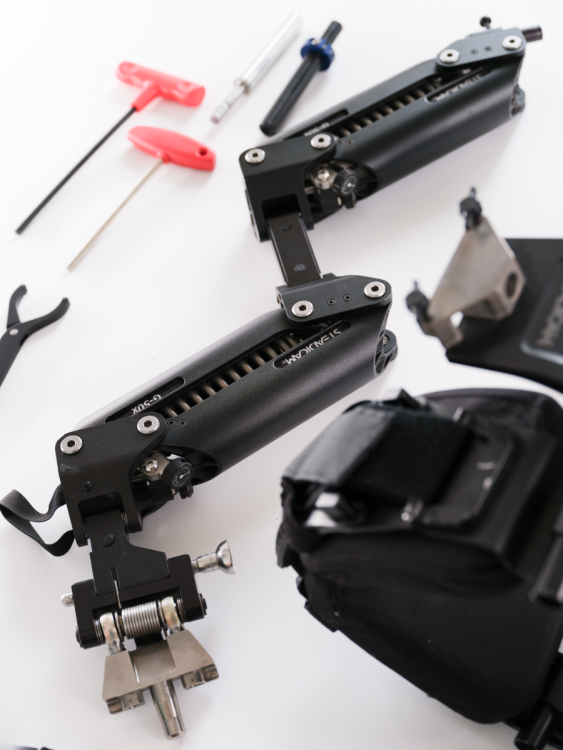
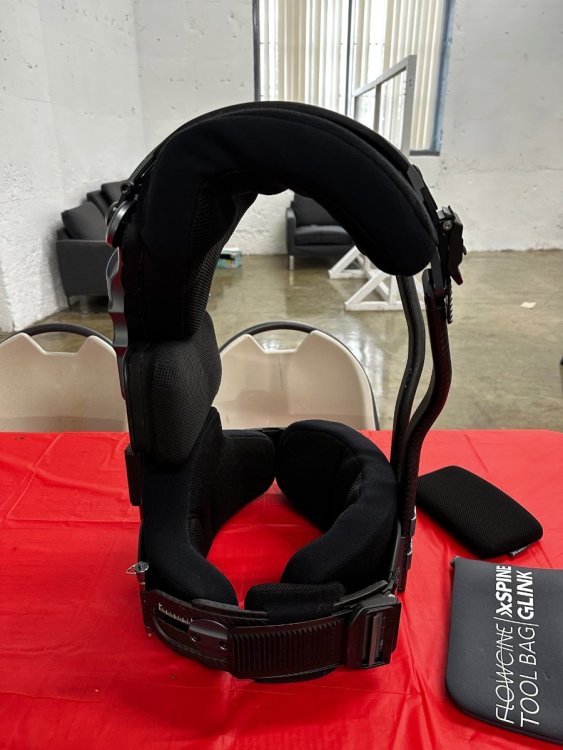
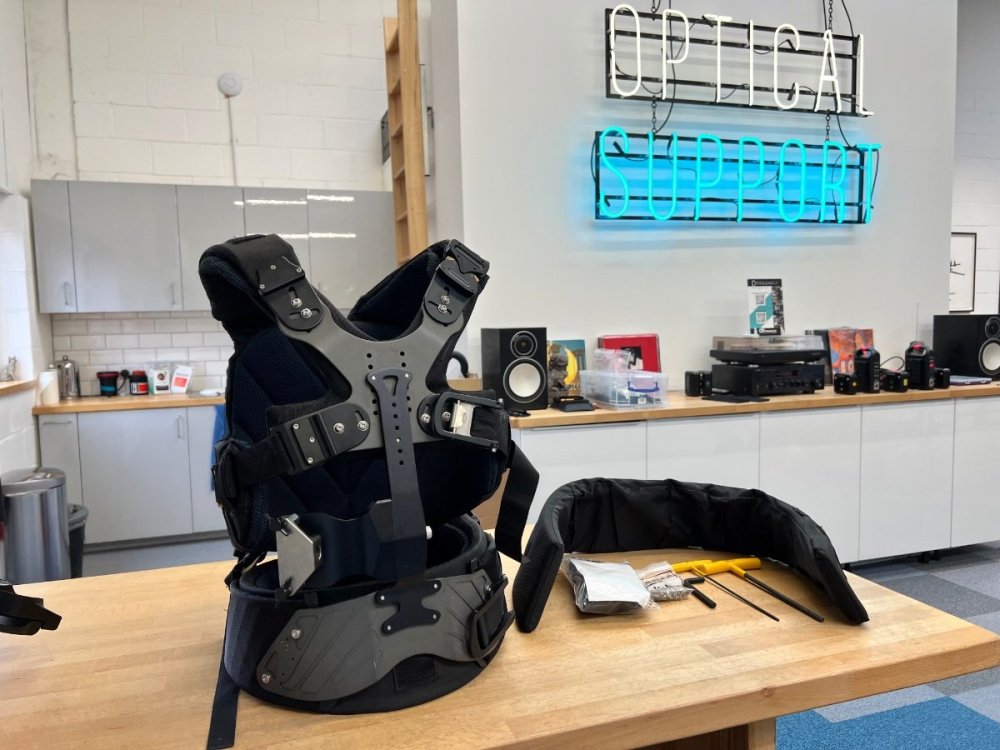
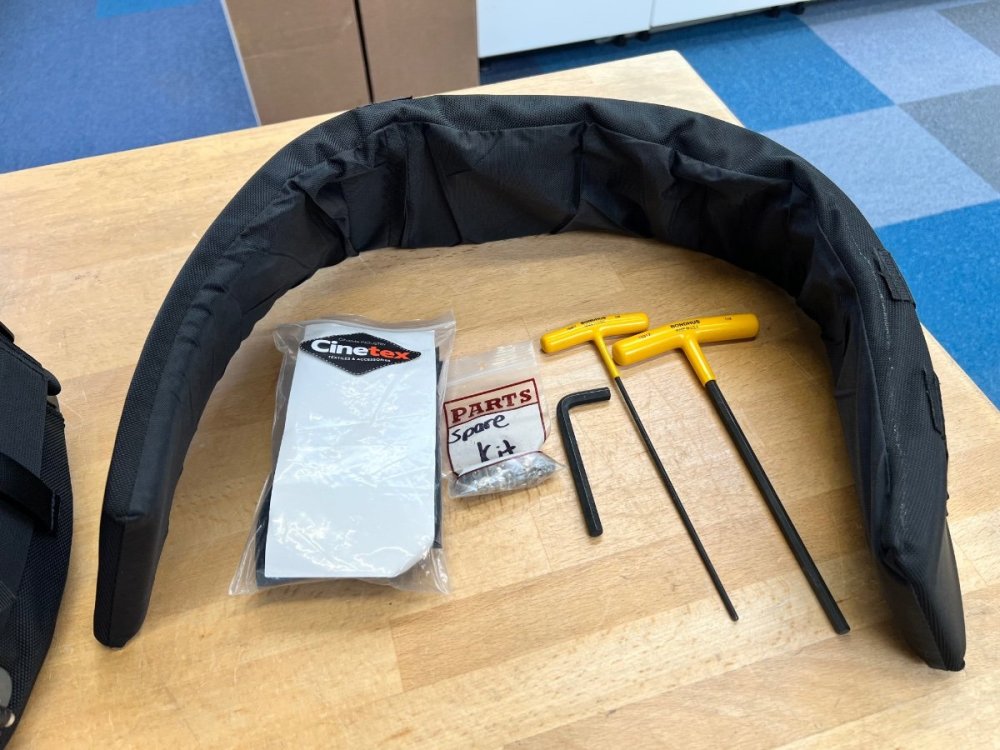
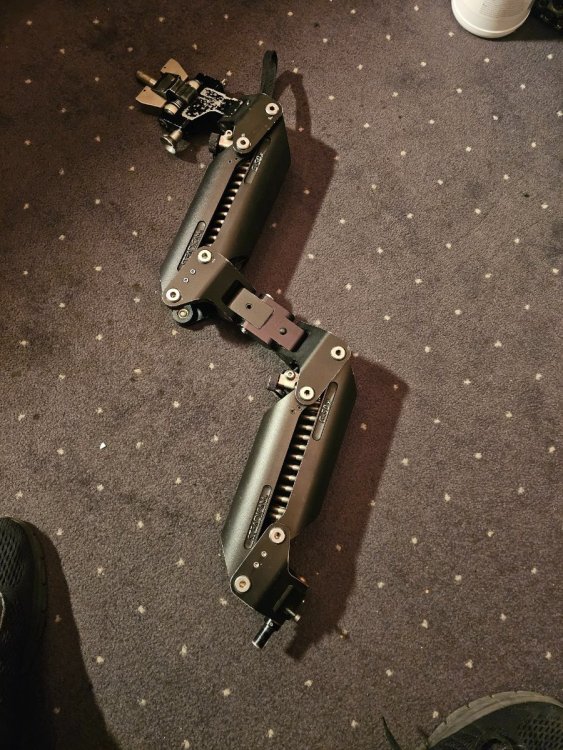
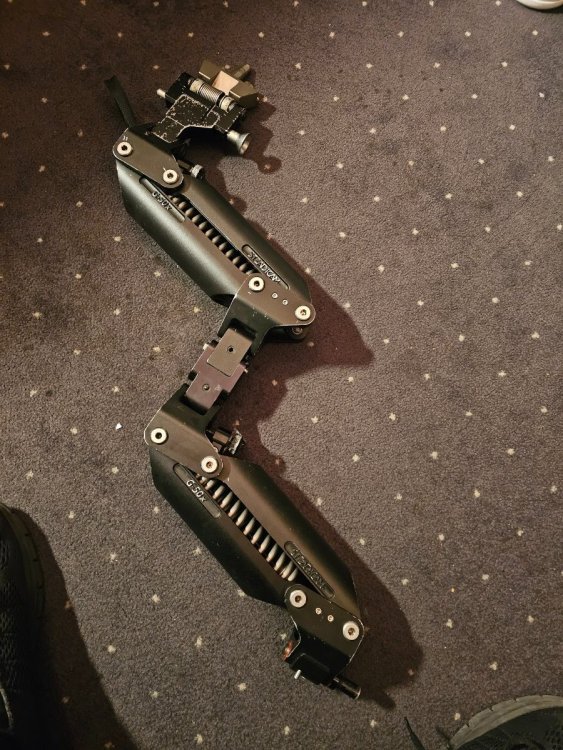
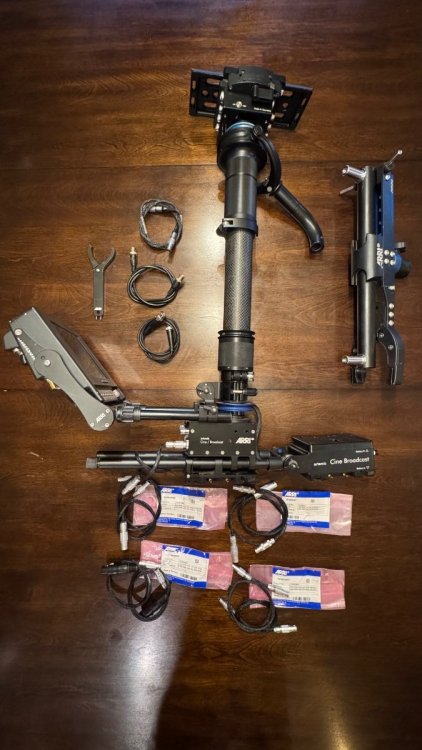
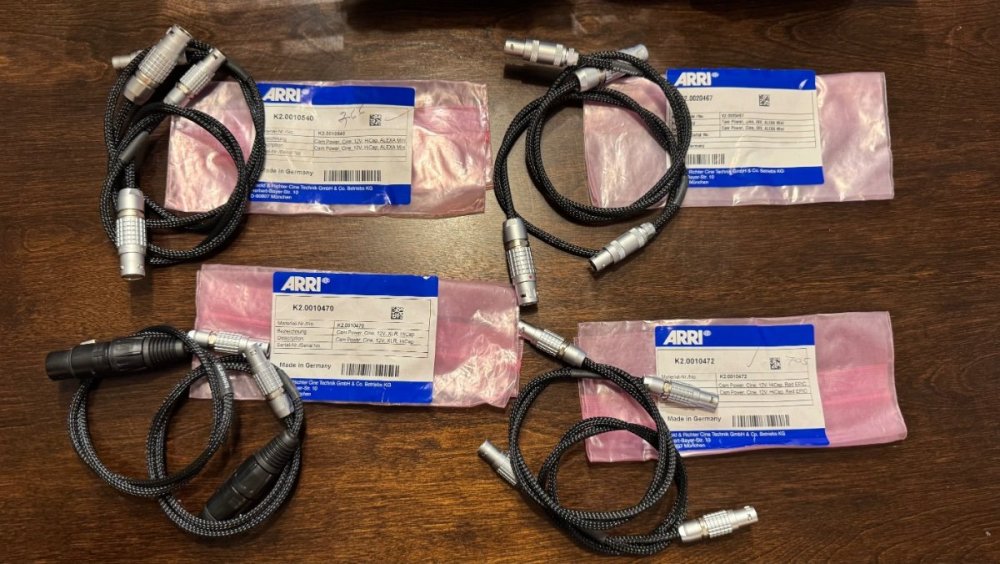
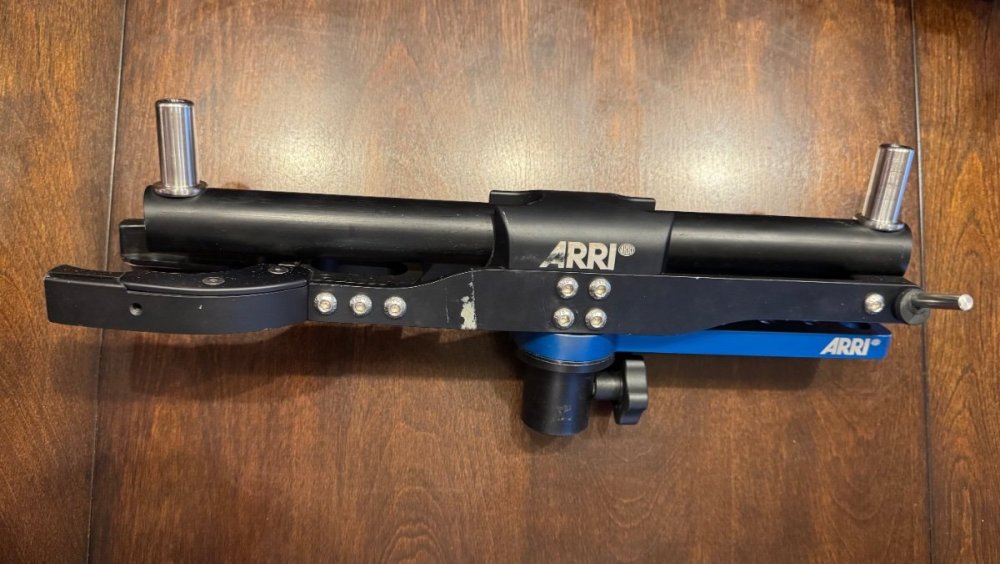
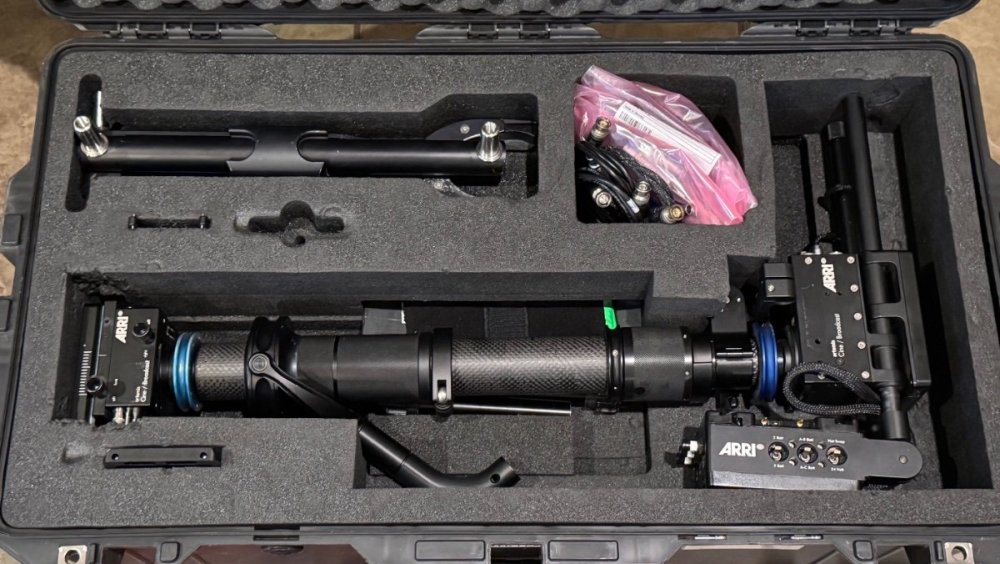
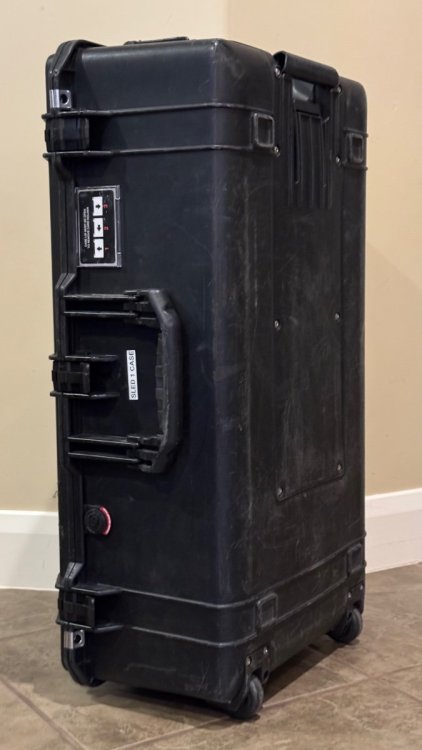
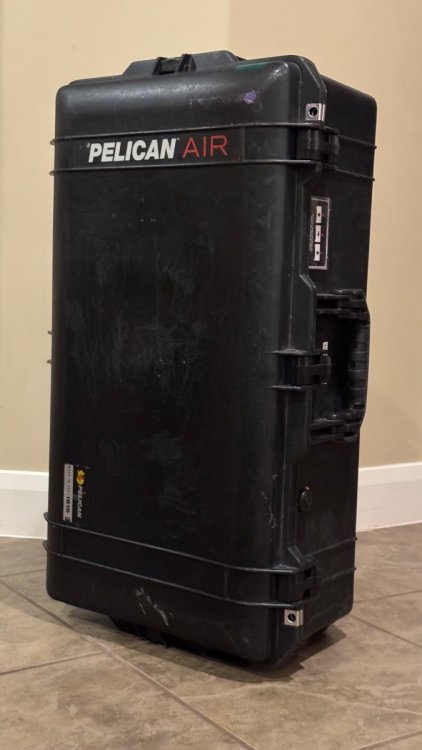
Hello Steadicam Operators, I’m parting with some incredible gear that has served me well over the years. The Steadicam G-50X Arm, ExoVest, and Sled are all in excellent condition, ready for a new owner who can put them to work on set. Over the past several years, I’ve transitioned more into a producer role, so I haven’t been in the camera department as much as I once was. Parting with this gear is bittersweet—it represents many great creative days on set. I know it will continue to serve someone very well. One notable selling point: the sled is the base for the Steadicam Trinity, and as confirmed by ARRI, it’s also upgradable to the 1.8 Volt post. The asking price for the complete package is $19,500 USD. If you’re looking for a high-quality rig that’s been well cared for, this is the one. Feel free to reach out with any questions or for more details! If you are interested, please reach out, and we can discuss the details further. Kind regards, Richard Included in the package: ARTEMIS 1.8" Cine HD Pro Sled (V-Mount, 12V/24V) G-50X Arm ExoVest Additional Accessories:Peter Abraham Zalex Longplate ACT 2 docking bracket 8" dovetail plate ExoVest Replacement Parts Telescopic Monitor bracket Custom milled G50X Pin to Mount Pro sled gimbal Cables: 12V XLR HiCap cam power cable (4pin Lemo 1S to 4pin XLR) 12V XLR power cable (3 pin Lemo OS - 4pin XLR) Cam Power / 24V ARRI 2pin Fischer cables Preston MDR Power 12V cables (6" and 2') RED EPIC Cam Power Cable (HiCap, 4pin Lemo 1S - 4pin Lemo) RED Cam Power Cable (HiCap, 4pin Lemo 1S -> 6pin Lemo B2) Cam Power cable (24V Panavision 3pin Lemo S) Case: Robust build, originally $8002 points
-
2 points
-
Hi Marc, same goes for vertical and lateral. Sorry for being not clear with my statement. What you can do to practice keeping the camera at a precise hight and on a precise path (straight line or arc) is a variation of the line dance. Instead of sticking a crosshair on a wall as a target you put it on a window or use a stand with a tennis ball on top of it. You need to see the back ground as well. Try to move in arcs or diagonal lines towards, away or around the target. Make the movement slow. Be close to the target as well. You will instantly see on what you have to work on. Hope this makes sense.2 points
-
2 points
-
I’ve been starting up a small maintenance shop in my workshop in New Jersey, doing maintenance and mods for quite a few operators. Obviously I can’t do warranty service, but for out of warranty repairs and maintenance and especially modifications, I’m happy to throw my hat in the ring if it makes sense geographically. If you’re on the west coast, I might check with the folks at Apex Cinema Gear, since I know they are working with Robert Luna who is an incredible resource for rig mechanicals (As well as both Justin and Stephen at Apex who do great work). There may be other resources (especially elsewhere in the world), and lead times may vary, but at least there are options!2 points
-
2 points
-
With today’s Lithium batteries you have you two basic cell types, Polymer and Ion. Both deliver the high current you need for the HD and film cameras we run. They both have similar performance and temperature curves. I have owned, tested and used Lithium packs for over 12 years and both cell types have just kept improving and work well. Extreme hot and cold you should be a bit more cautious. Engineers may say by the numbers that Ion cells can deliver a higher current at startup due to lower internal cell impendence, but with the current capability of both types of cells I find it’s indistinguishable between battery packs with the wattage we run and the amount of current batteries can provide. 90, 120, 160, 190, 235 watt hr battery pack being the most common standard sizes. Using a larger watt hr pack will extend the life of that battery pack under similar current loads since they deplete at the same rate. So if you are buying a 90 watt battery pack Vs. a 150 watt pack and putting an 8 amp constant load on it for example, the 90 watt pack will of course reach the end of its useful battery life sooner over the life of the battery Vs. 150 watt hr pack that may cost $40. more and weight additionally 4 ounces more but may give you 6 months longer run time over its battery life in addition to its initial longer run times. I have gone from three 90’s watt packs 10+ years ago, to two- 160’s 5 years ago, and to two 235watt packs today. Buy the way two 235 watt packs weight 1-2 ounces less than three A/B 90 watt hr packs with a total increase in capacity of about 74%. Additionally you will notice that some resellers are selling 14.4 Vs. 14.8 nominal voltage packs that allows them to give you a 10-15 watt higher output rating which is negligible (a numbers game) to steadicam, ONLY if you equipment can handle the higher voltage output of these packs. It only gives you an appearance of higher capacity which operators may think they are getting a longer run times, they are not. Because the camera will run below the batteries low voltage rating. Listed are some well known performance factors by battery manufactures but I feel sometimes misunderstood by the end user. 1) First both types of Lithium cells and will deplete at a very similar rate when used similarly. 2) Both cell types will lose performance and deplete over time whether or not they are used. 3) Both cell types will typically lose 20-30% of the current load capacity after 18-20 months or 100 cycles when high current loading a battery pack, slightly more cycles when not. High current loads are considered power draws that are greater than 60% of the battery wattage rating. Or just about every battery we use on a sled under 150 watts if you run two batteries and power the camera. 4) Different battery wattages have different thermal fuse ratings. Typically between 10.25- 15 amps. This is important as you draw down the battery voltage when using it and your battery ages. The lower the voltage output of the battery the high the current (Amp) draw it has on your battery pack. So as your battery ages it pulls more current (amperage) at lower voltages to run that camera, you will reach that thermal fuse limit sooner. 5) That most all reputable battery suppliers in our market are using reputable cell manufacturers of equal quality. So that name brand pack when opened up might have that same Samsung, Sanyo, Saft cell and you can expect similar performance. These companies are all completing for the same market. 2/3 of the packs I take apart from different resellers are using the exact same cell. And the price varies from each company. I have tested a few off brands and find they perform as well or better then the two major brands on the market. 6) We all have different tolerance to battery packs at the end of their useful life. I can only speak for myself here. When my batteries are only lasting 20 minutes before I have to change them it’s time for new batteries. Others may change sooner, some may allow even shorter runtimes. So battery end of life is very subjective. What is missing out of this equation of battery runtimes and performance (ability to deliver power) on a sled is the most important, least talked about and least understood subject. Power delivery though the sled. This is where two identical battery packs under the same current load using the same camera can have two different run times, power outputs and cycle life. This comes down to three things. Proper power wire gauging through your sled including power cables to camera. Connector sizes in your sled, and is there an active battery management system, or is it just you managing/monitoring the packs yourself. Wire : The length of the power wire run through the sled system is or should be an important consideration for all. Most who know me understand I could go into great detail on these points but ones needs only to visit a web page with a DC voltage loss calculator and input the few basic parameters to get the big picture on power loss over a give wire length. It will ask a few basics you, fill in the blanks. A) AC or DC current B) Nominal voltage- input the lowest voltage you run your batteries down to. 12.5, 13.0, 13.5 C) Wire length. Remember this is a loop. Voltage travels from battery to camera, back to battery. A standard XCS/Pro sled wire run would be around 10 feet for a god estimate of length. 3 and 4 stage posts add the additional length of the post stages, times 2 D) Wire type copper or tinned copper I would guess most are using with standard strand count. E) Wire gauge most makers are using 22 Awg wire and one or two in a multi conductor scenario running parallel. Using two 22 Awg wire doesn’t equal 19 Awg. In a perfect world in the lab with no current draw or minimal, not true in operation. One only needs to Ohm out each conductor to see that difference. These on line calculators will tell you the voltage loss in your system due to the wire gauge/length you have. I would say that on average you will see a 1.5 volt loss from top to bottom on many systems, but not all. So that may be 20% of your battery life gone due to poor wiring/connector standards when your sled is under load. Lastly battery management. This as well is critical to battery performance and cycle life. In all current sled designs except for one manufacturer, they combine two or three battery packs in parallel or series and sometimes both with no monitoring of the individual capability of each battery pack. I am not talking about reading battery voltages, rather an active battery capacity monitoring system. When battery packs are linked together in 12 or 24 Vdc mode they are only as good as the weakest battery pack or cell in any single pack or a wire that has a higher resistance, it all comes into play. There is far more intelligent full proof method. Using this old hard wired method which is still a standard way to handle batteries is why one should not run old and new battery packs together at the same time. You’re depleting the performance of the overall battery system and runtimes. Not even considering the increased resistance in the sled wiring due to heat buildup due to a weaker battery pack. If you what the best performance out of your packs and don’t have proper battery management electronics use packs of the same cycles or age, don’t mix one old with one new. I am not advocating any specific battery supplier just keep an open mind on what is available. Sorry for the long post. Heavily edited to keep it this short. GregWith today’s Lithium batteries you have you two basic cell types, Polymer and Ion. Both deliver the high current you need for the HD and film cameras we run. They both have similar performance and temperature curves. I have owned, tested and used Lithium packs for over 12 years and both cell types have just kept improving and work well. Extreme hot and cold you should be a bit more cautious. Engineers may say by the numbers that Ion cells can deliver a higher current at startup due to lower internal cell impendence, but with the current capability of both types of cells I find it’s indistinguishable between battery packs with the wattage we run and the amount of current batteries can provide. 90, 120, 160, 190, 235 watt hr battery pack being the most common standard sizes. Using a larger watt hr pack will extend the life of that battery pack under similar current loads since they deplete at the same rate. So if you are buying a 90 watt battery pack Vs. a 150 watt pack and putting an 8 amp constant load on it for example, the 90 watt pack will of course reach the end of its useful battery life sooner over the life of the battery Vs. 150 watt hr pack that may cost $40. more and weight additionally 4 ounces more but may give you 6 months longer run time over its battery life in addition to its initial longer run times. I have gone from three 90’s watt packs 10+ years ago, to two- 160’s 5 years ago, and to two 235watt packs today. Buy the way two 235 watt packs weight 1-2 ounces less than three A/B 90 watt hr packs with a total increase in capacity of about 74% Additionally you will notice that some resellers are selling 14.4 Vs. 14.8 nominal voltage packs that allows them to give you a 10-15 watt higher output rating which is negligible (a numbers game) to steadicam, ONLY if you equipment can handle the higher voltage output of these packs. It only gives you an appearance of higher capacity which operators may think they are getting a longer run times, they are not. Because the camera will run below the batteries low voltage rating. Listed are some well known performance factors by battery manufactures but I feel sometimes misunderstood by the end user. 1) First both types of Lithium cells and will deplete at a very similar rate when used similarly. 2) Both cell types will lose performance and deplete over time whether or not they are used. 3) Both cell types will typically lose 20-30% of the current load capacity after 18-20 months or 100 cycles when high current loading a battery pack, slightly more cycles when not. High current loads are considered power draws that are greater than 60% of the battery wattage rating. Or just about every battery we use on a sled under 150 watts if you run two batteries and power the camera. 4) Different battery wattages have different thermal fuse ratings. Typically between 10.25- 15 amps. This is important as you draw down the battery voltage when using it and your battery ages. The lower the voltage output of the battery the high the current (Amp) draw it has on your battery pack. So as your battery ages it pulls more current (amperage) at lower voltages to run that camera, you will reach that thermal fuse limit sooner. 5) That most all reputable battery suppliers in our market are using reputable cell manufacturers of equal quality. So that name brand pack when opened up might have that same Samsung, Sanyo, Saft cell and you can expect similar performance. These companies are all completing for the same market. 2/3 of the packs I take apart from different resellers are using the exact same cell. And the price varies from each company. I have tested a few off brands and find they perform as well or better then the two major brands on the market. 6) We all have different tolerance to battery packs at the end of their useful life. I can only speak for myself here. When my batteries are only lasting 20 minutes before I have to change them it’s time for new batteries. Others may change sooner, some may allow even shorter runtimes. So battery end of life is very subjective. What is missing out of this equation of battery runtimes and performance (ability to deliver power) on a sled is the most important, least talked about and least understood subject. Power delivery though the sled. This is where two identical battery packs under the same current load using the same camera can have two different run times, power outputs and cycle life. This comes down to three things. Proper power wire gauging through your sled including power cables to camera. Connector sizes in your sled, and is there an active battery management system, or is it just you managing/monitoring the packs yourself. Wire : The length of the power wire run through the sled system is or should be an important consideration for all. Most who know me understand I could go into great detail on these points but ones needs only to visit a web page with a DC voltage loss calculator and input the few basic parameters to get the big picture on power loss over a give wire length. It will ask a few basics you fill in the blanks. A) AC or DC current B) Nominal voltage- input the lowest voltage you run your batteries down to. 12.5, 13.0, 13.5 C) Wire length. Remember this is a loop. Voltage travels from battery to camera, back to battery. A standard XCS/Pro sled wire run would be around 10 feet for a god estimate of length. 3 and 4 stage posts add the additional length of the post stages, times 2 D) Wire type copper or tinned copper I would guess most are using with standard strand count. E) Wire gauge most makers are using 22 Awg wire and one or two in a multi conductor scenario running parallel. Using two 22 Awg wire doesn’t equal 19 Awg. In a perfect world in the lab with no current draw or minimal, not true in operation. One only needs to Ohm out each conductor to see that difference. These on line calculators will tell you the voltage loss in your system due to the wire gauge/length you have. I would say that on average you will see a 1.5 volt loss from top to bottom on many systems, but not all. So that may be 20% of your battery life gone due to poor wiring/connector standards when your sled is under load. Lastly battery management. This as well is critical to battery performance and cycle life. In all current sled designs except for one manufacturer, they combine two or three battery packs in parallel or series and sometimes both with no monitoring of the individual capability of each battery pack. I am not talking about reading battery voltages, rather an active battery capacity monitoring system. When battery packs are linked together in 12 or 24 Vdc mode they are only as good as the weakest battery pack or cell in any single pack or a wire that has a higher resistance, it all comes into play. There is far more intelligent full proof method. Using this old hard wired method which is still a standard way to handle batteries is why one should not run old and new battery packs together at the same time. You’re depleting the performance of the overall battery system and runtimes. Not even considering the increased resistance in the sled wiring due to heat buildup due to a weaker battery pack. If you what the best performance out of your packs and don’t have proper battery management electronics use packs of the same cycles or age, don’t mix one old with one new. I am not advocating any specific battery supplier just keep an open mind on what is available. Sorry for the long post. Heavily edited to keep it this short. Greg2 points
-
Anyone else bought one of these yet? I have seen them being tested. I have yet to receive mine. It has been 3 months since I paid in full! It was supposed to be delivered within 28 days. What’s the story? Anyone else in the same boat? Dean told me earlier this year they were ready to ship, but now I am told still in beta! Out $8k and still getting the runaround.1 point
-
1 point
-
I think the logical conclusion why you got a timely reply and Taj is getting the runaround is sadly simple. They already have his money. They don't have your money YET. So they are being prompt and informative. I really hope they do deliver Taj's unit on monday like they have promised. All of those who are tempted by thier new product but dissuaded by thier horrendous historic customer service are watching. I am very interested in the level but the MKV reputation is holding me back until they have shipped many units and have many happy customers and the finished device proves reliable.1 point
-
Progress! if anyone needs to connect with MK-V please contact Nikita for sure!!! lots of great new products coming out of MK-V and he is the direct contact for them and any customer needs my level will hopefully be sent out this Monday1 point
-
Hi Marc, by vertical inconsistencies you mean headroom, correct? A couple things to try, you can re-trim your fore and aft adjustment to set the headroom you need for the shot to avoid having to do any unwanted tilting or booming of the rig. Try to keep a consistent pace and distance if you are leading or following a subject. Detuning the arm will make it less "springy"which will help, but will in turn require you having to work a little more to hold the lens height. Soften your steps as much as possible. There are a number of great posts in the forum about moving very slowly with the rig. Antlers when setup properly can help with tilt inertia giving you a bit more control, but as Benjamin said, practice is going to be your best friend over time.1 point
-
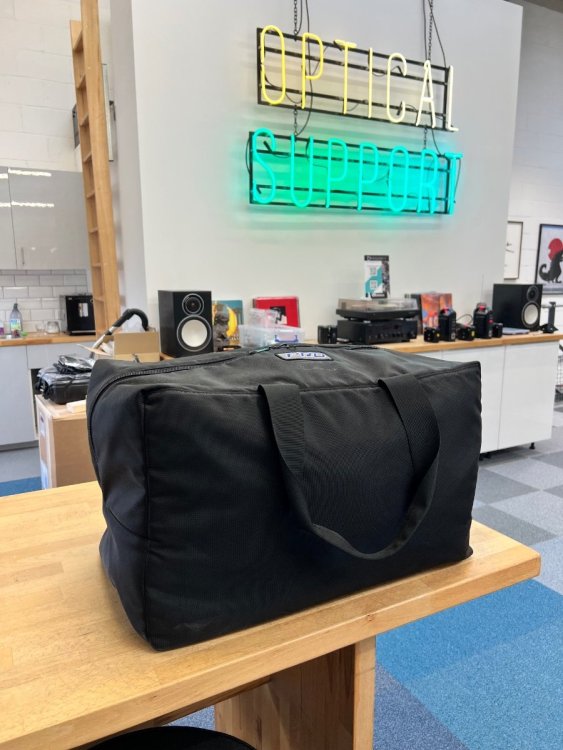
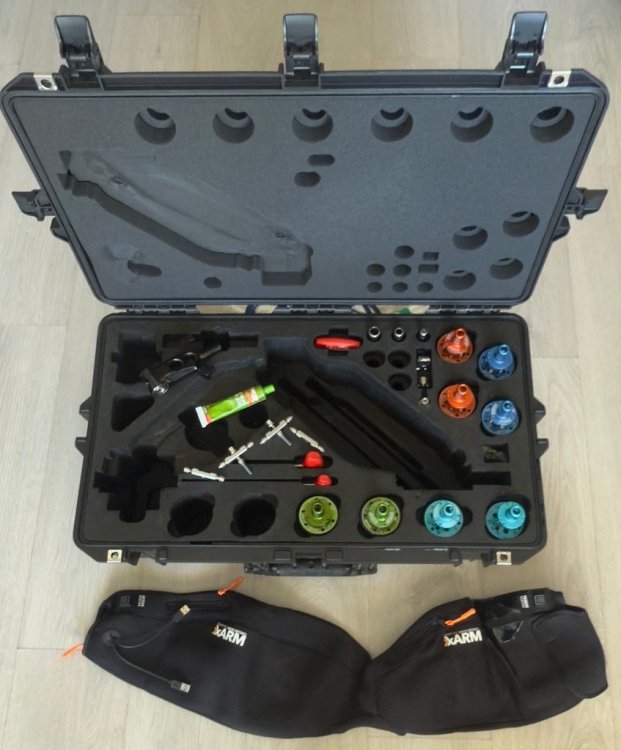
Don't think "the" system. Have a big rolling Pelican, holding vest, arm, docking bracket and sled w/monitor and ONE battery, plus the cables that you will need -- essentially the complete basic rig, ready to grab and go. Have another with batteries, charger, your gotta-have tools and other stuff you'll probably need. A third for camera, ONE battery, mics w/ONE set of batteries, also as a grab and go. The idea is to be able to move in a hurry if you need to, and be able to set up and operate right away with what you NEED, having the rest of the stuff in a case that you can ignore until later. Then have smaller cases for the various components as smaller items, when you need to break things down. NUMBER them. Move stuff to the appropriate cases, as needed.1 point
-
1 point
-
Hi Nicolas, Tiffen used the back-mount capability of the Exovest for the 3rd arm section. It made sense to connect that 3rd section to the back to keep it out of the way. We tried various back-mounting options for 2 section arms, but consensus was that there was no benefit to back mounting. The extra weight out back helps counterbalance the weight of the Steadicam out front, so you don't feel 'those' muscles as much, but the result is that you're carrying more weight through your joints. I prefer to build back muscles rather than increase load on those joints. The weight of the Steadicam is where it is, out front. Connecting that load to the rear of the vest, doesn't change that. It just makes you heavier and wider. Now, some top operators prefer it, so their experience is different; but personally, I don't see the benefit of back mounting a 2-section arm. Maybe that's why you don't see many Exovest back-mounting options these days. Hope this helps! Chris1 point
-
1 point
-
1 point
-
While it is definitely possible to remove the Archer 2 stage (Tiffen is able to put Volt gimbals on it, after all!) it is not absolutely necessary to remove the gimbal from the post to clean the pan bearing. You can in fact remove the top cap of the gimbal and remove the pan bearing housing off of the gimbal grip, then wrap the top and bottom stages of the post in plastic trash bags and paper towels and spray out the bearing without having to remove anything. It will require a considerable amount more work since you’re working around the gimbal grip, and you will have to use more cleaner since you’re not going to be as readily able to spin the bearing, but it can absolutely be done. I did this procedure to fix a sticky pan bearing on Larry McConkey’s Ultra2 sled as well, which we didn’t want to fully disassemble.1 point
-
1 point
-
1 point
-
1 point
-
$15K - fully upgraded 12/24 V Artemis EFP 1.5. HD-SDI with the Volt M2 upgrade, installed by Tiffen, excluding shipping and insurance. The package includes Arri, Sony, Red Power Cables, and a quick release plate. Located in Fort Lauderdale. Thank you! IMG_1073 2.HEIC IMG_1845 2.HEIC IMG_5251 2.HEIC IMG_5263 2.HEIC1 point
-
1 point
-
Vest sold Sled: 6.000€ (OBO) Arm: 2.800€ (OBO) Both: 8.000€ (OBO)1 point
-
Fully working original g50x (not upgraded g50),springs in perfect condition, lift and ride spins smooth. Was long time started, need maybe some cleaning and fiew parts relubed, but can use,only visually has marks but has no mechanical defects It's was my spare arm. Free shipping worldwide ONLY 3900eur1 point
-
1 point
-
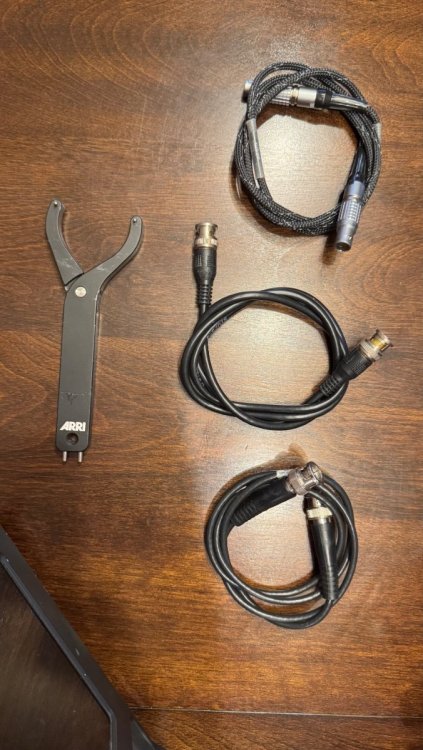
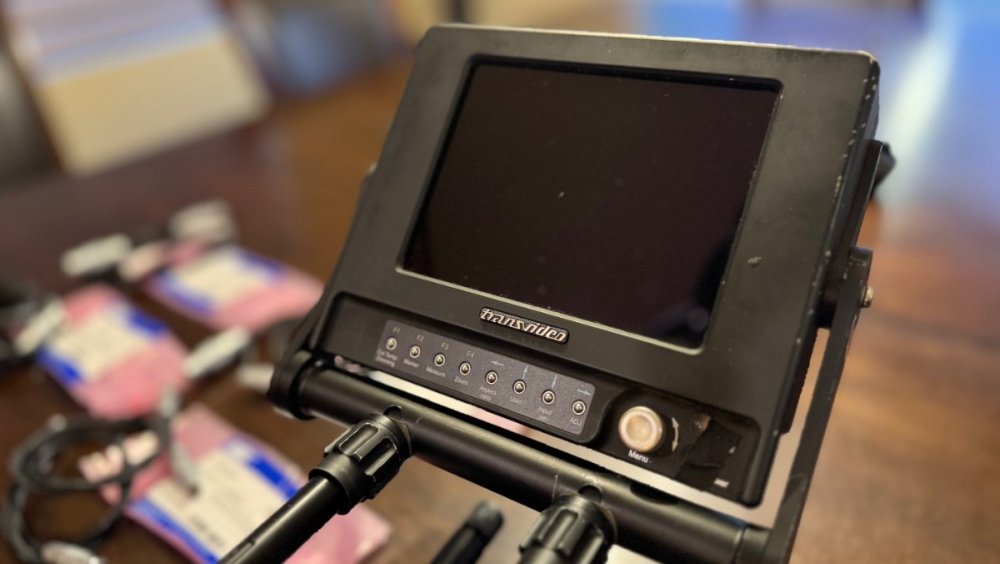
Hello everyone! I hope you are enjoying your holidays. The SOA is selling its trusted ARRI A1 sled; former workshop and demo rig that has been well cared for and lightly used. Artemis 1, 2"post Trinity ready Included cables: 2x 12v Alexa Mini 2x 24v Alexa Mini 2x 12v 4-pin XLR 2x 12V Red (All cables are brand new) Transvideo Cinemonitor HD 6" with power cable to sled Docking bracket Dovetail stage plate Gimbal tool Pelican Air custom cut case Asking $19000 We will also send the sled to ARRI for factory inspection + any maintenance for sign-off prior to final delivery. Feel free to also email me at rey@steadicam-ops.com for any detailed questions.1 point
-
The LAST thing that I would do would be to spend $5000+ on a Zephyr as a first rig. You can get a Pilot under $750, work with it for a couple of weeks of playtime and develop the feel -- or you may decide that it's just not what you want to do. It's not for everybody, and whether you stay with flying and move up to a higher level rig, or push it aside, it will be a lot easier to sell a cheap rig than something that cost you thousands of dollars. Everything that I got came from someone who thought they wanted to fly, then gave up on the idea. A Pilot (now called the A-15) will fly 10 lbs, the Flyer 15 lbs and a Flyer LE 19 lbs. This should handle your camera and lens. My Pilot was flying a Sony EX1R, V-mount battery, Sennheiser receiver, shotgun mic with dead cat AND was doing all of this on a Sony tripod plate (I like to be able to jump back and forth between sticks and rig). This worked fine for me, except that I wanted a better vest. While looking for a vest, found a great deal on an early Flyer rig -- from, as I said, someone who had thought they wanted to get into it, then gave it up. You may discover that a prosumer or entry-level rig is actually all that you need. We're not talking Fisher-Price, few who aren't Steadicam operators could tell a Pilot from a top of the line rig costing more than some cars. The lower-level rigs work JUST LIKE any full-manual rig. So, you buy the cheap one and work it while you save your pennies to move up PAST the Zephyr into the higher levels with power steering, turn signals, AM/FM stereo and fuzzy dice . . .if you decide to. Consider the Merlin to be the "consumer" grade -- perfect for DSLR or phone -- adding the Merlin vest and arm set is entry level to actual Steadicam work (thus high-end consumer grade). If you then find a good deal on a Pilot sled, you can buy the correct pin to replace the Merlin pin, and thus have a Pilot (moving up to "prosumer" level). I knew one event shooter who ran the Pilot for years and never moved up. The Flyer is basic pro level, Flyer LE is a half-step up, then another half-step gets you up to the Zephyr, at several times the street price of the Flyer. Whatever you do, I would AVOID any of the knock-offs. First of, original Steadicam quality is as good as it gets, without any issues. The other part is, as I mentioned, that your clients KNOW the name "Steadicam" -- giving you instant respect. You pull out some Chinese, tofu-dregs thing and they will wonder why they didn't just spend $150 on ebay and do the shooting themselves . . .it's like they hired a specialized-load heavy hauler, but you show up with a pickup truck. You hand over a card saying "Steadicam Operator" and you're using a rig with that name on it, they figure that you're the EXPERT. All that counts now is what you give them after the shoot . . .and that takes practice.1 point
-
I'm near Reno, but shot events around General Conference in October and get over that way now and then. I started with a Merlin2, then added vest and arm, then took it up to a Pilot, and now have moved up to a Flyer. Definitely low-level, low-budget, flying an EX1R. Having fun doing it. Goofy Foot. Dunno if there is anything that I could tell you, except watch the (ancient) Operating Tutorial video a couple of times. Even better if you have a rig to play with while you watch. If you don't have a rig, start cheap, just with a regular camcorder. Early on, spend a day flying Goofy Foot, especially if it feels like you're doing things with the wrong hands. Those of us who fly Goofy Foot don't do it to be special, we do it because it feels more natural. It doesn't take long to get comfortable flying, and sooner than you expect, you will you stop thinking about the mechanics, and discover that the camera is reading your mind . . .you want a shot, and you have it. Remember, the objective IS the objective. The billions of dollars worth of studios, sticks, Steadicam, remote vans, location setups, C-stands to gaff tape to batteries to sets to helicopters to costumes to props, PAs, ADs, Craft Service, ALL OF IT is there for one purpose, to put the objective lens in the right place, pointed the right way, at the right time to see the right thing. Steadicam is a whole new way to do that, a new process, and one which gives a level of freedom that nothing else will, but it takes practice. Get a rig, play with it, even before the workshop, if you can. The workshop will take you from basic to expert -- maybe even master. From what I've been told, you get a year's worth of skills in the first couple of days, then build on that like learning a new language. If I could justify the expense, I'd be right there beside you.1 point
-
1 point
-
1 point
-
Heden motor M21VE-L 0.4, 0.5, 0.6, 0.8 motor gears Preston 4412 motor cable, right/straight connectors Asking $1,800.001 point
-
1 point
-
$650, includes both sets and all cables. D-tap, Tiffen Master series, and GPI Pro power cables included.1 point
-
As manufacturer of Vest lite from which they took deep inspiration, I cannot comment. Just judge by yourself : https://www.smartsystem.com/product/vest-lite/1 point
-
1 point
-
1 point
-
1 point
-
Hi Max Rever has been on the market for many years, and Luciano -the owner- is very active with all his clients, asking questions into the forum or being attentive to any after-sales service, which is always a great sign. I tried out his new post and the new Rever band arm (The arm is really smooth and strong to lift any heavy camera setup), All I can tell you are positive things. Just my 2 cent Gus1 point
-
Also interested in the monitor! its tough seeing the smallhd 703 on sale for $2200 right now. Not sure which monitor to get.1 point
-
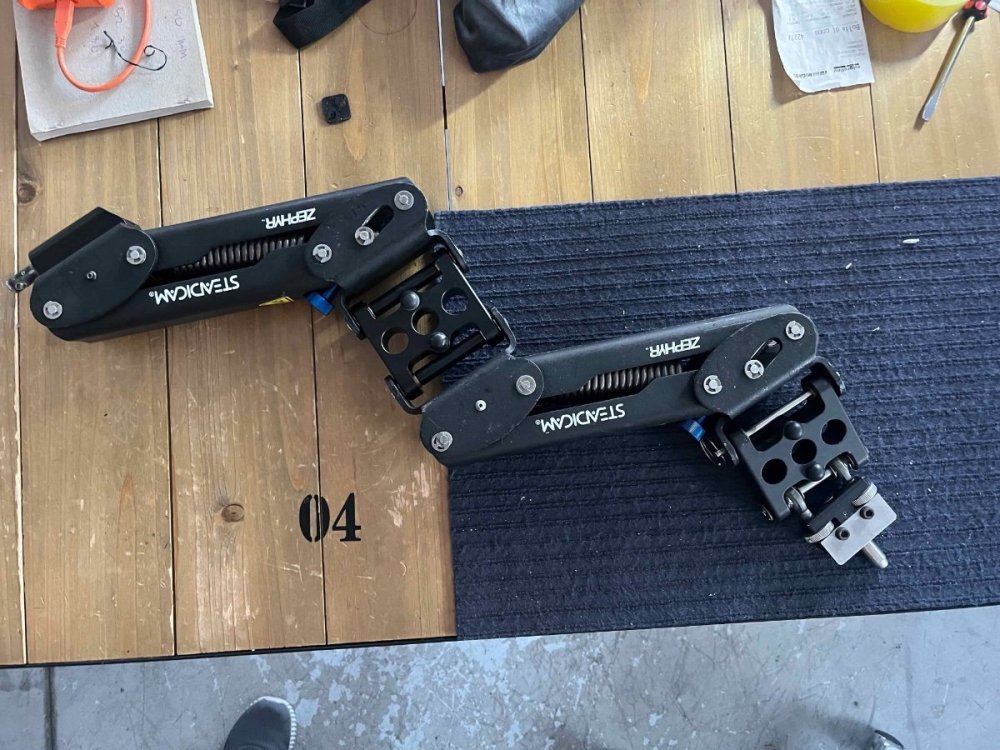
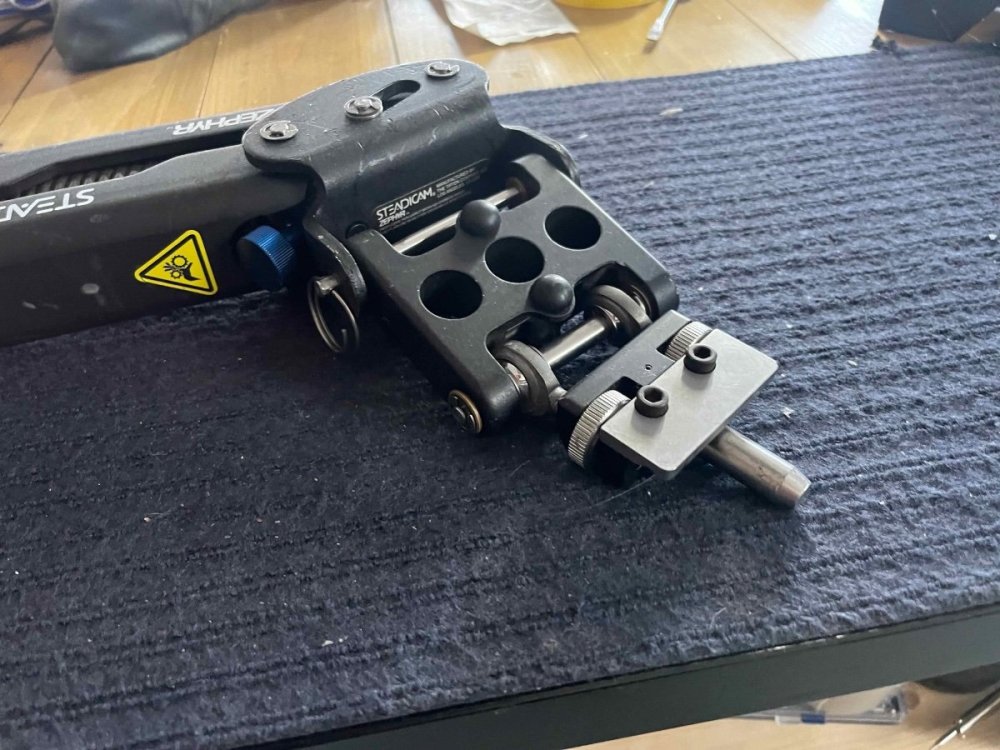
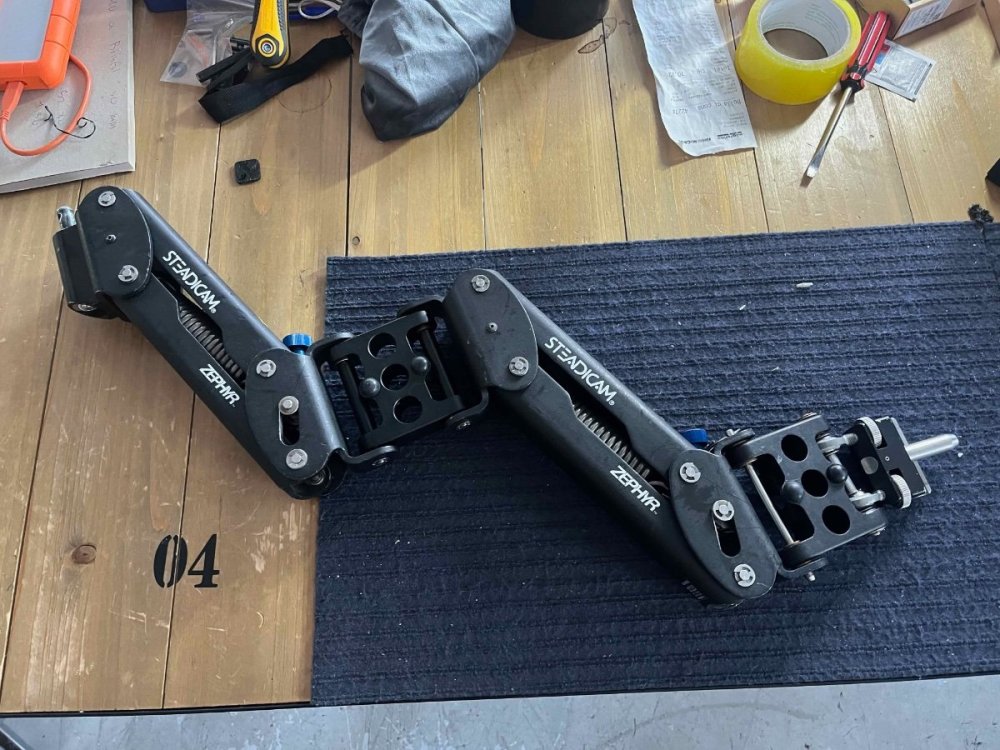
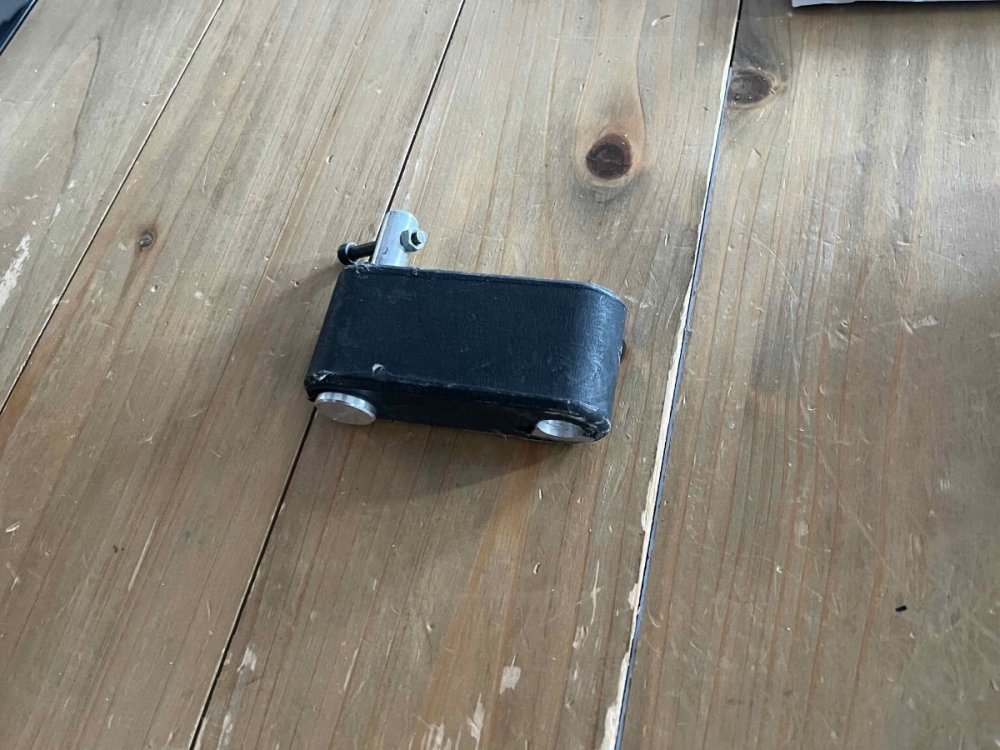
I have a 3d printed solution to this problem....1 point
-
A 10 minute reel of shots I made with and without the Volt for Hulu’s “Dollface”. Most of the video is accompanied by descriptions of how I tune my Volt for different shots, along with why. This tool has fundamentally made my days at work better, allowing me to make bolder choices, with more precise results!1 point
-
Hi Tom I'm Andrea, CEO and Senior Engineer inside SmartSystem. As technicians, we are always happy to receive feedback. Especially, the negative ones push us to find better and "smarter" solutions... always. As you know, the world is a perfectible place. For this reason, can I kindly ask to you if tested our system and where? Maybe we met somewhere in some exhibition? What you found wrong or bad and what could be considered good? Sincerely Andrea1 point
-
Hi Guys, saw this on youtube.... The steadicam operator name is "Low Wai Kung" can't find the full behind the scene stuff.... but it is really slow one take shoot... good stuff.... check it out...1 point
-
Before working on films that are supported by a whole truck full of grip equipment and very experienced grips (that was a long time ago), I used to carry a 4' square of 3/4" plywood and a lost of sandbags, or cement bags, or whatever I had available. Any of the popular hardmounts could generally be attached to the plywood base with a small supply of bolts and nuts, along with ratchet straps, ropes and any other bits I could assemble (like caribiniers, climbing harnesses, C clamps, etc.). The simplest hardmount probably is based upon speed rail and a small collection of various fittings and pipes could be very useful as well. Larry1 point

