Tom Wills
-
Posts
472 -
Joined
-
Last visited
-
Days Won
55
Everything posted by Tom Wills
-
There are some important caveats to the compatibility of PRO plates in an M1 Stage, however. Namely, the M1 stage is taller than many PRO plates. If you are using a standard PRO or similarly designed plate, which is about .270" (just over 1/4" or 6mm) thick, the locking mechanism of the stage may be taller than the plate, and if you have a wide camera body or other wide items, they may interfere with the stage locking mechanism and not work. Tiffen's plates that come with the M1 are just under 1/2" thick, which is more than is needed, but shows that very thin plates may not clear. I believe the XCS plates will fit as they are so much taller, but as I haven't used one on my M1, I cannot say for certain.
-
A couple of quick corrections/notes: Tiffen "Large" size is actually a shade under 3/4", at around .740" And all of these sizes are nominal - a 5/8" (.625") shaft will likely not fit well, if it fits at all, into a PRO gimbal, because there does need to be some tolerance for the arm post to fit easily into the gimbal handle. I believe the Tiffen sizes tend to be on-size (or a thousandth or two smaller) for the arm posts, and have the few thousandths of tolerance in the gimbal handle, but all of my PRO arm posts are undersized (about .623" from PRO, down to about .621" for some others I've collected). Hope that helps!
-
Preston MDR-2, Cables, and more (Huge Package)
Tom Wills replied to Tom Wills's topic in Steadicam Marketplace - For Sale
Sold! -
Sold!
-
Preston Microforce V+F Controller with HU Cables
Tom Wills replied to Tom Wills's topic in Steadicam Marketplace - For Sale
Open to offers on this. Send offers to willsvideo@gmail.com. Thanks! -
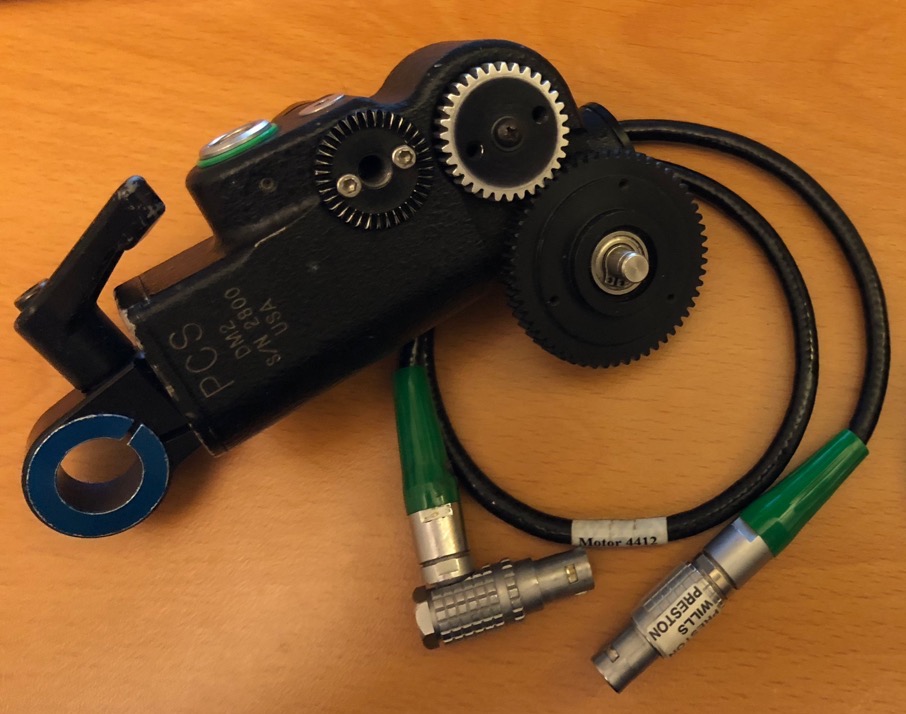
Preston DM-2 motor with Hill Bracket (19mm), 15mm Bushing, and 1 Cable. $1800 OBO. Email me if you're interested. willsvideo@gmail.com
-
Preston MDR-2, Cables, and more (Huge Package)
Tom Wills replied to Tom Wills's topic in Steadicam Marketplace - For Sale
Price Drop, as I'm back from a job and want to move this soon. $2000 for the MDR and all cables. -
Tiffen M-1 Volt Docking Bracket
Tom Wills replied to Tom Wills's topic in Steadicam Marketplace - For Sale
Sold! -
If you own an M1 Volt and would like a second padded docking bracket, I'm selling mine. I use a different system, so this is absolutely unused and brand new. Asking $500. Email me if you're interested. willsvideo@gmail.com
-
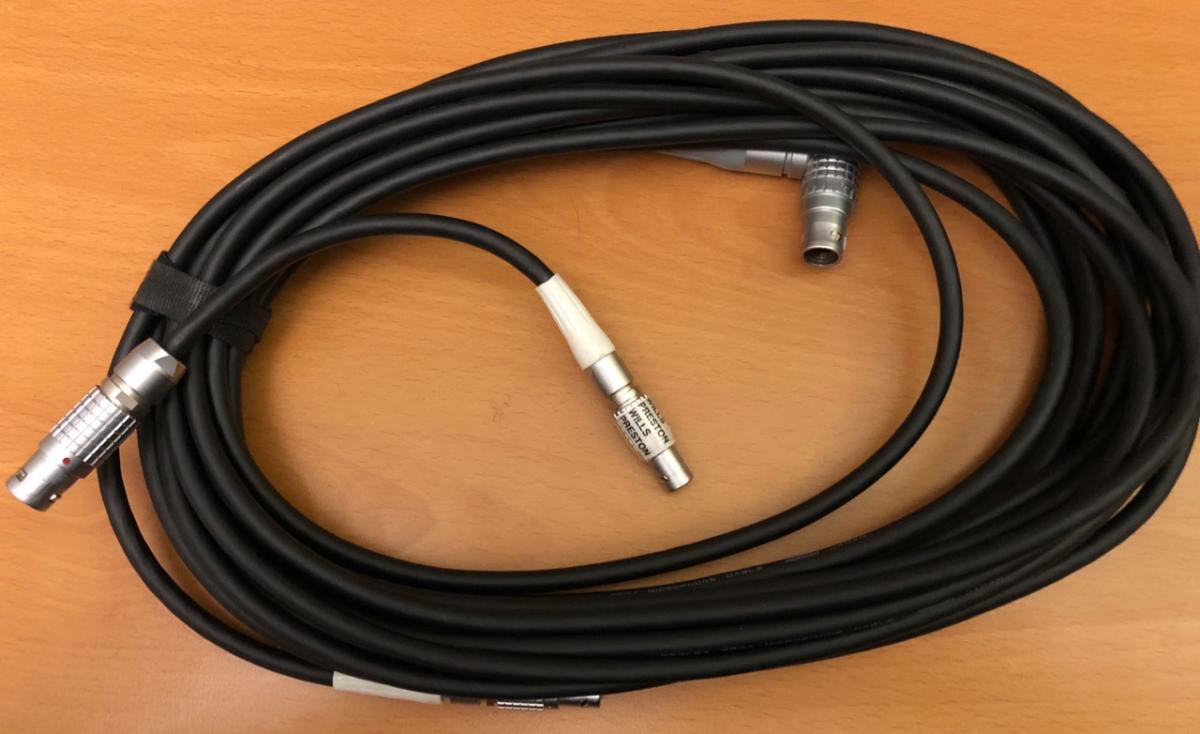
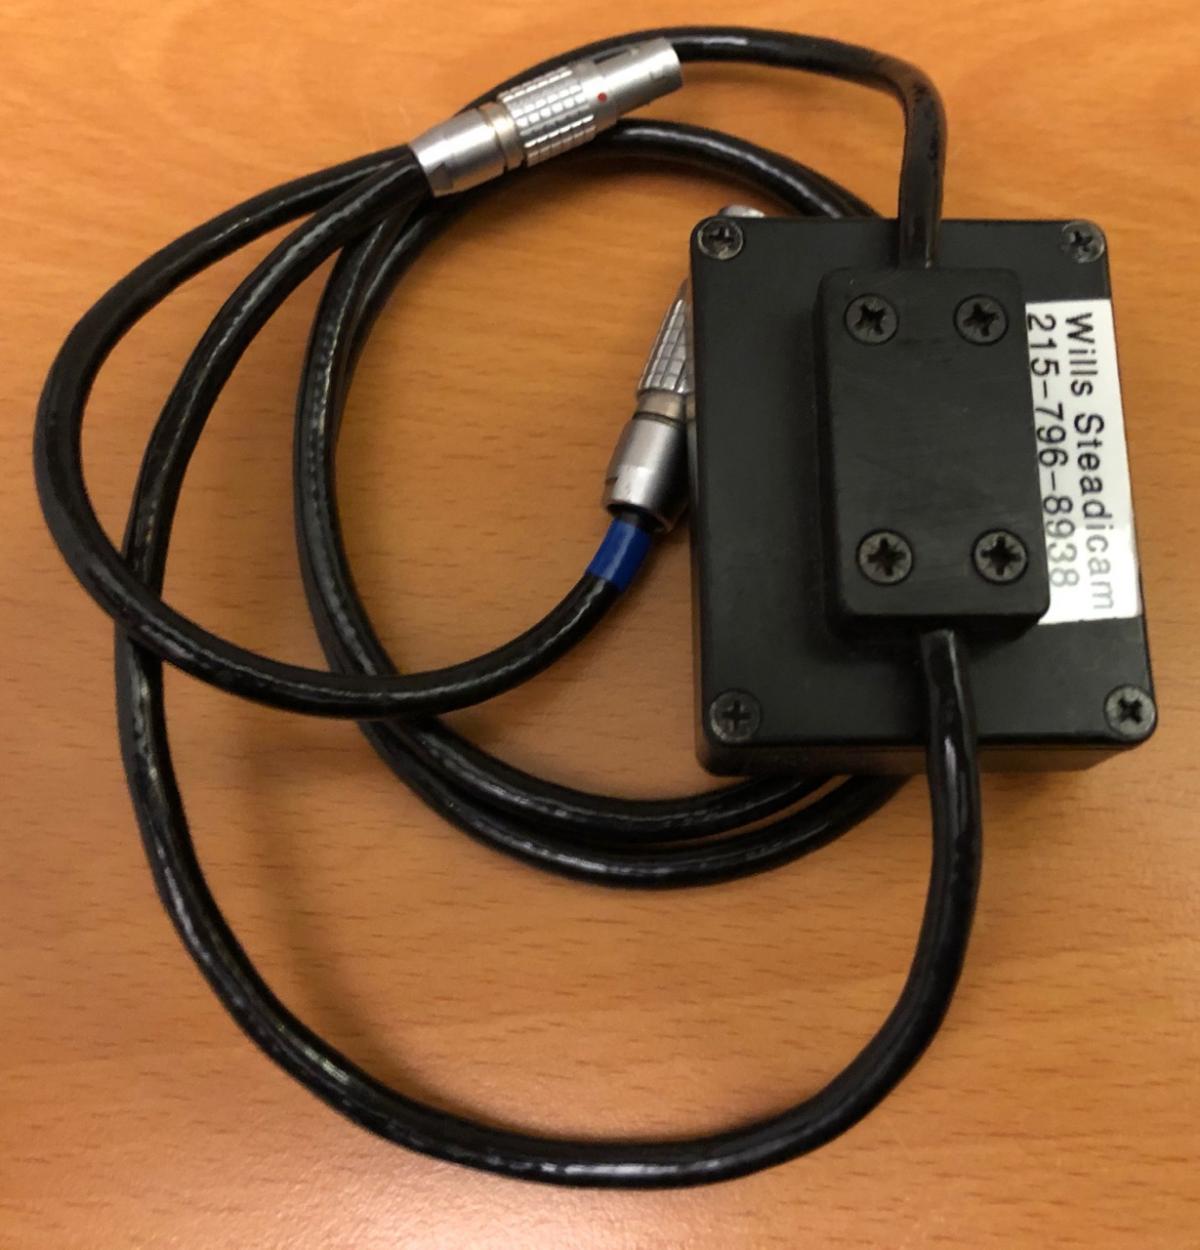
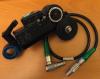
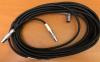
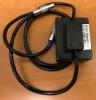
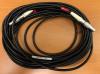
This is an analog MicroForce zoom control from Preston. It’s had a new knob installed a few years ago, and got a clean bill of health from Preston at that point. I’ve used it a few times over the years, but there’s now an identical one from the rental house in my show’s camera package, so this has just sat in the case. Includes 2 MicroForce to Hand Unit cables - one short, one 30’ (perfect for letting the DP run zoom off of a monitor without disturbing the 1st AC). Asking $750. Email me if you’re interested. willsvideo@gmail.com
-
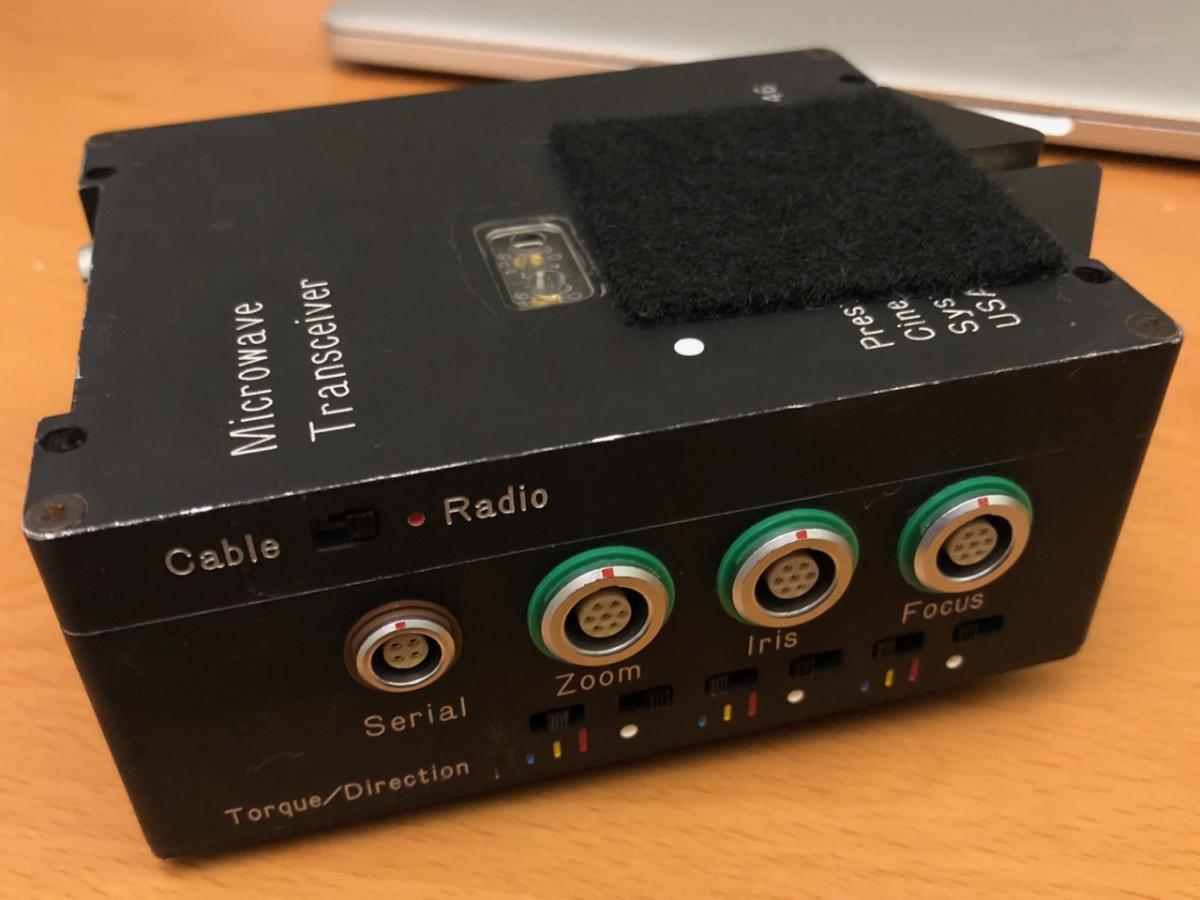
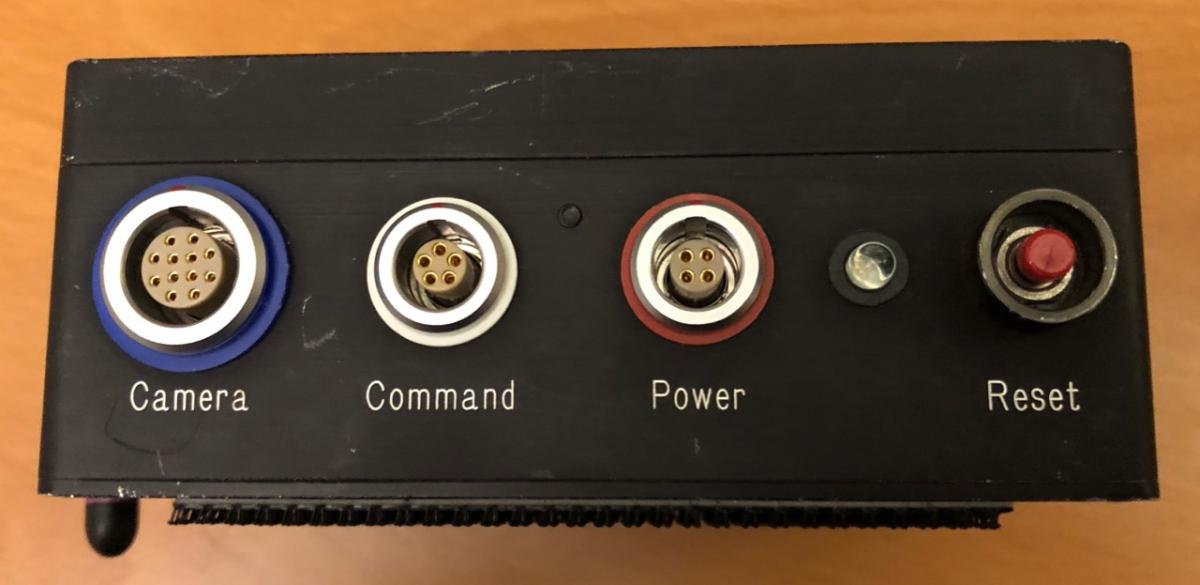
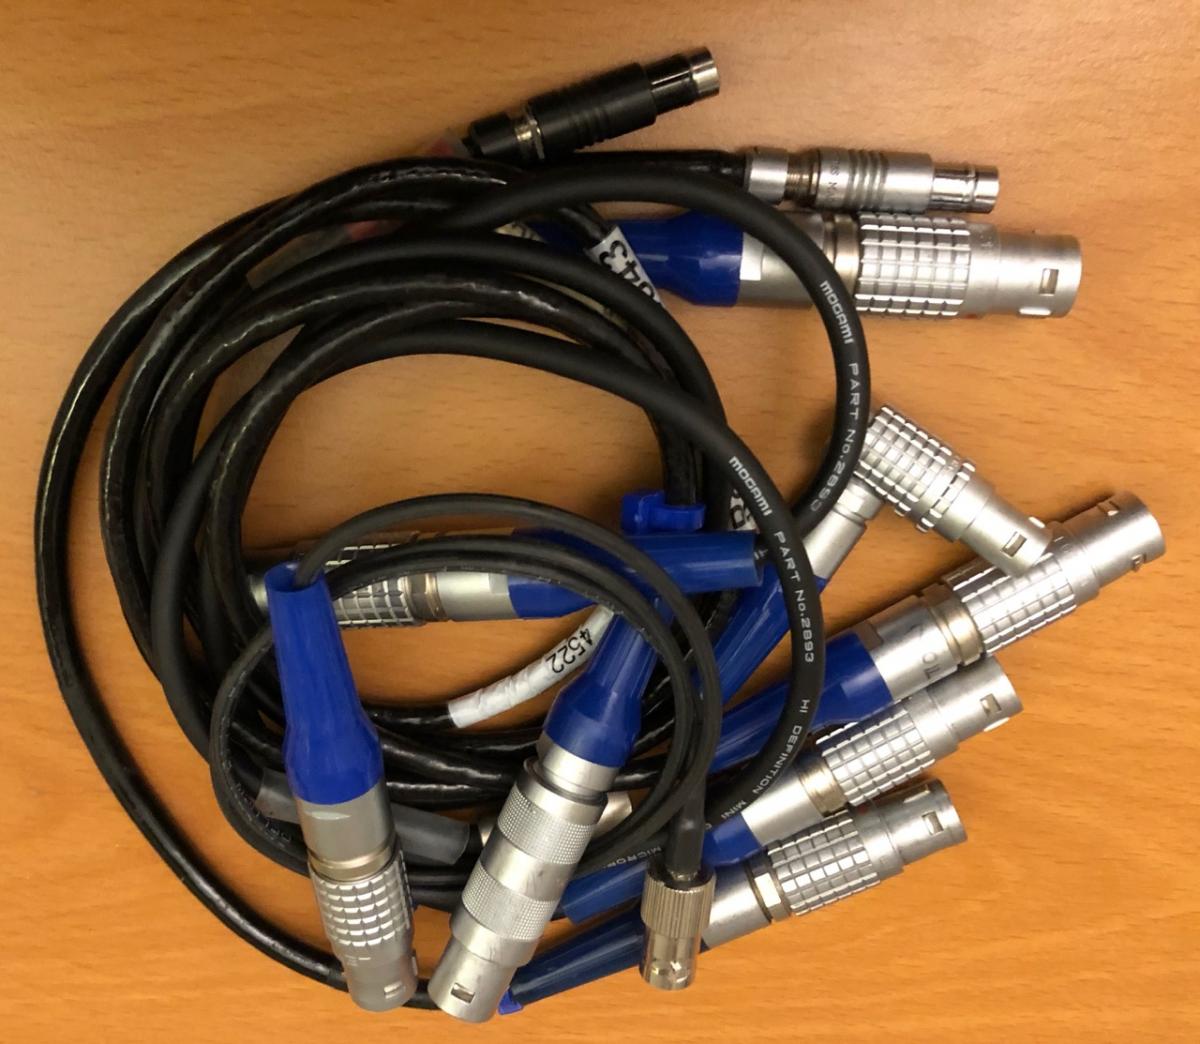
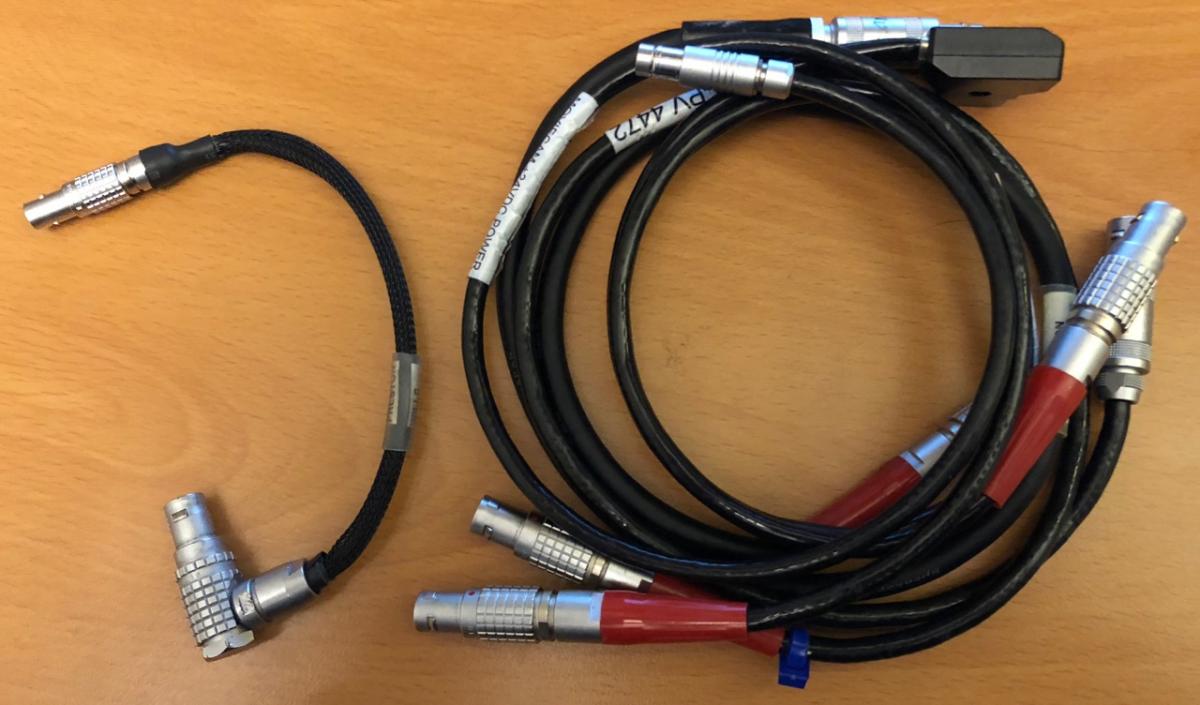
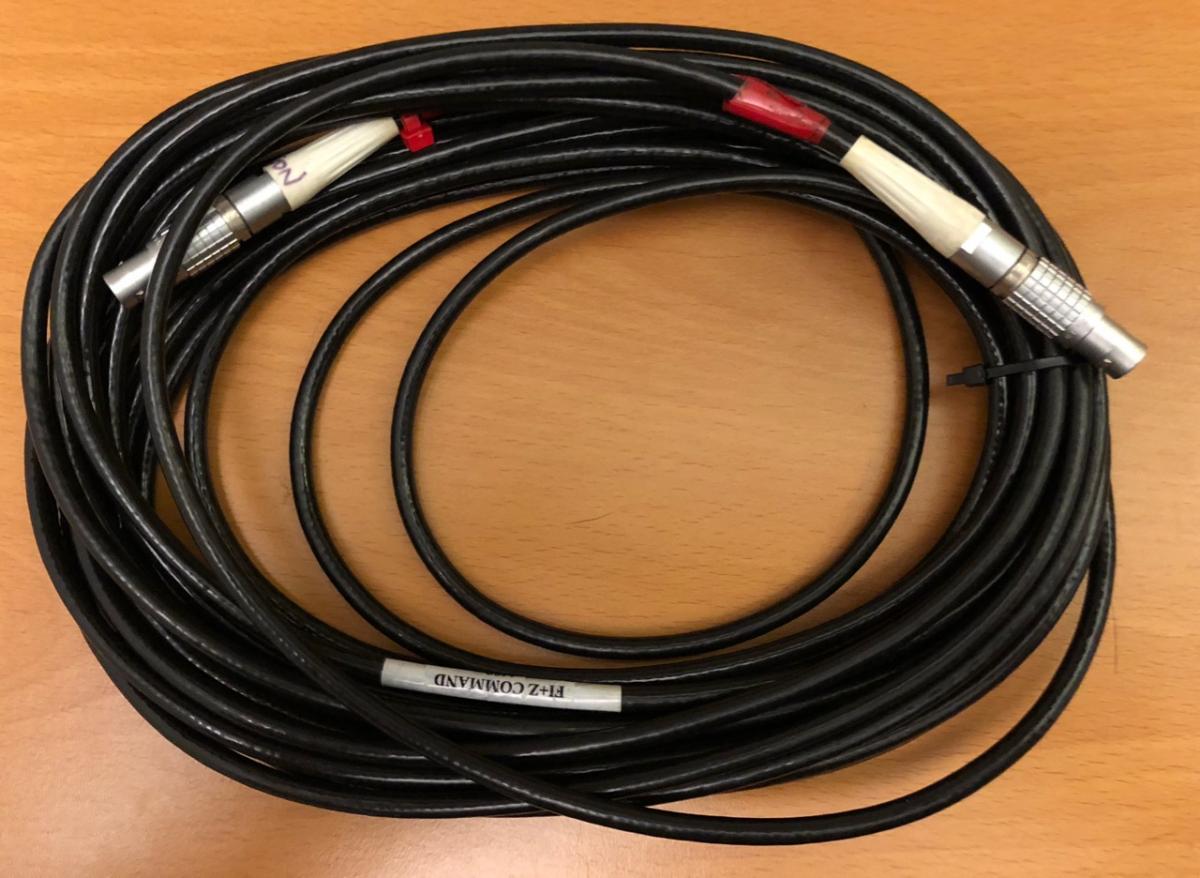
I’m finally moving out some of my old Preston gear as I make some upgrades. This MDR served me well through many TV shows, commercials, and features, and was babied in its life before I got it. I carried this kit (without a Hand Unit) onto many shows, and it proved valuable. If you have a Steadicam body on the show, leave this MDR on the Steadi body, and your focus puller just has to switch channels on the hand unit from your studio camera. My current show has gone all WCU-4, so I’m not getting enough use out of this to warrant keeping it right now. The MDR was firmware updated in mid-2017, and works beautifully with even the most updated HU3. This package has a goldmine of cables, more than in many rental units. There are over $2000 in cables alone in the kit, especially the sometimes hard-to-find originally $600 Cinetape interface. I paid $4000 for this package in May of 2016. Asking $2750 for the package with all cables. Will not part out. Email me if you’re interested. willsvideo@gmail.com - Preston MDR-2 with G4 Blue Dot Receiver Board (Updated Firmware 2017) - Cinetape Interface Cable (the notorious $600 cable) - RS Cables: - 2x Arri RS - Red Epic - Sony F55 - Red One - Panavision - Power Cables: - 3 pin LEMO (Steadicam standard 0b small) to MDR Power - P Tap to MDR Power - Arri RS to MDR Power - 12v Panavision to MDR Power - 24v Panavision to MDR Power 25 foot Command cable (HU3 to MDR hardwire) Also available as a kit with: DM-2 Motor, PAM Bracket (19mm) and cable for $4500 total (will not separately sell motor) Also available separately: Microforce V+F Zoom Control (analog) for $750 with 30 foot and 6 inch Microforce to Hand Unit cables

-
Hi Nick, What you've described is a common issue - there are 2 different polarities of 2 pin LEMO connector. One of them, used by ARRI, RED, Teradek, SmallHD, and many others (called the ARRI standard), has pin 1 as ground, and pin 2 as +12v. The other, which has existed for a longer time, is the "Bartech" standard, used by Bartech, Cinema Products (the former maker of Steadicam, who invented this standard), Tiffen, Hocus Products (maker of the Axis 1), RedRock Micro, and many others. The Bartech standard uses pin 1 for +12v and pin 2 for ground. All that is a bit more information than you need, most likely, but it is really just a long way of saying that your Steadicam uses a 2 pin LEMO that is reverse polarity from almost all of the commercially available 2 pin LEMO cables available on the web. Any cinema custom cable provider could certainly make you one with the right polarity, and most of them (MediaBlackout, EastCoastCables, etc...) would ask you which polarity you needed when ordering. Check here for more information: https://mediablackout.zendesk.com/hc/en-us/articles/212529538-What-polarity-do-I-need-for-my-2-pin-Lemo-cable- Future rigs eliminated the 2 pin LEMO, replacing it with a 3 pin (which only has one standard polarity, thankfully), but for you, right now, you should desolder and flip the polarity of the LEMO to D-Tap splitters you have, and any other cables you bought for the rig that are reverse polarity. (Any cables that came from Tiffen, like a 4 pin XLR cable, should be the correct polarity) In addition, I highly advise you to label all of your cables with warnings about their polarity. Nothing feels worse than an assistant plugging in one of your cables to the wrong port and blowing up a camera. The same goes for Bartech (or other focus unit) cables. All of my Bartech cables have red ends, and have big warning labels on both ends and on the cable, so that someone would have to be willfully ignorant to use that cable on a Teradek (and by doing so blow up the camera, monitor, or whatever else they were using it on). If you're not up on soldering yet, it is possible that you can flip the cable's polarity by spinning the outside shell of the LEMO, but this is not advisable to do on a long-term basis, as it will mean that the cable will appear to have one polarity, when it in fact has the other. To do this (which, again, I'd only do in a pinch, and change back as soon as possible), you push the LEMO shell back, like you're trying to remove it from a socket, and then while pushing it back, rotate the shell 180 degrees, until it clicks back into place upside down. Again, this is a last resort, and I take no responsibility for anyone who does this and then blows something up, but in a pinch, it could work. I hope this helps! Feel free to reach out if you have any more questions!
-
Gregory, I know you got in touch a while ago about having a spacer made for your M1 Gimbal to bring it down to 5/8" diameter, and I apologize for it taking this long, but I've finally gotten the time to make up a drawing to take to a machinist. Hopefully this will help (and help others!) http://willsvideo.com/steadicam-m-1-5-8-gimbal-spacer/
-
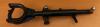
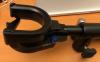
Universal Mitchell / Castle nut wrench
Tom Wills replied to Rich Cottrell's topic in Vehicles and Mounts
Glad Jeff recommended the 8 Ball wrenches. Theyre what many of my dolly grips carry. The Nut Buster 1 is what Ive seen be super handy. Good for getting just a little extra torque by hand, and insert a tool into it and you can give it that extra oomph that some Mitchell nuts need. -
Alexa 12V v-mount adapter cable (for use with Zephyr)
Tom Wills replied to Paul Wegschaider's topic in Batteries/Power
The SO-XLR is the Anton Bauer model, and the IDX NBV-XLR is the equivalent V-Lock model. https://www.bhphotovideo.com/c/product/871544-REG/idx_nbv_xlr_v_mount_plate.html The one Peter is using in the video looks like a homemade solution, but the IDX part (or the Anton Bauer part) is a good and relatively inexpensive solution. -
I had an XCS plate that I did use a few times on my M-1 before I sold my old rig, and it did fit just fine. PRO and other thin plates (6mm or 1/4" thick plates) will not fit, but 9mm and thicker plates (including Tiffen, Betz, and XCS plates) will fit. The nice part about the M-1's mechanism is that it's easily adjustable with a single screw to take different tolerances in plate width.
-
Standard cables to own as a steadicam op
Tom Wills replied to Joseph Hartzler's topic in Steadi-Newbies
A few thoughts on cables, especially for starting out... I'd add to your list a 4 pin XLR. That's one connector I've seen used all over - from the D Box on an Alexa Mini to the F55 to every broadcast camera ever made seemingly. In addition, it's something that most people are familiar enough with that if you're in a tight pinch, you can often get a cable from 4 pin XLR to whatever it is you need to power, rather than having to order in the special LEMO for your sled. I think you're on the right track with P Tap, and I'd add a P Tap extension cable (Male to Female). For 99% of my operating at this point, the only cables I use are the camera cable (usually the Mini/Amira, but occasionally the Red or Alexa), the cable for my Wave, and the P Tap. It's so nice to be able to give the assistants all the power they need in a plug they're used to, without any hacked workarounds. My thought on buying specific camera power cables is (and this is how I worked for the first 5 or so years of my career) buy what you need, and only what you need. Cables are incredibly expensive, and let's face it, most cameras nowadays are more than comfortable with a battery on the back. The only cameras I've found where not having a power cable is a death sentence are the Alexa 65, and 35mm film cameras. Pretty much anything else - from Alexas, to Reds, to Minis, to Amiras, to F55s, can be flown with a battery on the back. It is much more elegant to be able to power the camera off of the Steadicam, but it does thrash your batteries (I'm sending in my third dead battery in 2 years to be rebuilt), and it's a lot of money that can be spent elsewhere in places where it could impact your comfort or allow you to pull a better job, both of which are far more critical. So, buy the cables you need. Assess your market and figure out what that is. In my market, it's 2 of the 24V ARRI Alexa/35mm cables, 2 4 pin XLRs, and then whatever else I want to add. What I carry at this point is: - Alexa/ARRI 35mm 24V - Amira/Mini 12v - Red Weapon/Epic 12v - 4 Pin XLR 12V - Sony FS7 - Panavision XL2 24V (only used once, sadly) - 3 Pin XLR 24V (built for a special rig that I've never seen again) -
Walter Klassen Gimbal Wheels for sale
Tom Wills replied to Balazs Revesz's topic in Steadicam Marketplace - For Sale
The Walter Klassen wheels work exceptionally well with the MoVI and MoVI Pro. -
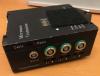
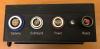
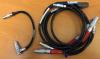
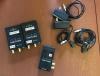
This was my primary transmitter setup for several years, but since I am finding I no longer need it on the jobs I am on, it’s going up for sale. It works just as any Teradek system of this kind does, and apart from the shorter range (compared to one of the newer and much more expensive systems), it works just fine. Kit Includes: 1 Bolt Pro SDI transmitter 2 Bolt Pro SDI receivers 2 Bolt AC adapters 4 P Tap to 2 pin LEMO cables (some short, some long) Bag of Misc. mounting hardware (not pictured) Hard plastic case (not pictured, originally from an Atomos Samurait kit) Asking $1800 - you won’t find another kit with this many cables for this price. Expecting this to go fast. Email me if you're interested.
-
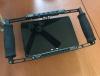
This was a monitor I picked up for use as a director’s monitor, and it’s only been used on 4 jobs. Comes in a Wooden Camera monitor cage with an Anton Bauer plate on the back, ready to work for ACs, Directors, or DPs. Wooden Camera cage/handles cost me $300 last year, and have only been used twice. Almost brand new. The monitor is lightly used, and in good shape. Asking $700 for the kit. This is currently on my gear on a job right now, and will ship once the job’s over (next week). Email me to reserve it (serious buyers only), and you can pay for it when it’s ready to ship.
-
I'm making a batch of 3D printed ones. Email me if you're interested and I'll send some photos. Willsvideo@gmail.com.
-
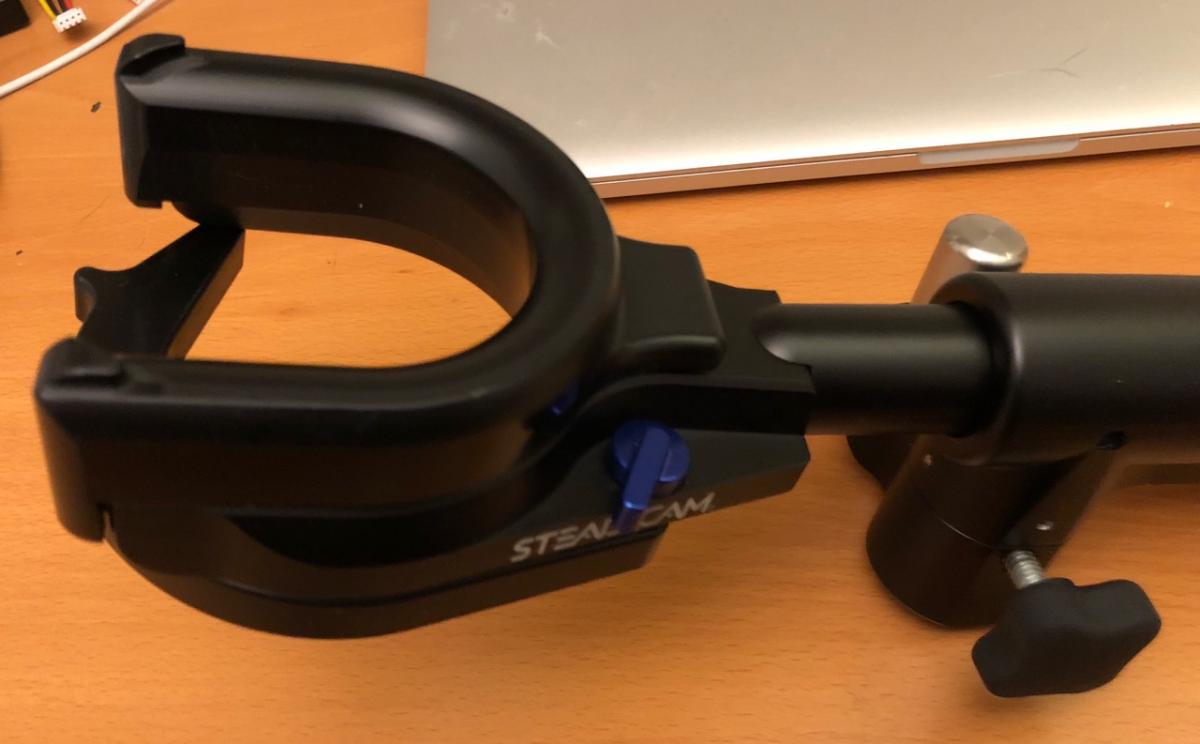
I have a machine shop, and made a bushing for the gimbal handle, as I already had a full set of PRO arm posts I wanted to continue using. If you're thinking of doing the same, give me an email at willsvideo@gmail.com. I can probably help you out.
-
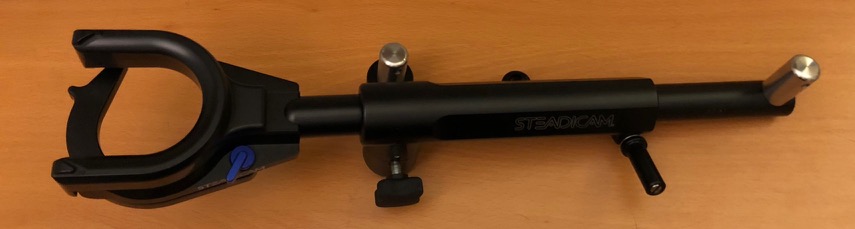
Absolutely - you simply need an arm post sized for the M-1 sled, or a bushing in the gimbal handle to reduce the .740" arm post hole down to 5/8". I've been flying the M-1 on my PRO arm for a few months, and I love the way it works.
-
Sent you a PM.
-
Marco, who have you been trying to contact? Your dealer in Europe, or Tiffen Steadicam in the US?