Jerry Holway
-
Posts
842 -
Joined
-
Last visited
-
Days Won
68
Everything posted by Jerry Holway
-
2nd battery mount for Axis sleds
Jerry Holway replied to Jerry Holway's topic in Steadicam Marketplace - For Sale
Okay- Tim fixed my limit so here are the first pix...
-
2nd battery mount for Axis sleds
Jerry Holway replied to Jerry Holway's topic in Steadicam Marketplace - For Sale
sorry, the pix did not load... I seem to have a limit of 816 bytes.... not sure why. -
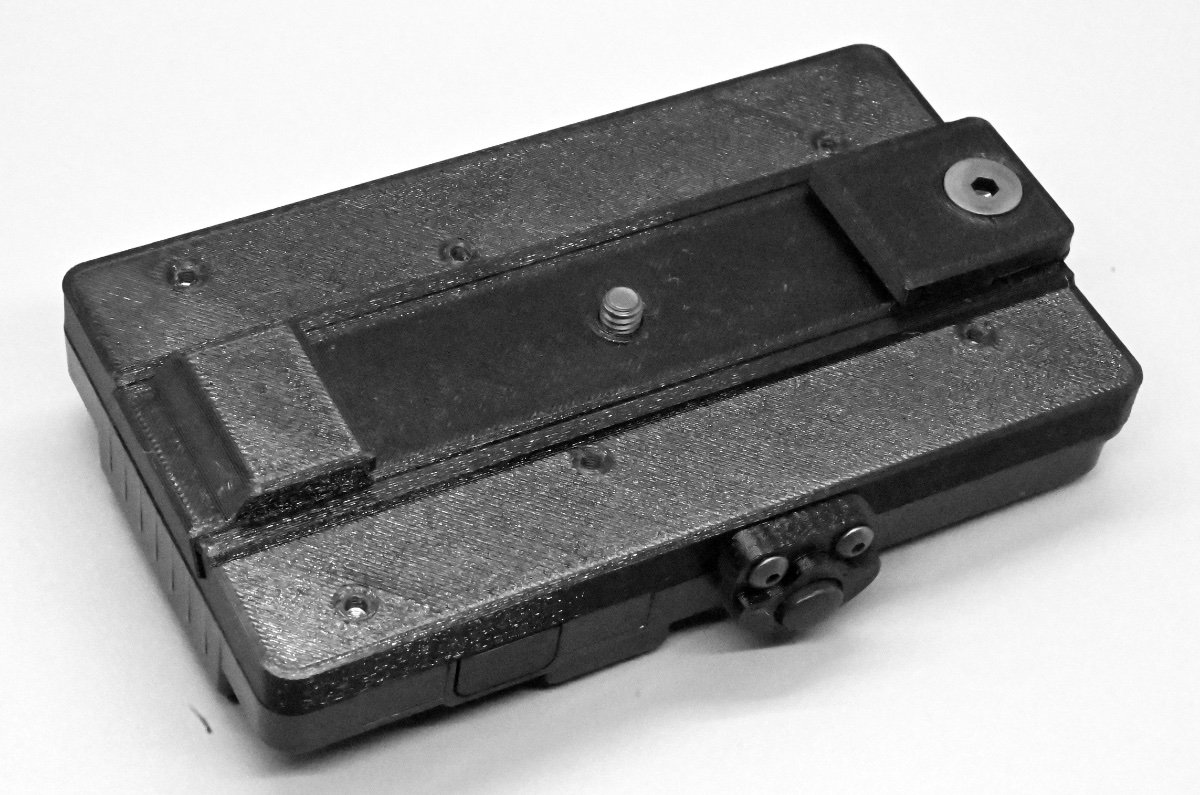
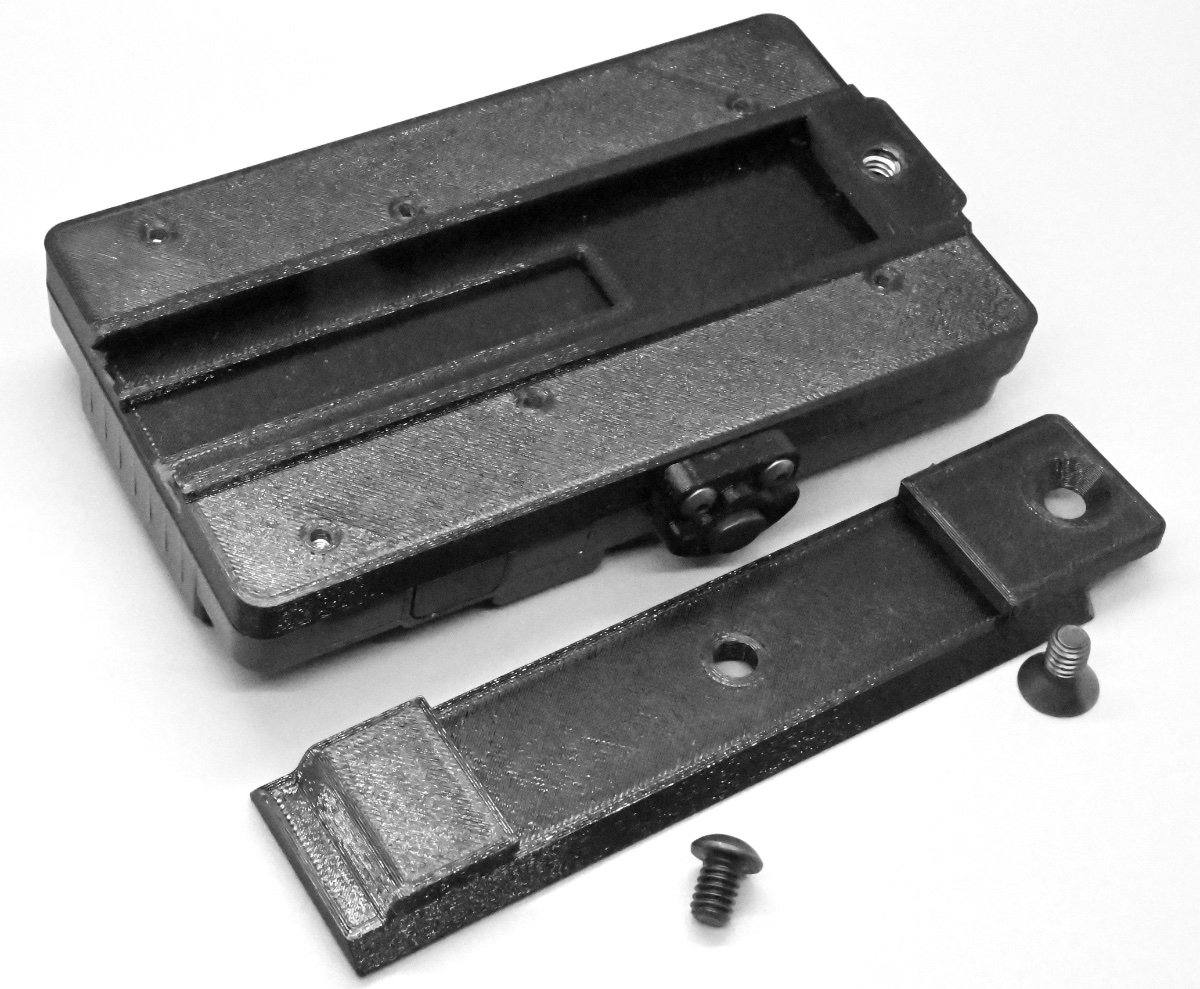
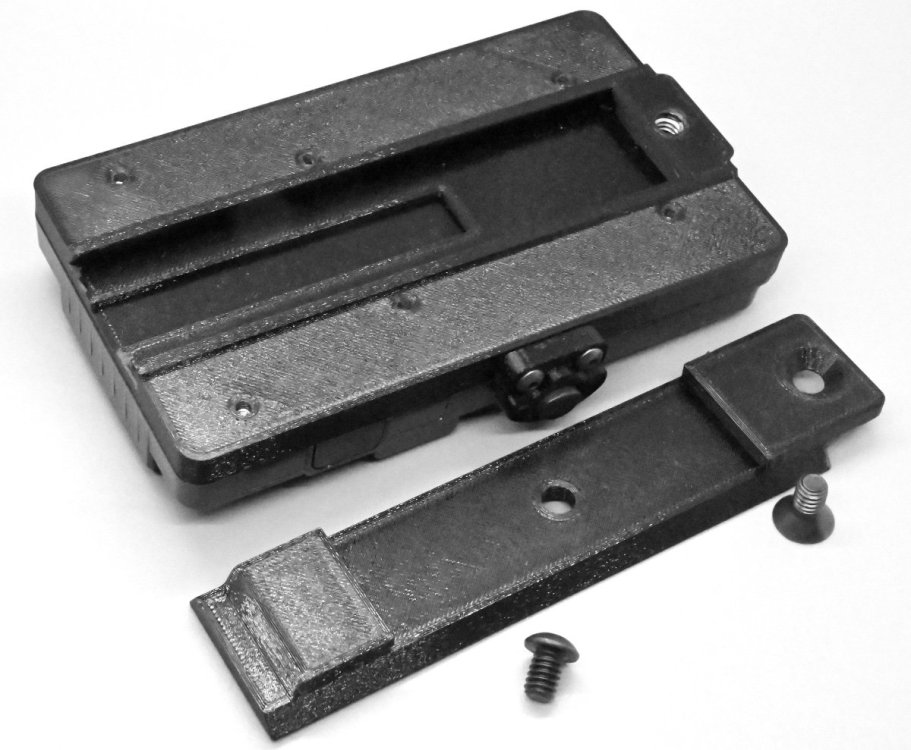
New 2nd battery mount for Axis A customer asked for this, so I made a secure, low-profile battery holder for him. One piece clips on and bolts directly to the bottom of the Axis. The 2nd piece holds the V-mount (or AB mount, not shown). Use the D-tap for power. Sold with, or without, the PV-2 or AB Gold mount. Note the heavy duty protector for the V-mount battery release button. Price without the PV-2 or QR-GOLD plate $60. With either plate, add $130. Price includes shipping in USA, international extra. jholway@comcast.net
-
Yes, safe to use PRO arm with a Tiffen block.
-
Somehow the pix didn't load... trying again.. sorry if it doesn't work. 2 new switch protectors for the "top" on/off and 12/24V switches. Thanks to Ron Vuona for the desire and Rob Orf for the key to the design. One is for the older M2 battery holder; one is for the newer style with the built-in switch guards. Each protector has a small door to cover the 12/24V switch, preventing accidental changes. Both protectors securely attach using the USB connector. The LED lights remain visible. The other protector (with the tiny sliding door) is for the “side” 3rd battery 12/24V switch. The indexed frame must be glued in place. Good news: It’s the same old price for either of the top covers: $50 – and $30 for the 3rd battery switch, or $65 for both. US shipping included. Contact me: jfholway@icloud.com
-
2 new switch protectors for the "top" on/off and 12/24V switches. Thanks to Ron Vuona for the desire and Rob Orf for the key to the design. One is for the older M2 battery holder; one is for the newer style with the built-in switch guards. Each protector has a small door to cover the 12/24V switch, preventing accidental changes. Both protectors securely attach using the USB connector. The LED lights remain visible. The other protector (with the tiny sliding door) is for the “side” 3rd battery 12/24V switch. The indexed frame must be glued in place. Good news: It’s the same old price for either of the top covers: $50 – and $30 for the 3rd battery switch, or $65 for both. US shipping included. Contact me: jfholway@icloud.com
-
Low mode bracket for M2Volt+G50X, SOS Plate
Jerry Holway replied to Pavel Poboruev's topic in Steadicam Marketplace - Wanted
Pavel -see my site for low mode brackets and other doodads.. jerryholway.com -
Zacuto rods; 15mm with a 1/2-13 thread.
-
A new catalog will soon be up on jerryhoway.com. In the meantime, here is one example of new things I'm making at the request of customers.
-
Mod Advice - Drill New Waist Ratchet Buckle Holes?
Jerry Holway replied to Bob Beresh's topic in Vests
Go for it. No worries. -
if the monitor and battery c.g.'s are on the same plane, the camera c.g. should be centered over the main post, and the batteries and monitor shifted (or weight added) to get in static balance. Be sure the c.g's of all the components are on the same plane - that is all lined up as seen from the rear or front. Don't pan fast when testing, and don't get too stressed out about perfect dynamic balance. If the monitor is raised up from the battery c.g., then the camera will move rearwards, and the battery inwards to achieve dynamic balance. A higher monitor is better for viewing, and tends to promote better posture - no leaning over to see the image!
-
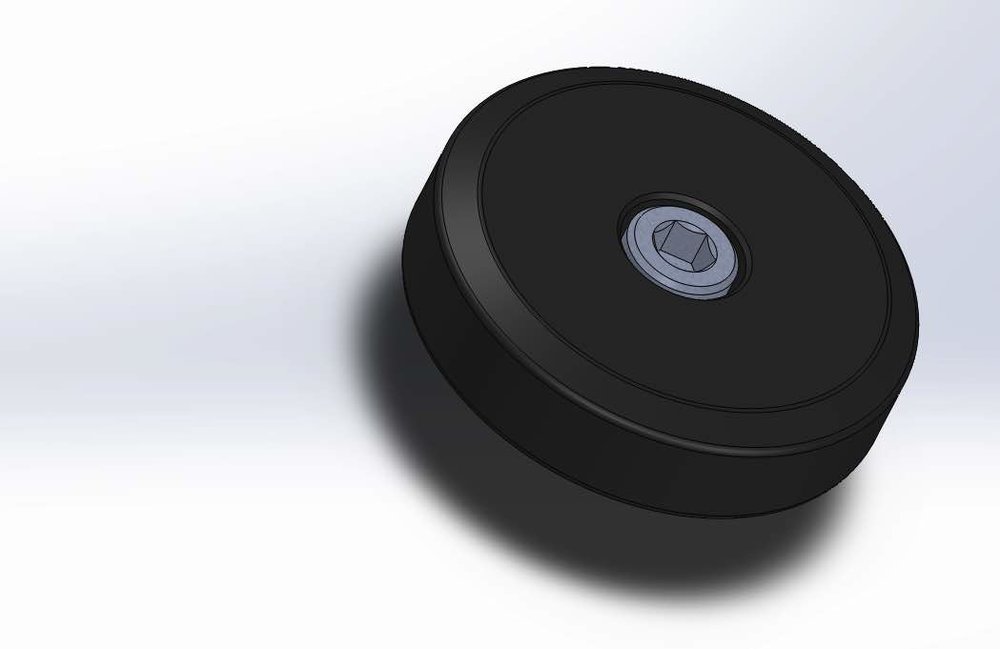
Weight balancing kit for newer Volts
Jerry Holway posted a topic in Steadicam Marketplace - For Sale
Kit for balancing newer Volts The original Volt weights had a ¼-20 screw built into the weight. However, the weight on the newer Volts has a counter-bored hole in the center for a ¼-20 screw. The kit makes it possible to add weights (i.e., big washers) and/or custom lightweight spacers in various combinations to precisely balance the Volt on the gimbal. The kit: 1 exterior sleeve (5 grams), 4x custom plastic spacers, 3x 11 gram/(.4oz) washers, 1x 6 gram/.2oz washer, and a longer ¼-20 screw - it might be needed, depending on your set up. In use, the Tiffen weight is moved outward a minimum of .078 inches and up to .375 inches, with added weights of 11 grams/.4oz to at least 50 grams/1.75 oz. $40 includes shipping in the USA via Priority Mail. Contact jholway@comcast.net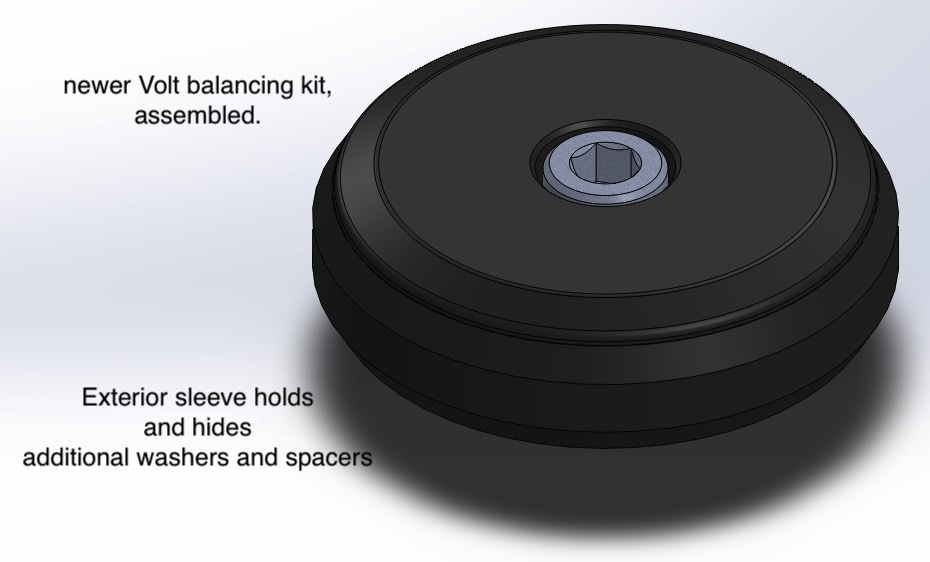
-
About that spring in the arm socket block
Jerry Holway replied to Jerry Holway's topic in General Discussion
Yes, but only for PRO arms.... -
See the attached file for the pix... here is the text: At the Banning Mills workshop last week (a great time, BTW), we took a good look at several back mount vests from different manufacturers. One common thing in all the back mounted vests: the standard arm to vest connection had the side-to-side adjustment screws on the outside of the armature that wraps from the front to the back. While it is easy to reach the screws in this configuration, they totally reverse the action of the spring in the male socket block. (These are the same screws that control the “fore-aft” adjustment in a traditional front mounted vest.) That spring has been an important part of the arm design since 1976 or so, and its purpose is to pull the arm out of the way as one moves the sled across one’s body. With a back mounted vest, the spring pushes the arm towards the sled – which is not a good thing. A partial solution would be to remove that spring – at least that would keep the arm from being pushed towards the sled. Better would be to have a spare socket block with the spring removed, or better yet get someone to engineer a spring/socket block that would reverse the “normal” direction of the spring just for your back mounted vest. I heard about, but did not see at the workshop nor could not find for sure, that Walter Klassen made a springless block, which would help. BTW, the Tiffen third arm segment has the side-to side adjustment screws on the inside to preserve the proper spring action and keep the arm moving out of the way. In the pix, the 3rd arm segment is set up for regular side operating. It is, of course, reversable for goofy side operating. At the Banning Mills workshop last week.docx
-
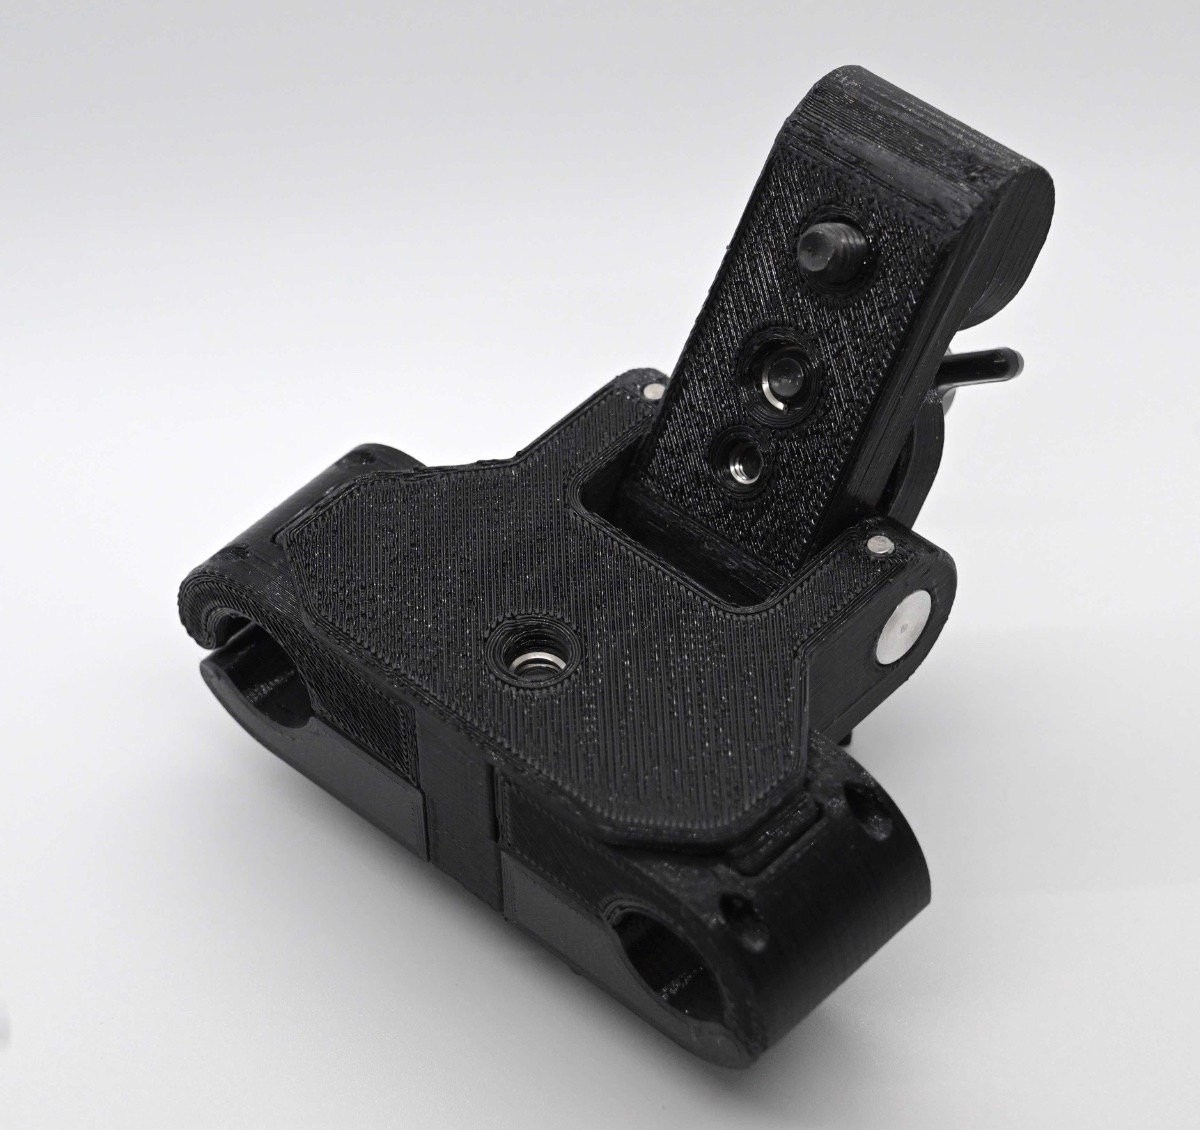
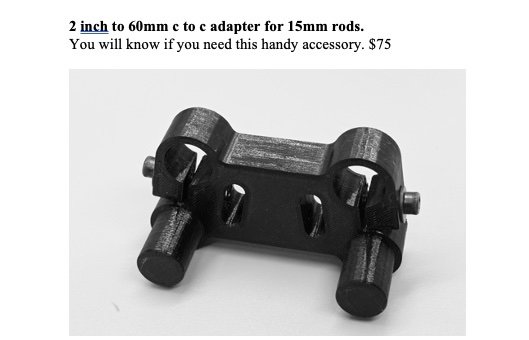
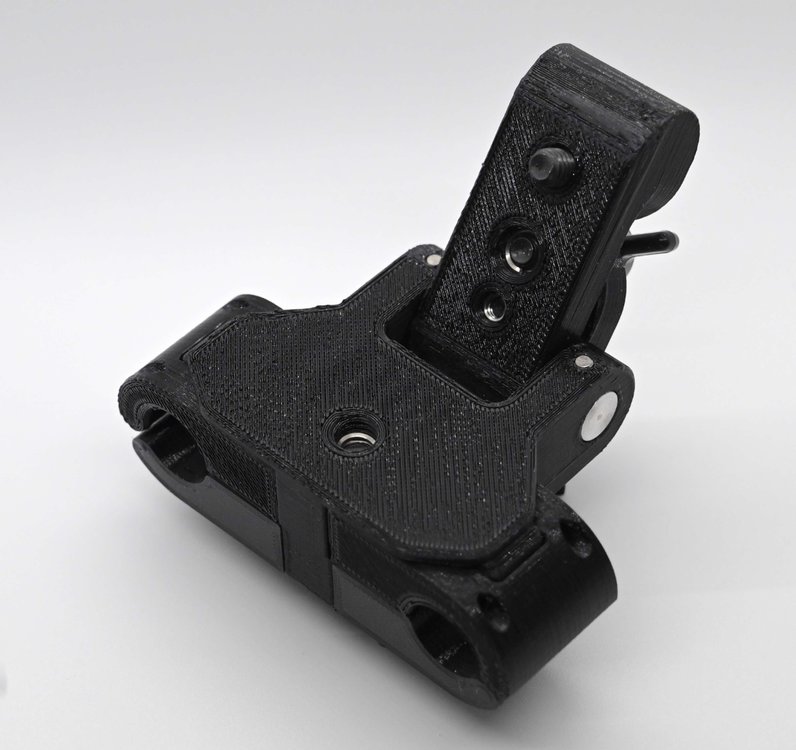
Shameless plug: I make several of these brackets, and also make custom parts as well - go to jerryholway.com to find the most recent part and price list. Most of the brackets mount on rods, but a few mount to a long dovetail... here's one of them that expands for different width rod mounting:
-
The Ultra one uses the panavision std rods at the time of .620 diameter, but the spacing for the rods is not standard - it was just keeping the sled width as small as possible. I doubt it matches anything Panavision has. 15mm rod clamps will not work on these rods
-
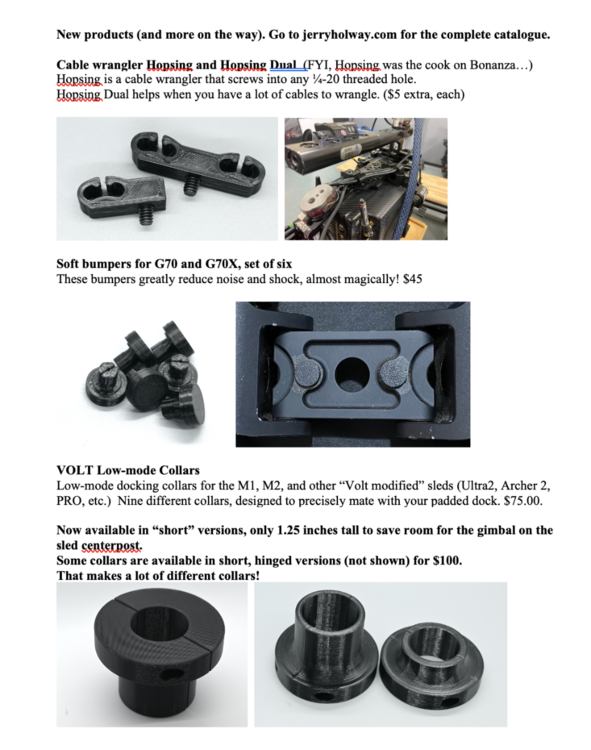
I've been busy making new things (some not ready for prime time yet) and improving others. Here are the latest. sorry for the screen shot quality....
- 1 reply
-
- 1
-

-
There are lots of choices other than these two. You should experiment and find the vest that fits you and not because it is anyone else's choice. Vest that appear to be similar may have a very different feel on your body.
-
Angel- 1.58 is the diameter of many (CP and Tiffen) carbon fiber center/gimbal posts that I've been using for 30+ years... plenty strong and stiff enough for most work. Really long (superpost) center posts are probably somewhat better with a larger diameter center post, especially if the moves are violent. My 4 section Ultra 2 has a 1.58 centerpost for the gimbal, and two larger diameter posts going towards the battery and one inner, smaller diameter post going towards the camera. When compact, it's bulletproof. If fully extended to 6 feet – and the shot is pretty aggressive or rough – it helps to use tensioning cables to reduce the flex (it's part of the U2 design & the patent). The M2's 1.58 center post is plenty strong (I have a lot of experience with it). The 1.75 is stronger, of course, and comes with a 3 section option. I often worry that new operators (and some older ones) focus on one aspect, number, technique, etc., and don't consider it in light of many, many other important considerations of buying and using the gear. Especially in forums like this one, where an operator necessarily asks a question in isolation, simple answers often inflate both the importance of the question and any answer. It's why an intensive workshop is so important, where a broad spectrum of technical knowledge and operating wisdom is presented, and questions like center post size (an important question on its own) can be addressed and not blown out of proportion.
-
In general, a larger centerpost diameter equates to a stiffer post, but that is not the only factor that determines stiffness. The inner diameter of that post, or wall thickness, also plays a part, as does the material – like different aluminum alloys. With carbon fiber centerposts, many other factors, including the weave, also come into play, creating more stiffness in some directions than others. And stiffness of the centerpost is only one of several factors in reducing or eliminating vibration in a sled. The weight of the camera & accessories play a huge role. What are you going to be carrying? Are you running? Doing slower moves in a studio? The “feel” of a larger centerpost is actually about the “feel” of the gimbal – its diameter and its knurling or operator added tape. With many gimbals, the gimbal’s diameter is much larger than the centerpost’s (like the PRO) or the same diameter, regardless of the centerpost diameter (M1/M2 for instance). Larger gimbal diameters give you more oomph (I’m being highly technical here, I know) on the sled, but it’s clearly too much for sleds with little inertia – hence the smaller control surfaces on the “little” Steadicams – like the Flyers and Aeros and the old JR. Centerpost diameter affects what is attached to it. Monitor rods of the standard 15mm on 60mm centers cannot clear a 2 inch centerpost. Although those rods could clear a 1.75 inch centerpost by .017 inches on each side, the strength of the mount would be compromised. The Tiffen monitor rods for the 1.75 inch centerpost are 15mm diameter on 100mm centers. While perhaps stiffer, there are three negative consequences of having wider monitor rods. One is that standard 15mm x 60mm c to c accessories – such as used on the rods from many stages for low mode monitors and MDR’s, can’t be used on the monitor rods. 2nd is that the monitor rods are wider right where your thighs are, so the sled must always be a tiny bit further away from you. And 3rd, bigger diameter centerposts and their gimbals, mounts and clamps weigh more than thinner ones. Maybe it’s not a big deal unless you are doing live TV, sports, or concert work where you are wearing the rig for a long time. So, IMHO, the question really should not be about centerpost size per se, but what system has the gimbal that feels right to you and a centerpost which has adequate stiffness for the jobs you do, and a system that doesn’t weigh more or take up more space than necessary.
-
Third party Dovetail question for my SteadiCam Aero 30
Jerry Holway replied to Joe Connelly's topic in Steadi-Newbies
Peter Abraham sells a long dovetail plate of the smaller size for your Aero 30 -
It has 3 separate HD video lines
-
The G-50X will actually carry slightly more than 50 lbs. Does not get "weak" at all.
-
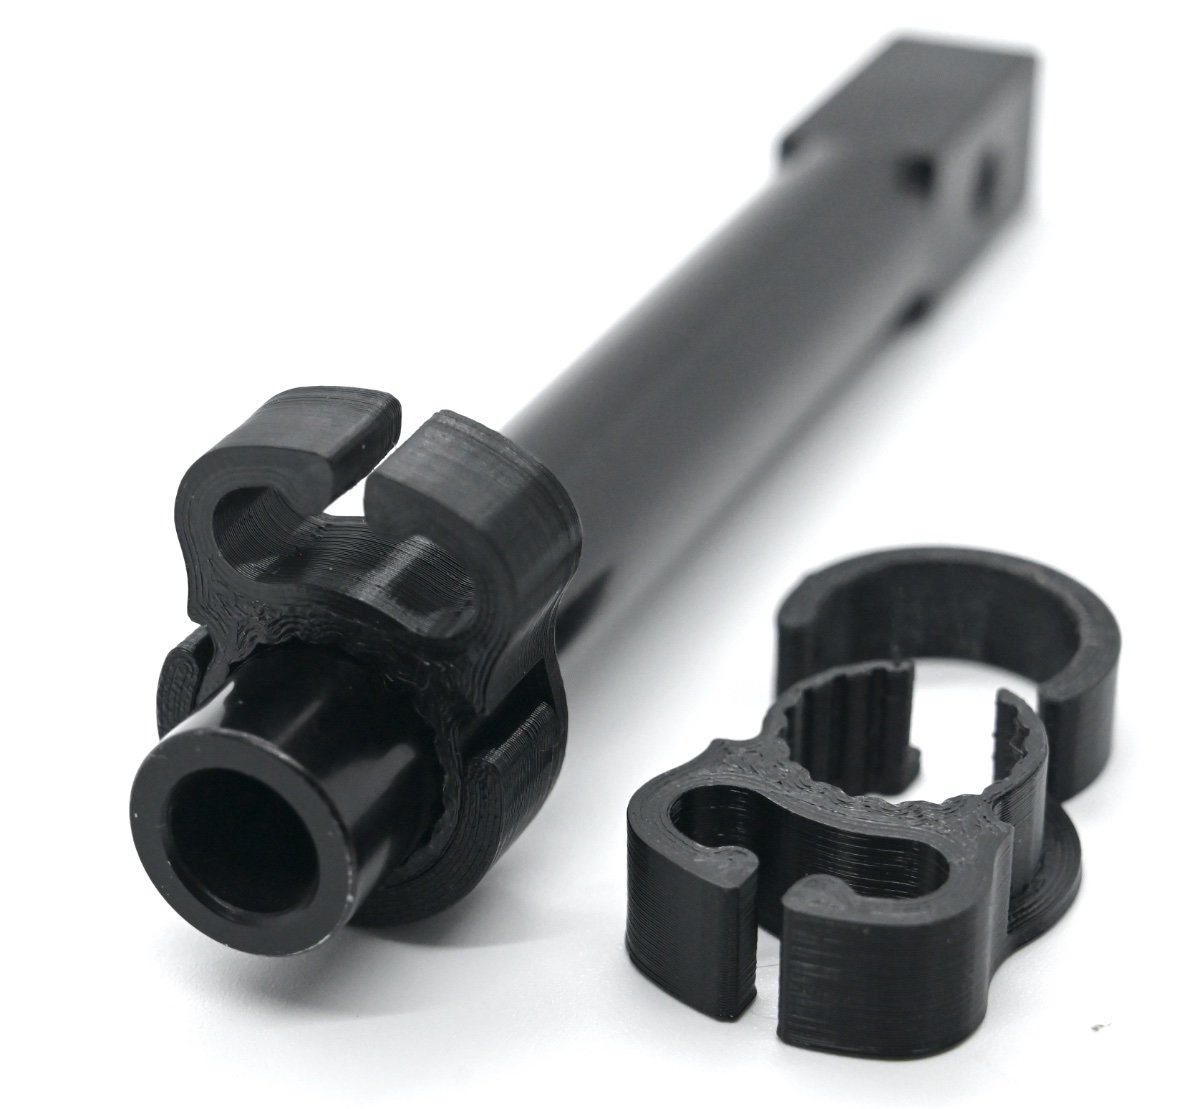
3D printed cable wranglers for sale
Jerry Holway replied to Jerry Holway's topic in Steadicam Marketplace - For Sale
one of four different cable wranglers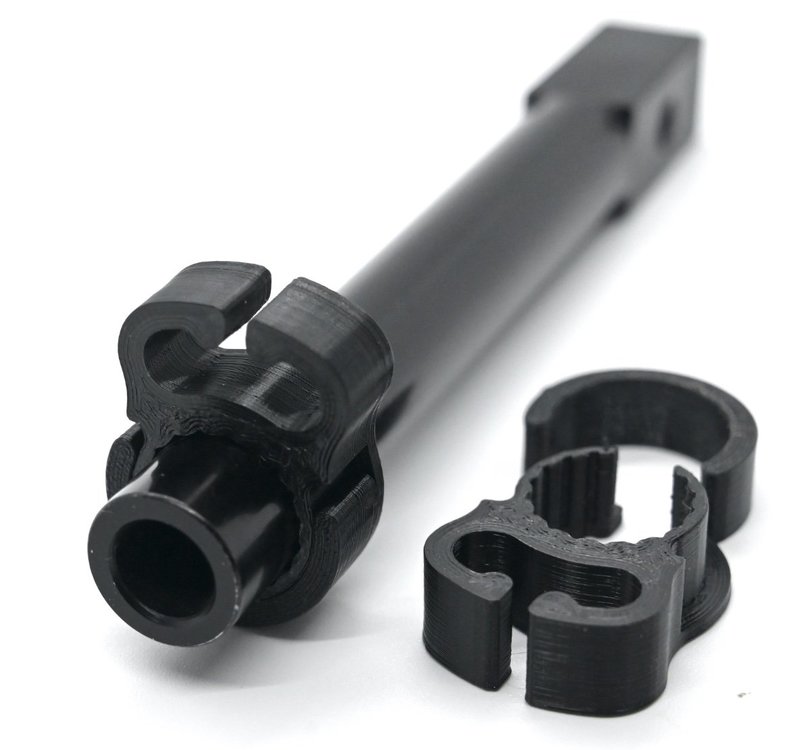
-
More new things always coming... 1481875921_4Cablewranglers.pdf 1784752009_4Cablewranglers.pdf