Jerry Holway
-
Posts
835 -
Joined
-
Last visited
-
Days Won
64
Everything posted by Jerry Holway
-
For the full story - with pictures - download the attached PDF. This is just the beginning: Just a little personal note about Tiffen’s 3rd arm segment, which Garrett Brown, I, and others at Tiffen developed. Back in the mid-90’s, Garrett tried putting together three working arm sections to extend the boom range of the arm (at that time a 3A arm was used). It worked, but the arm sections did not behave well as we boomed up and down; each section seemed to have a mind of its own. That three section arm occupied a lot of space, mounted as it was from the vest’s socket block. It was also cumbersome to add or remove the third arm section from the arm. It was fun to play with, but the dream was abandoned until the summer of 2010, when the new Exovest was being developed. This prototype vest enabled us to mount a 3rd arm section to the back of the vest (more about that later). History of Steadicam's 3rd arm.pdf
-

Any workshops in europe or near austria?
Jerry Holway replied to David Lagger's topic in News, Events, Workshops
Contact Tiffen International in the UK. I know the Hofmann's in Denmark and Sweden are planning another workshop but because of Covid-19, it's not going to happen soon. Pretty much the same scheduling delay worldwide. -
A possible culprit is the cable from the brain to the motors. Must be plugged it to get power to the brain (!) and data lines must all be good.
-
3D printed Volt encoder ring protector for sale Volt encoder ring protector.pdf
-
As you saw on Facebook, it's a custom part... not commercially available.
- 1 reply
-
- 1
-

-
- clamp lever
- thumb screw lever
- (and 3 more)
-
Kelly- read Lisa's note carefully, especially the first paragraph. Try a vest first. What works for anyone else might not work so well for you. Try each one you can on. Have you taken a workshop? If not, I'd suggest you hold off on all purchases until you do. Buying used gear leaves you generally with no warranty other than what the seller offers, but top-rated gear usually works fine and most sellers in this community of operators are reliable and trustworthy about their gear.
-
3D printed accessories for sale
Jerry Holway replied to Jerry Holway's topic in Steadicam Marketplace - For Sale
Alan and all - still improving the parts and making new ones - see the new pdf - 3D printed items for sale sm.docx -
Justin- What town in Texas? It is a huge state, but there are Steadicam operators around who might be able to help you. The sled seems like it is more than useless, and if you can't balance it because of the cheap gimbal, you can easily learn bad habits. Take a Bronze or silver workshop as soon as you can (and it is safe to do so...) - it's the least expensive thing you will ever pay for in the Steadicam world... Best of luck.
-
The rear screw... are we talking about a screw on the the lever for extending the rods? or what? I can make a design for a 3D printed cap/protector - made of the same soft material used for protecting smart phones or the aircraft pin in our Steadicam arms. If anyone is interested... Jerry
-
3D printed accessories for sale
Jerry Holway replied to Jerry Holway's topic in Steadicam Marketplace - For Sale
Sort of a bump... I've expanded the number of accessories (staying at home creates time to noodle on things)... see the new PDF file 3D printed items for sale.pdf -
Aaron - With a sled neutrally balanced, the slightest imbalance will cause the sled to tilt or roll. If you are tilted up or down and the Volt is engaged, the Volt will try to level the rig, but it can only attempt to do so with motors not connected to the pan axis. The net result is that the sled pans. To more perfectly balance your sled, engage the Volt in regular mode, tilt to 30 degrees or more and set the trim to this angle. If the sled pans, tweak the side to side balance to stop the sled from panning.
- 33 replies
-
- 2
-
-
- volt steadicam
- volt
- (and 2 more)
-
Are the Steadi-Cam Workshops "Worth It?"
Jerry Holway replied to Connor Hargreaves's topic in Steadi-Newbies
Connor - take a workshop that fits your schedule. Same folks teach the 5 day SOA (Philly and now SanDiego for the first time) workshops and the Tiffen workshops (LA/SanDiego and Atlanta). All are great and worth it. -
Tiffen M2 weight range
Jerry Holway replied to Werner Juergen Heinemann's topic in General Discussion
Electronics for Volt are built inside the stage, but they are only built in if you order the Volt system. The electronics can be added after the initial purchase if so desired. The payload limit is not based on the gimbal - it's the same gimbal for both, but with different inserts. The M2 post size is a tad smaller (1.58 inch diameter vs. 1.75 fo the M1).Therefore the M1 is a bit stiffer especially when fully extended, and especially when extended with the 3 post option. Attachment to the stage is identical in both sleds and interchangeable. The M1 stage is also beefier than the M2's, although I doubt you would ever see the difference in your shots (my 2 cents). -
Hi everyone, I've been working on some custom 3D printed accessories and found they could be useful across the board. Take a look and get in touch if you feel like any of these items will help you. 3D printed items for sale.pdf
-
I doubt it... same bearings in upgrade and G70X, so unless an arm has been damaged in some way, both should absorb vibrations just fine.
-
There are small mechanical differences in the G-70X that the G-70 (upgraded or not) does not have, that make for some subtle improvements in performance. The upgraded G-70 is pretty darn close in performance, so if there's a big difference in price, I suggest you go for the G-70 upgraded. Tuning either arm correctly for ride is very important, so read the manual and play with the ride control.
-
A suggestion - Greek out everything already showing on the vest and then don't add anything to attract more attention to yourself.
-
Lawrence - it would be a custom part or parts - I'm not sure if the standard bearing "cartridge" would be too long in a shortened handle. It's something you'd have to work out with your machinist as I suspect the Tiffen engineers are up to their eyeballs in other projects.
-
FYI, the new M2 gimbal has the encoder ring hidden and fixed inside (!) to protect it.
-
BTW, the "hole at wrong angle" issue has been fixed.
-
whoever told you that... well, it helps with static balance, in that case, fore-aft balance... A rig in dynamic balance is also in static balance, so it doesn't hurt to do that, but just watch Chris's video, it's all you need.
-
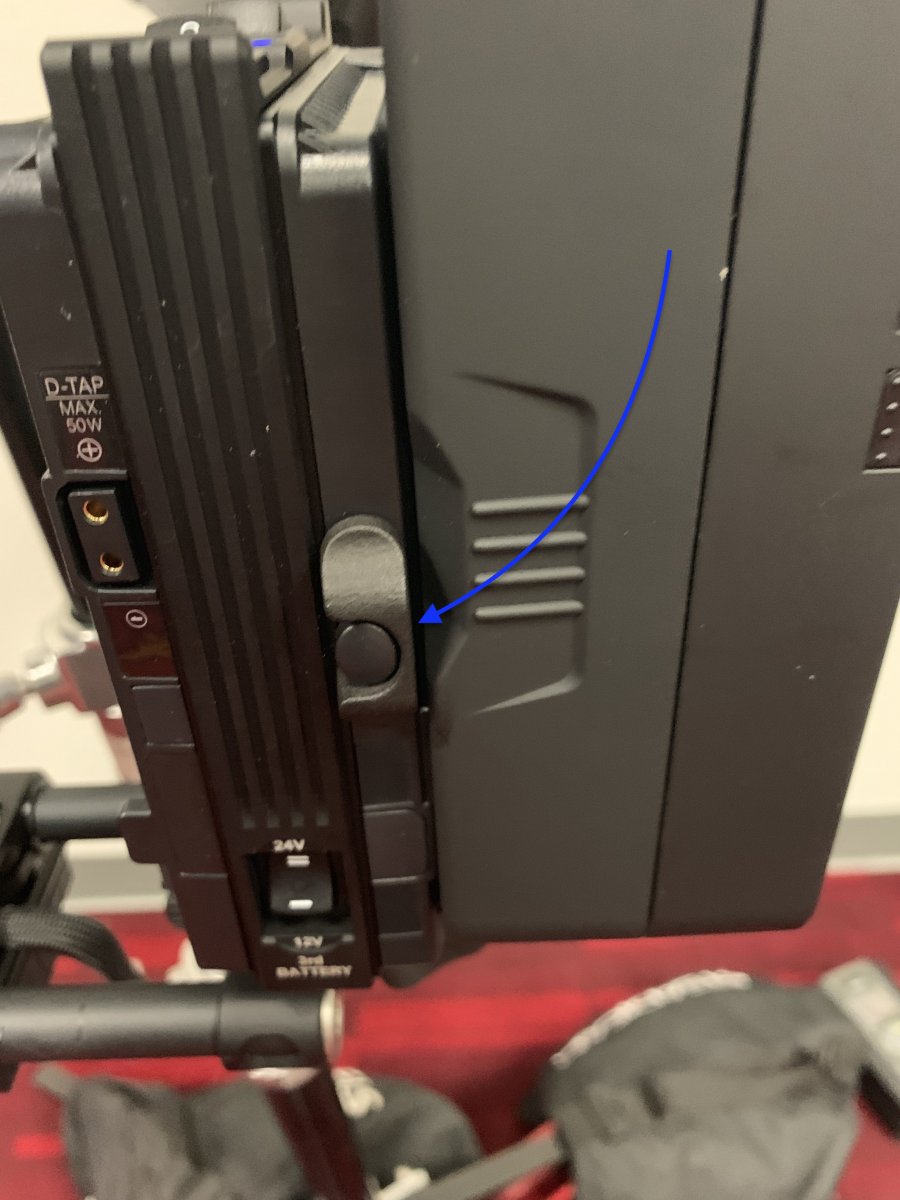
Grayson - If the post size for the M2 is the same as the M1, what makes them different other than length options? Is the two stage post any lighter in weight, etc? Standard post diameter is 1.58, like the U2, Masters, Clippers, Shadow, etc. Posts are not indexed, lighter than M1's, and monitor rod spacing is at 60mm, not 100 mm like M1. Only comes in a 2 section post, but in two lengths, "standard" similar to Shadow and shorter. Exact lengths TBD. Monitor bracket at post slightly lighter than M1's and easier to use. Or you can use M1's 2 or 3 section post & monitor bracket, your choice. The new gimbals work with spacers for different diameter posts; all are the same with the encoder ring inside if equipped with the Volt. Can the V Lock release safety be retrofitted to the M1? I run my battery box upside down and the release is dangerous. Yes, it's a non-destructive add on. I made a bunch of prototype "protectors," 3D printed, that I (and others) glued directly to existing V-mount battery mounts. I'll sell a set for cheap (I made a bag of extras) and postage if anyone wants set. BTW, I made these for IDX V mounts, some other brands I know are different and don't have the same shaped release button. Overall is the M2 (in a similar configuration) lighter than the M1? Much lighter (no exact number yet, still shaving off excess material) Any chance that the motor strength can be raised from the M1 Volt maximum? Just curious. No - the same motors & power as the M1. Hope this helps...
-
The M2 has one new small thing for V-mount users - protection from the old "bump and release."

-
My list of features on the M2 follows - Alas, the final specs for weight and min and max lengths, and of course, the pricing, are not done. Some post-NAB tweaks are in the works, and I believe Tiffen will announce it all officially by CineGear, if not sooner. M2 highlights Overall Lightweight, stiff, modular, 12/24v + 3rdbattery, integral Volt electronics, Volt ready gimbal, +/– tilt head, 3x HDSDI lines. G-50X companion sled. Modularity Stage, base, and posts are fully interchangeable with M1 components, both mechanically and electronically. Stage features Very low profile Large size, longer dovetail plate, updated hole pattern Tool-free dovetail plate lock and release, identical to M1 Integral Volt “brain” electronics inside stage (optional feature) 3x HDSDI ports, 2x Lemo power ports, tally connector, 2x P-taps +/– 10 degree tilt head Post systems Standard 2 post system Shorter 2 post system Also available with M1’s 2 and 3-stage post systems Gimbal High precision bearings Volt ready Integrated Volt encoder ring Tool-free post clamp Handle for .500, .625, or .740 arm posts Monitor mount to center post Tool-free, solid design Clamp lever for height adjustment Inserts for different post sizes 15mm rods on 60mm centers Monitor Universal monitor mount Choice of many monitors Base 3x HDSDI connectors 2x Power port Monitor port Low profile Integral 3rdbattery mount (optional) Dovetail base (optional) Cheeseplate base (optional) Battery mount 2x IDX or AB (IDX mount now with battery release protectors) Switchable 12/24 volts 3rd battery on/off switch 12 volt P-taps on each battery USB power tap
-
To Deke and all who try this. One reason the dock supplied with the M1V is designed the way it is - is to avoid the potential of the balancing pin getting in the way of docking. It's quite possible, when the pin is slightly pulled out, that the motors and electronics can hit the balancing stud and break. So be careful!