Search the Community
Showing results for tags 'camera cart'.
Found 3 results
-
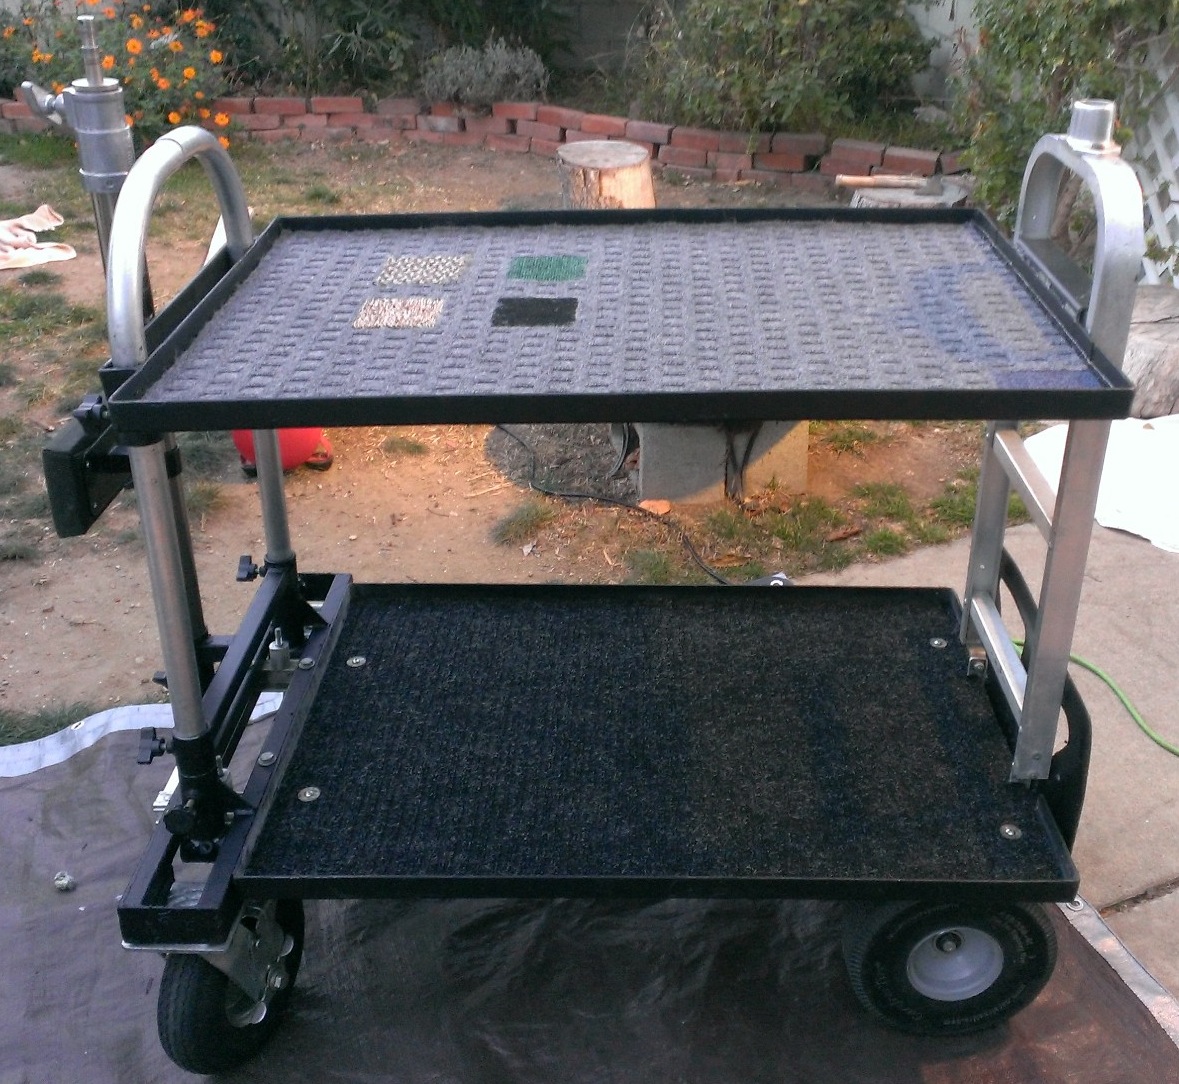
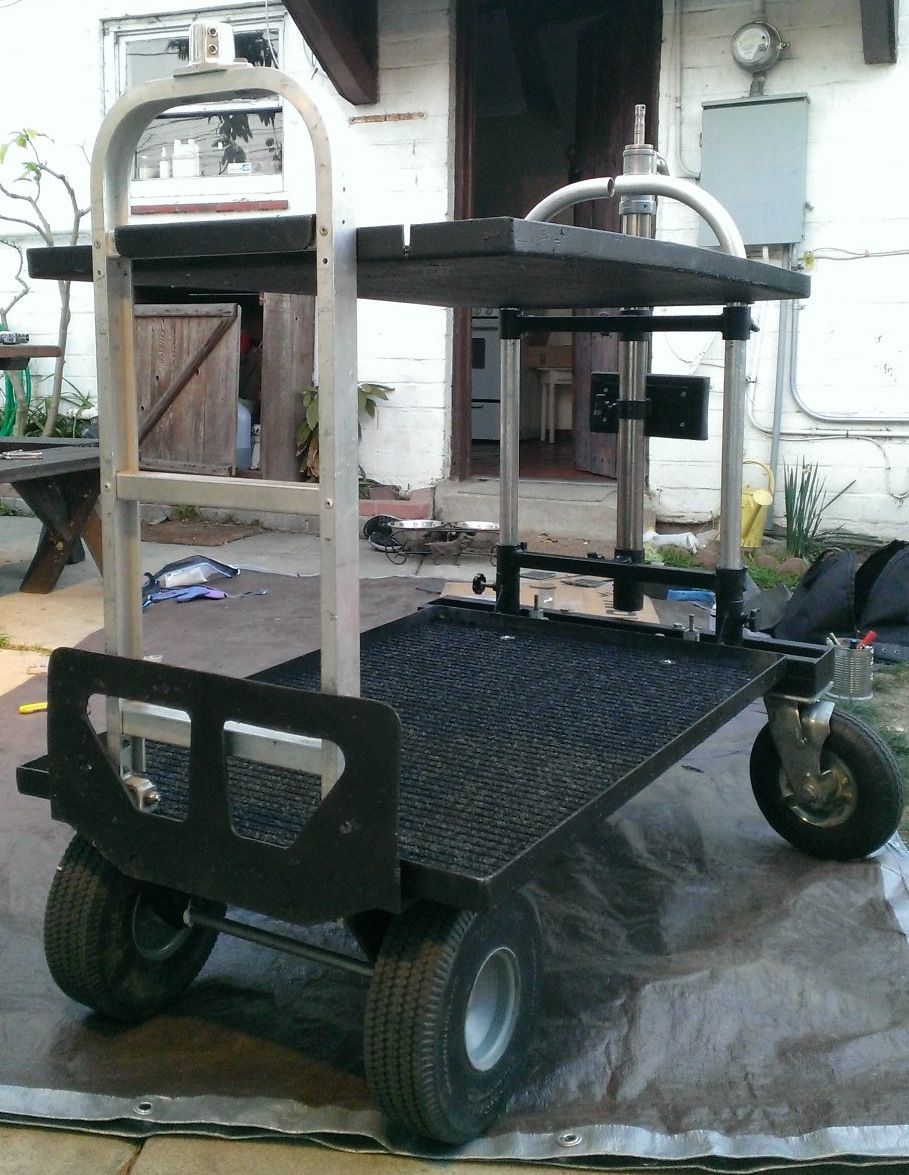
hey yall i recently came into a good deal on a magliner (thanks will!) that had made its way over from my hometown (thanks ramon!) and it needed a bit of love. this very well-used magliner had clearly been shipped around and tossed around, so I figured Id put some time into it and try to make it a bit more of my own. I wish Id taken some "before" photos, but youve all seen a magliner, just add about a dozen shipping labels and torn paper labels on each shelf, tons of build-up on the wheels and bearings, a split U-handle with almost a whole roll of packaging tape wrapped around every end to protect the hands (because the cut edges were really nasty and jagged and definitely would have sliced open any exposed skin), rusty screws and washers, and some peeling carpeting. all in, i probably spent maybe 100-150 on materials and help. i had a few meterials (paint, etc) laying around from pervious projects. First, i diassembled the entire thing. the only stuff that stayed intact were races and bearings in the wheels. I wanted to see if a superficial cleaning and greasing of the wheels would be enough, rather than really opening them up. Thankfully superficial was plenty. A bunch of scrubbing and white lithium grease got these wheels spinning like yo-yos. I took the brakes off and put them in a vice and re-bent them so that the wheels wouldnt scrape the brakes and the lever action worked properly. After a few years of pressing on these brakes, they start to slip more and more. Every screw and washer spent about 24 hours in an apple-cider vinegar bath. once or twice during that period of time i pushed the pieces around, flipped em over, and took a hard bristle tooth brush to some of the items and the rust just slipped right off, if its hadnt already been eaten away. in order to clean the metal parts of the disassembled wheels, the u-handle, and some other pieces, i made a paste out of water and sodium bicarbonate. this plus a sponge cleaned a good bit of adhesive and gunk off and sparkled some surfaces right up. baking soda is cheap and safe so it was the first round of cleaning. i started stripping the dried adhesive from the shelf carpeting with a paint scraper, but it was just gunna take more time than I wanted to commit, plus the adhesive stuff on the bottom of the shelves was gunna be a bitch, so I went to a machine shop down the street and asked them to blast both shelves, the U-handle base, as well as the steadicam-stand guides. They did it for $80 in a few hours. The gentleman who blasted it said that the sandblaster wouldnt take off some of the tacky residue, so he ended up scraping it himself. At least I didnt have to. I also had him recut the U-handle (which had the really nasty and dangerous edges) and file down the edges for safety. I repainted pretty much everything with two coats of DupliColor Bed Armor (truck bed liner, like cheaper LineX). On one motorcycle I used the rattle can version of this which worked well, but I decided to roll-on this time. I do not really recommend it, as it wound up sorta clumpy and required some extra work to smooth out. Then I did three coats of matte automobile clear coat with an HVLP spray gun. I used about 80% of a small paint can for this. Both shelves we re-carpeted. I just played around with this. I picked up a few free samples of some other carpet patterns and astroturf and cut squares in the carpet to insert these. I have found that sometimes when building out a camera or whathaveyou that I place tools and screws in random areas, then I scan all over trying to find what I put where. These little squares are meant just as helpful "color coding" and memory-helpers. I used medium coats of Loctite spray adhesive on the carpet and shelf surface and then laid the carpets in. I picked up liquid nails just in case, but I dont want it to be super permanent, in case I decide to do this again in the future. Beware that the rubber surface on the back side of the carpeting peels right off once you stick it to a surface and then lift it up to adjust the position. Now that everything is back together, it drives like a dream.
- 6 replies
-
- 1
-

-
- magliner
- camera cart
- (and 1 more)
-
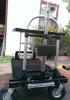
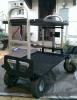
Hey guys I do not know if this is in the wrong place of the forum, but i make custom camera carts! I have been building carts for almost 2 years now and i have sold over 60 custom carts! I have 6 years welding/fabricating expierence! I am also a local 600 2nd AC I am located in Atlanta Ga Please Email me with questions! CameraJimmys@yahoo.com 8054608728 Chris Dawson You can check out more pictures by searching Camera Jimmys on Facebook !!!
-
Hey guys I do not know if this is in the wrong place of the forum, but i make custom camera carts! I have been building carts for almost 2 years now and i have sold over 60 custom carts! I have 6 years welding/fabricating expierence! I am also a local 600 2nd AC I am located in Atlanta Ga Please Email me with questions! CameraJimmys@yahoo.com 8054608728 Chris Dawson You can check out more pictures by searching Camera Jimmys on Facebook !!!