Search the Community
Showing results for tags 'preston'.
-
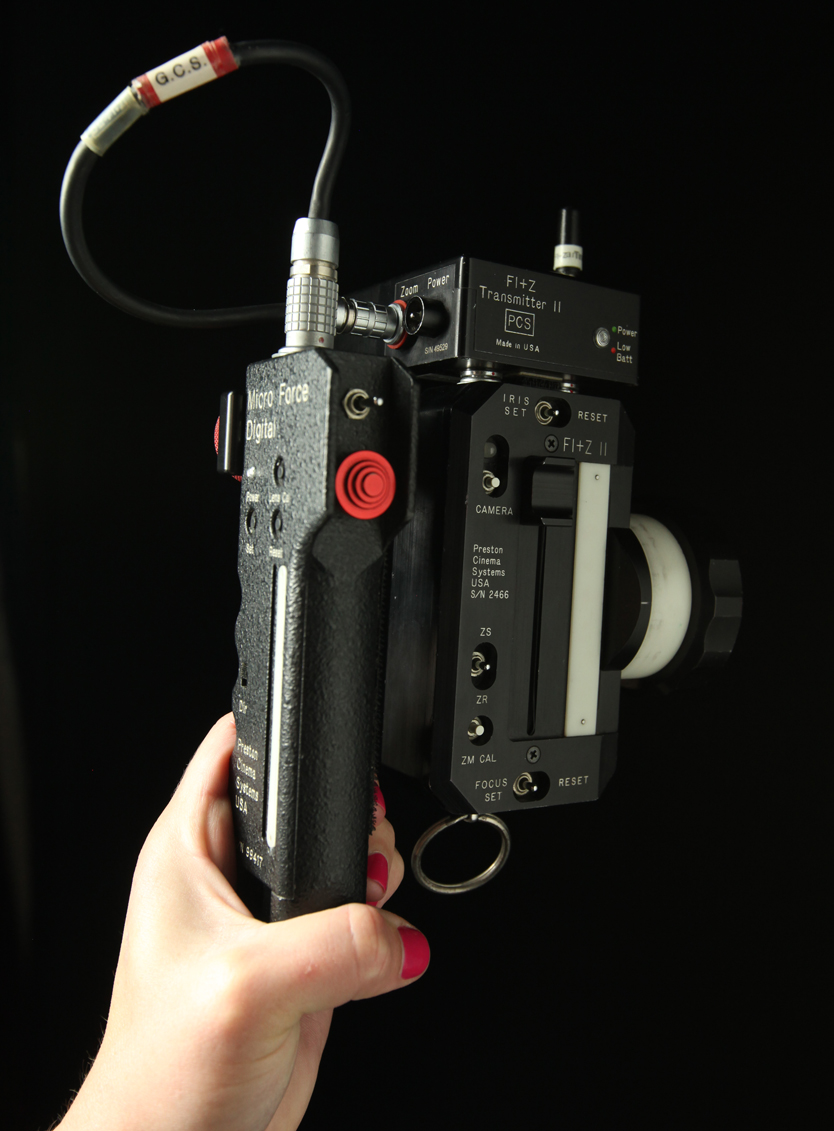
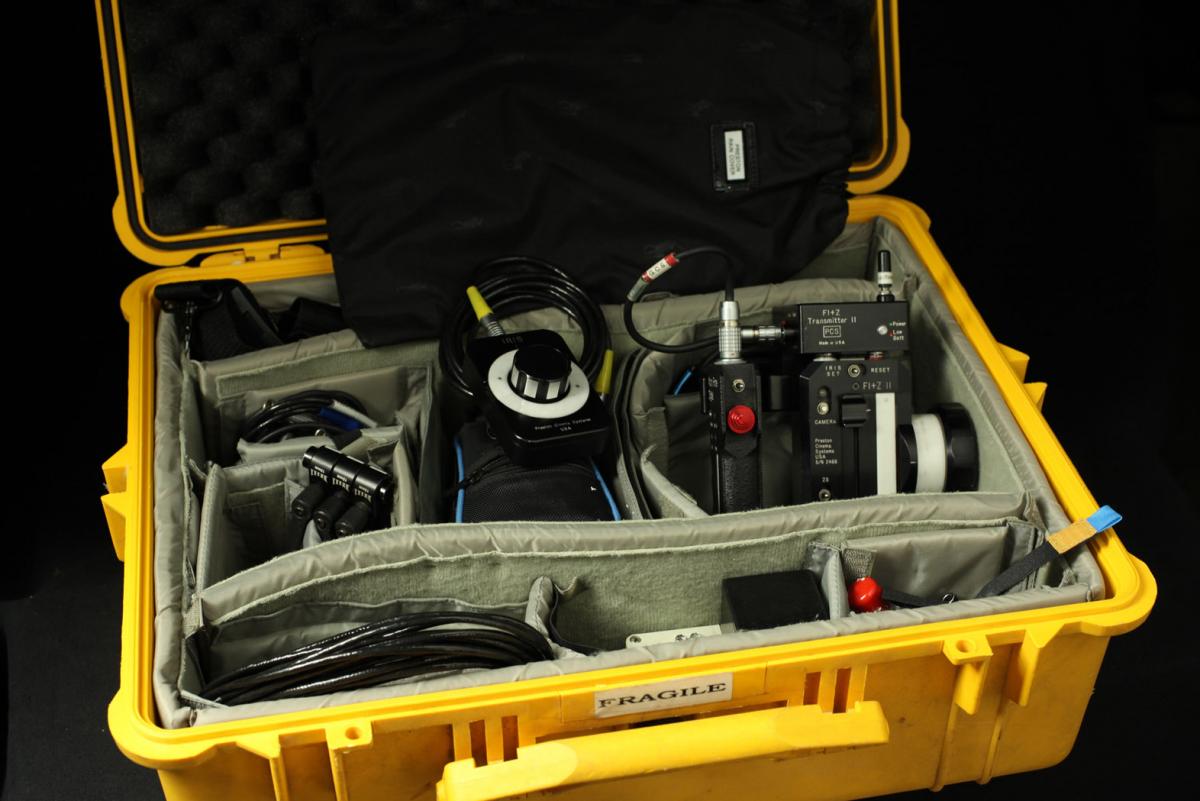
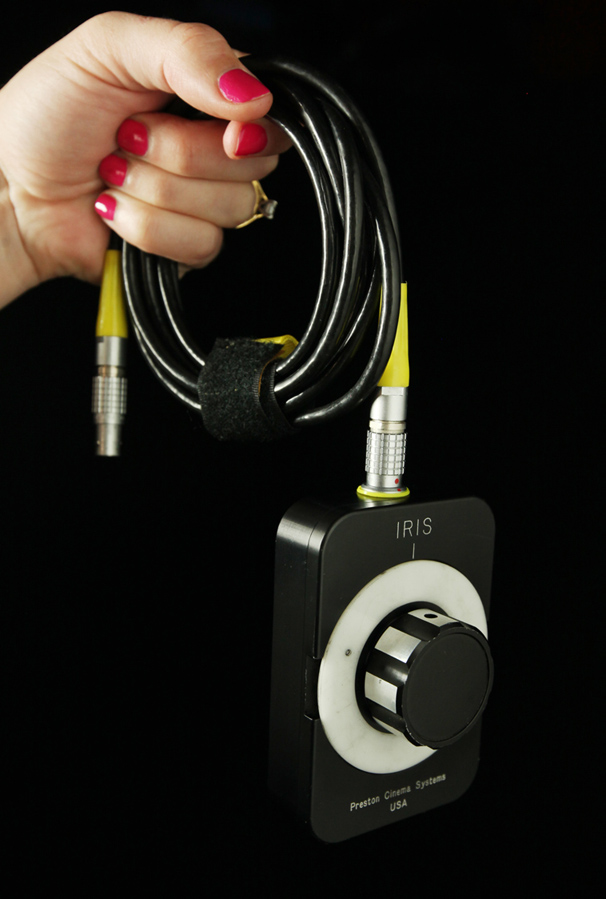
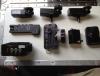
 For sale: Preston HU2 with Digital Micro force zoom 2 x batteries in great condition 1 x fast charger Rain jacket for HU2 Preston wired iris controller Jerry Hill PAM arms (plus a few other Hill brackets I'm not as familiar with) 3 different MDR power cables + 3 Camera run cables. (Panavision, Aaton, Arri) 2 motor cables Emergency hard wire 7 white discs Neck strap Instruction manual Yellow pelican case Everything is in MINT condition. This has essentially never been used. You can see by the photos it's condition. I don't have a Preston MDRII or motors so it's time to let it go. I can provide loads of photos of all the gear. Email me an offer or any questions you may have. Gear is located in LA - Thanks! Leigh leigh@loosecannon.com.au

-
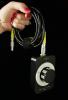
 Selling my old reliable Preston 1 Handset and MDR 1, Batteries & Charger, On/Off Cables for PV, Arri, Aaton, Moviecam In Escrow (most likely sold).. If it changes I will repost price.
 -
Hi everyone, We have now finally released our microprocessor controlled C100 / C300 / C500 camera Start / Stop interface. http://www.plcelectronicsolutions.com/c300-on-off-cable/ http://www.youtube.com/watch?v=LIOx1d49WZY http://www.youtube.com/watch?v=A4X9sYejHlM Works with Bartech, Preston, C-Motion remote follow focus systems using your existing 3 pin Fisher Arri Run cables Uses the 2.5mm Stereo LANC port on the camera to communicate the camera Run / Stop signal via the onboard microprocessor Green LED indicates that the cable is connected and that the Camera is Powered Red LED indicates the camera is Recording and Microprocessor continually checks the camera status via the LANC protocol to ensure that the camera is running.

-
 Posting for a good friend, please contact him using any of the methods at the bottom of this posting. He's looking to get ~ $10k. Preston Single Channel System The V+F Lens Control is G4 and was purchased in 2012. It is essentially brand new and in perfect working condition. Included items: 15mm Mounting Bracket & On/off/Power Combo Cable (3-pin fischer: Arri 24V, Sony F65 ) Focus/Iris Handset is very clean and has been part of my main FIZ package since 2008. It has had very little use since I purchased it primarily only for Iris pulls when needed. It is upgraded to G4 and is in perfect working condition. Handset comes with 8 marking rings & 1 battery. DM-2 Motor with Hill Bracket. It was purchased in 2008 and has normal wear and tear. Pulls strong but not silent. Included with 2 motor cables Please email me with any questions or requests for more details. Jonas Maximus Steadman 1st Assistant Camera 310.910.4541 Channelsix@me.con ElGringoGrande@me.com
 -
Selling my Preston 2. Totally complete package; Handset, Transmitter, Microforce, MDR 2, Seperate Iris Control Unit, Three Motors, Charger, Batteries and more cables and brackets than you will know what to do with. Comes with Pellican Case. $10,000.00. Firm. Unit is serviced every year by Preston. Contact Mike McGowan at: 305-606-6844 or mcgowanpro@aol.com
-
INCREASING/DECREASING THE DRAG OF THE FOCUS KNOB ON A PRESTON HU3 PART 1: 1) Assemble tools. You will need a 1.27mm allen wrench (I went cheapo/Harbor Freight), a medium Phillips Head screwdriver/bit, a small Phillips Head screwdriver/bit, and maybe even a very thin and strong instrument to pry/encourage displacement; I used a razor-blade. 2) Remove any pre-marked or blank focus rings 3) Turn Handunit on its side so that the flatside of the focus knob is looking up at you 4) Remove the two Phillips Head screws using the small screwdriver/bit, and then remove these items. Try inverting the handunit so that the plate simply drops out of its slot. If this doesn't work, gently use the razor/similar device to slip between the plate and housing to pry it out. 5) This is what you will see when the plate is off. Pay special attention to the fact that there are 3 holes exposed with in the semi-circular slots at the top and bottom; This is where you'll be making your adjustment. Also of special note is that large, silver Phillips head screw right in the center; This will most likely be loose -- right now -- but after desired drag is reached it should be quite tight.
-
 Hi, I'm after a G3 board for a Preston FI handset. Still running an mdr2with hu2 so haven't upgraded to g4 yet but want the remote iris option. Anyone who has already upgraded and is willing to part with their old board please drop me a mail onesharpnortherner@yahoo.co.uk Cheers